As an Amazon Associate CoffeeXplore.com earns from qualifying purchases.
How To Make Perfect Coffee Cake That Never Turns Out Dry
Tired of baking a coffee cake that looks amazing but turns out disappointingly dry? You’ve followed the steps, but the final slice just doesn’t have that bakery-quality texture you crave.
A coffee cake is a tender, sweet cake, defined by its signature cinnamon-spiced streusel topping, meant to be served with a warm drink. The biggest challenge is achieving a rich, moist crumb that stays fresh. You’re looking for a foolproof coffee cake recipe that guarantees a perfect bake.
This easy coffee cake recipe uses sour cream to create a super moist and tender crumb that never turns out dry. In this guide, you’ll discover the simple, tested steps to make a homemade coffee cake with a buttery, crunchy streusel topping every single time. Get ready to bake your new family favorite.
Tired of Dry, Disappointing Coffee Cake? Here’s the Secret to a Perfect Bake
We’ve all been there. You spend time and effort on a coffee cake from scratch, only to be let down by a dry, crumbly texture. It’s frustrating when the result doesn’t live up to the promise. This foolproof recipe is the answer, born from testing and perfecting a method that guarantees a delicious coffee cake.
The secret to a rich, tender cake crumb lies in one key ingredient: full-fat sour cream. Its acidity and fat content work together to create an unbelievably moist texture that other recipes simply can’t match. Paired with a thick, buttery cinnamon streusel, this classic coffee cake is designed for success. By following this guide, you’ll learn how to make the best coffee cake that will become your go-to for every brunch and special occasion.
The 7 Foolproof Steps to Perfect, Moist Coffee Cake Every Time
This is the core of our tested, reliable method. By following these seven simple stages, even a beginner baker can achieve a bakery-quality result. From making the crunchy streusel to the final bake, we’ll guide you through each part of the baking process.
- Prepare the Irresistible Cinnamon Streusel Topping.
- Combine the Dry Ingredients for a Tender Crumb.
- Mix the Wet Ingredients for Maximum Moisture.
- Gently Combine Wet and Dry Batters.
- Layer the Batter and Streusel for a Perfect Swirl.
- Bake to Golden-Brown Perfection.
- Cool, Slice, and Serve Your Masterpiece.
1. Prepare the Irresistible Cinnamon Streusel Topping

Pin this essential first step for the perfect crunchy topping!
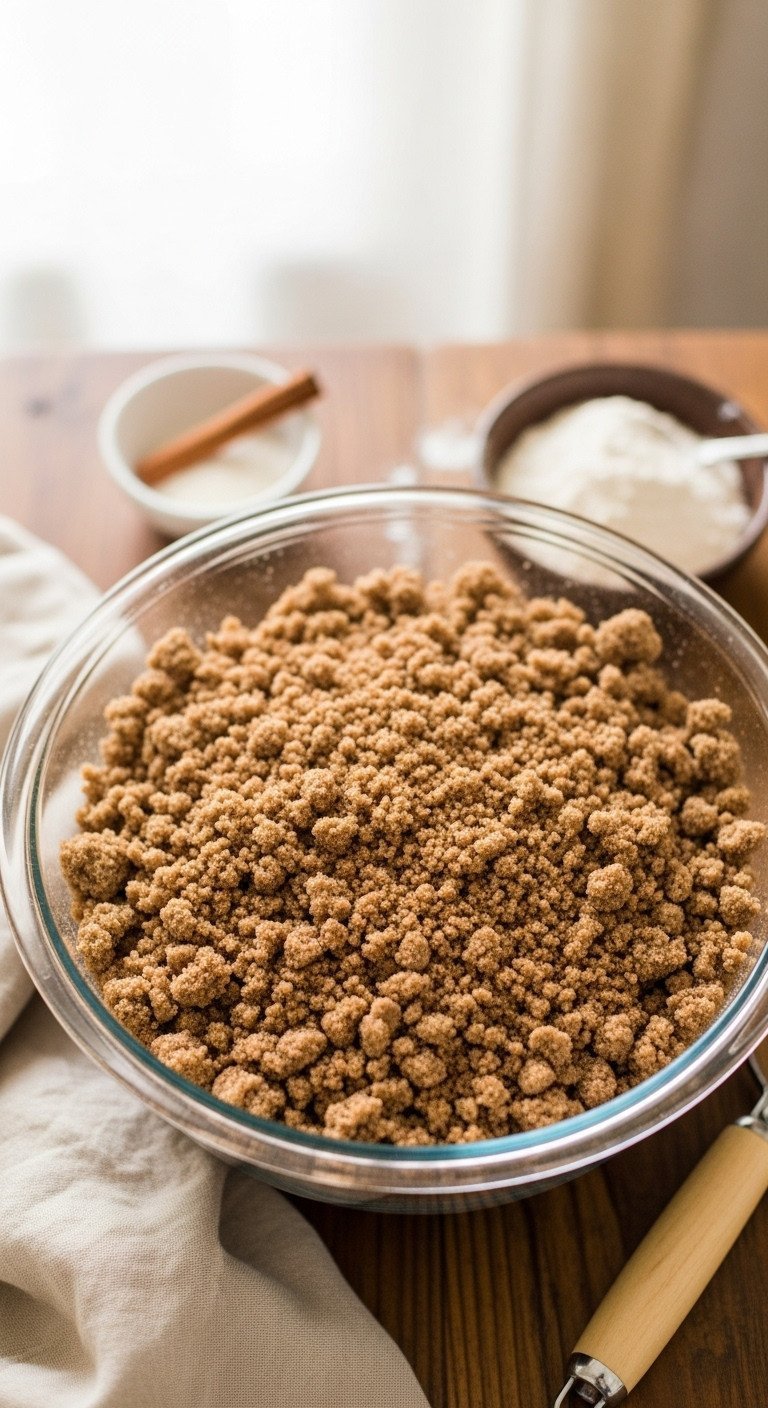
The signature of any great coffee cake is its crunchy, buttery streusel. This cinnamon brown sugar topping provides the perfect textural contrast to the soft cake underneath. The secret to making a crumb topping that stays crisp is using cold butter.
What You Need (For This Step):
- All-purpose flour
- Light brown sugar, packed
- Ground cinnamon
- A pinch of salt
- Cold unsalted butter, cut into small cubes (this is crucial for a crumbly texture)
- A medium mixing bowl
- A pastry blender or two forks
Step-by-Step Directions:
- In the mixing bowl, whisk together the flour, packed brown sugar, cinnamon, and salt until well combined.
- Add the cold, cubed butter to the dry ingredients.
- Using a pastry blender or your fingertips, cut the butter into the flour mixture.
- Continue mixing until the mixture resembles coarse, pea-sized crumbs. Do not overmix.
- Set the bowl aside, or place it in the refrigerator to keep the butter cold while you prepare the cake batter.
Pro-Tip: Chilling the streusel topping for 10-15 minutes before use helps the butter stay solid, preventing the topping from sinking into the batter and ensuring it bakes up extra crunchy.
2. Combine Your Dry Ingredients for a Tender Crumb

Save this tip for measuring flour—it’s a game-changer for moist cakes!
Properly preparing your dry ingredients is a fundamental step in cake baking. This ensures that the leavening agents—baking powder and baking soda—are evenly distributed, which guarantees a consistent rise and a tender crumb.
What You Need (For This Step):
- All-purpose flour
- Baking powder
- Baking soda
- Salt
- A large mixing bowl
- A whisk or sifter
Step-by-Step Directions:
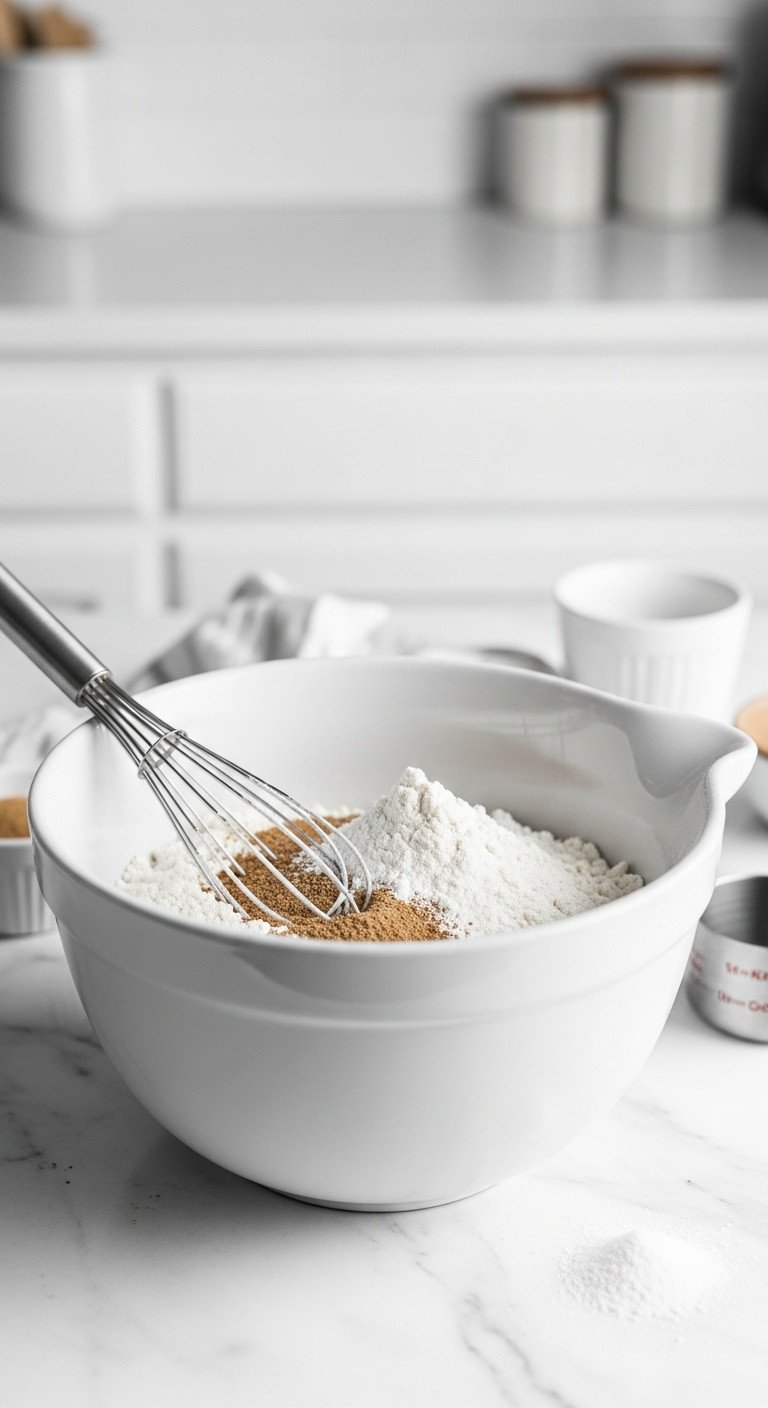
- In a large bowl, add the all-purpose flour, baking powder, baking soda, and salt.
- Whisk the ingredients together for about 30 seconds. This step is like sifting—it aerates the flour and ensures the leavening agents and salt are evenly distributed throughout.
- Set the bowl of combined dry ingredients aside.
Lesson Learned: The most common cause of dry cake is using too much flour. Instead of scooping with your measuring cup, use a spoon to fluff up the flour in its container, then spoon it into your cup and level it with a knife. For perfect results every time, use a digital kitchen scale.
3. Mix the Wet Ingredients for Maximum Moisture

This is the secret to a super moist cake! Pin it now!
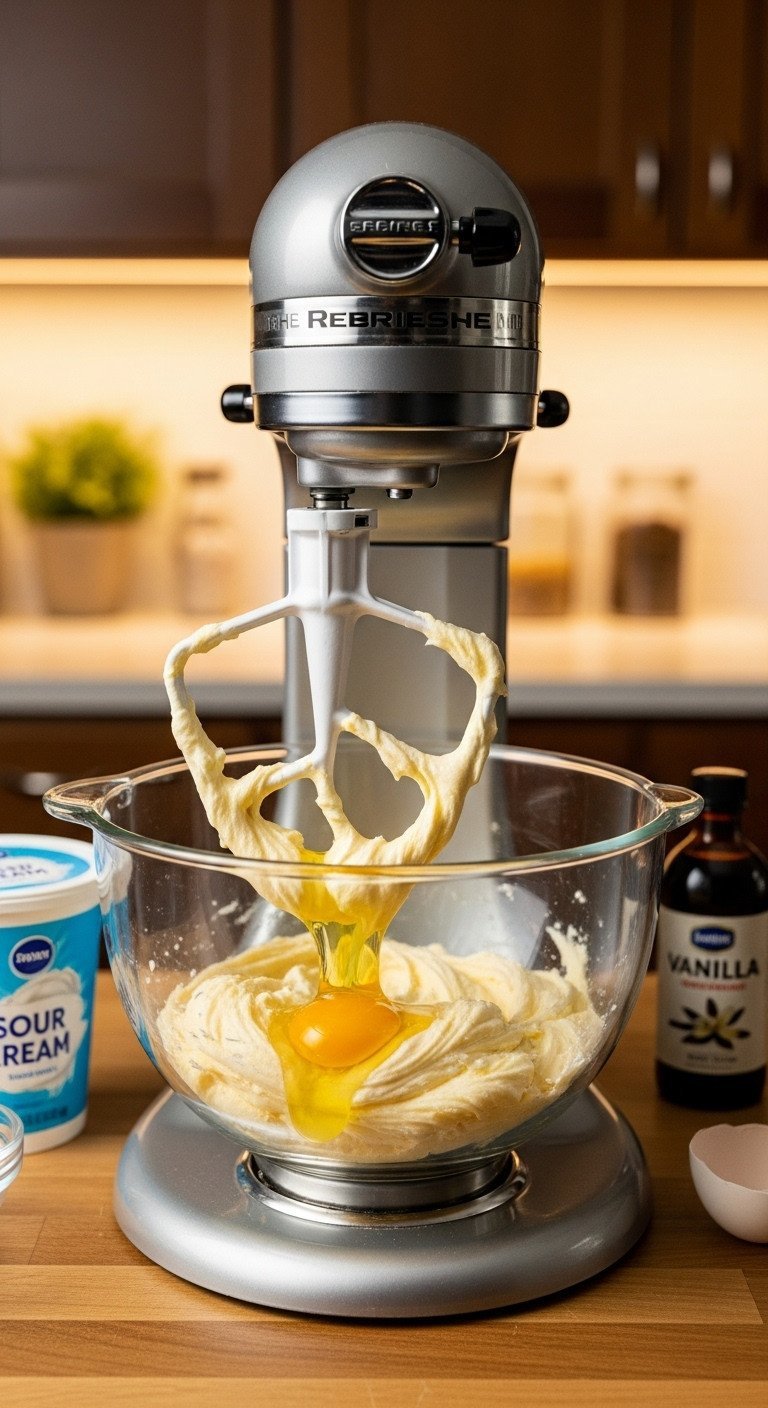
This is where the magic happens for creating a rich, moist coffee cake. The creaming method—beating butter and sugar together—incorporates air for a light texture, while the eggs, sour cream, and vanilla extract create a flavorful, emulsified base.
What You Need (For This Step):
- Unsalted butter, at room temperature
- Granulated sugar
- Large eggs, at room temperature
- Full-fat sour cream, at room temperature
- Pure vanilla extract
- An electric mixer (stand or hand mixer) with a paddle attachment
Step-by-Step Directions:
- In the bowl of your electric mixer, beat the room temperature butter and granulated sugar together on medium-high speed for 3-5 minutes. The mixture should become pale, light, and fluffy.
- Add the room temperature eggs one at a time, beating well after each addition and scraping down the sides of the bowl as needed.
- Beat in the sour cream and vanilla extract until just combined. The mixture may look slightly curdled at this point—that’s okay.
Pro-Tip: Using room temperature ingredients (butter, eggs, sour cream) is non-negotiable. Cold ingredients don’t emulsify properly, which can lead to a dense, greasy, or lumpy cake.
4. Gently Combine the Batters (The Secret to a Soft Cake)
![]()
Don’t overmix! Save this crucial tip for the softest cakes ever.
This is the final and most critical mixing step. How you combine the wet and dry ingredients will determine whether your cake is tender and soft or tough and dense. The goal is to mix as little as possible to prevent gluten development.
What You Need (For This Step):
- The bowl of wet ingredients from Step 3.
- The bowl of dry ingredients from Step 2.
- A silicone spatula for folding.
Step-by-Step Directions:
- Add the dry ingredients to the wet ingredients in the mixer bowl.
- Turn the mixer on its lowest possible speed and mix for only 15-20 seconds, just until the flour starts to disappear.
- Stop the mixer while there are still a few streaks of flour remaining.
- Use a silicone spatula to gently fold the batter a few times, scraping the bottom of the bowl to ensure everything is incorporated. Stop as soon as you no longer see dry flour.
Lesson Learned: Overmixing develops gluten in the flour, which is great for chewy bread but terrible for tender cake. The moment you stop seeing dry flour is the moment you must stop mixing. This single tip will save you from tough, dense cakes forever.
5. Layer the Batter and Streusel for a Perfect Swirl

Love a thick cinnamon swirl? Pin this layering technique!
Assembling the coffee cake correctly is key to achieving that beautiful inner cinnamon swirl and the thick crumb topping. The sour cream batter is wonderfully thick, which helps support the layers perfectly.
What You Need (For This Step):
- The finished cake batter.
- The chilled streusel topping.
- A 9×13-inch metal baking pan, greased and floured.
- An offset spatula or the back of a spoon.
Step-by-Step Directions:
- Preheat your oven to 350°F (177°C).
- Spread half of the thick cake batter evenly into the bottom of the prepared baking pan.
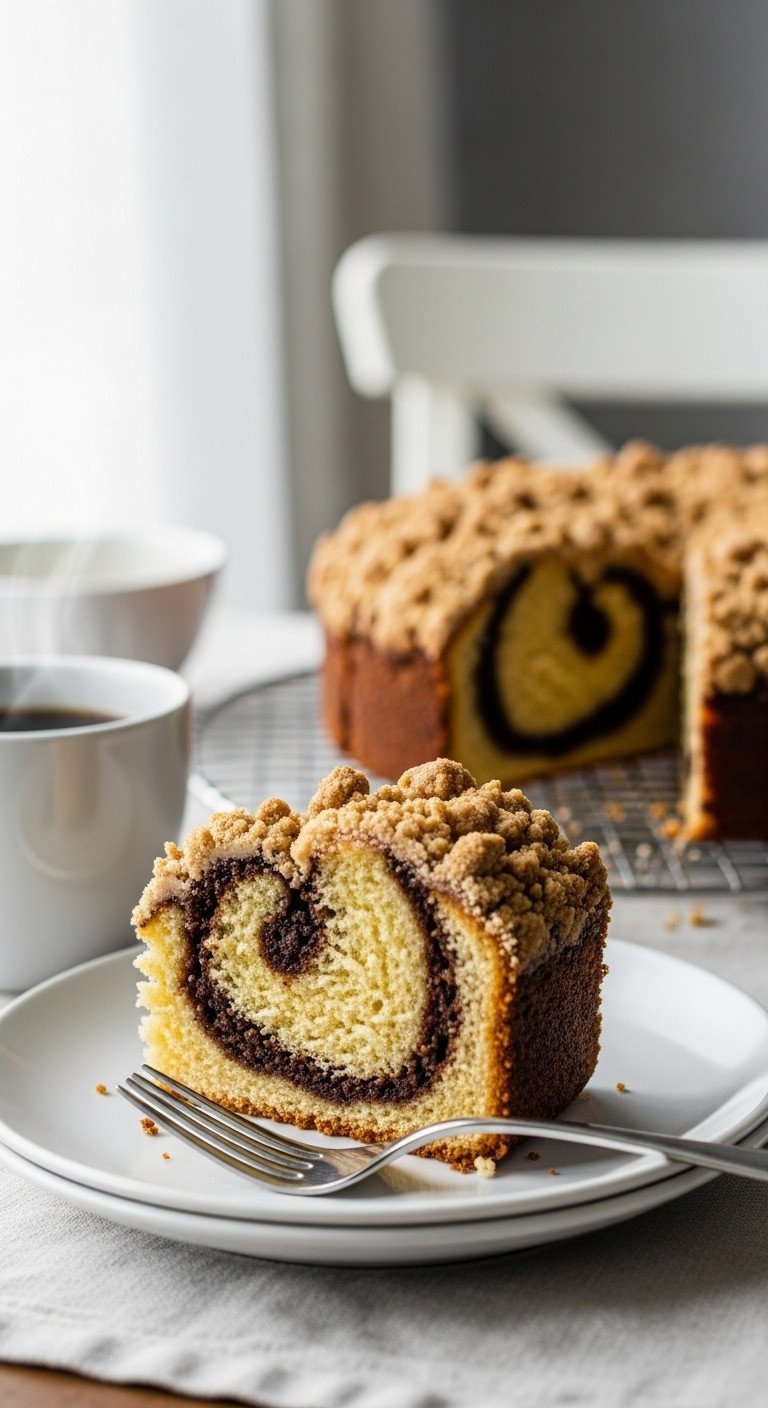
- Sprinkle about half of the streusel topping mixture evenly over the batter. This creates the inner cinnamon swirl.
- Carefully dollop the remaining cake batter over the streusel layer and gently spread it to cover, trying not to disturb the filling too much.
- Sprinkle the remaining half of the streusel topping evenly over the top layer of batter.
Pro-Tip: The batter is thick, so use an offset spatula to spread it gently. This gives you more control and helps create even layers without mixing them together.
6. Bake to Golden-Brown Perfection

Save this guide so you know exactly when your cake is perfectly baked!
The final step is baking your assembled coffee cake. The key here is to bake it long enough so the center is cooked through, but not so long that it dries out. Using the toothpick test is the most reliable way to check for doneness.
What You Need (For This Step):
- The assembled coffee cake in its pan.
- A preheated oven.
- A toothpick or wooden skewer.
- An oven thermometer (recommended for accuracy).
Step-by-Step Directions:
- Place the pan on the center rack of your preheated 350°F (177°C) oven.
- Bake for 40-50 minutes. The top should be golden brown and the edges should be slightly pulling away from the sides of the pan.
- To check for doneness, insert a toothpick into the center of the cake.
- The cake is done when the toothpick comes out clean or with a few moist crumbs attached. If it comes out with wet batter, continue baking for another 5 minutes and test again.
Pro-Tip: Ovens can be inaccurate. An inexpensive oven thermometer placed inside your oven is the best way to ensure you’re baking at the correct temperature, which is critical for preventing a raw center or a dry, overbaked cake.
7. Cool, Slice, and Serve Your Masterpiece

The perfect slice! Pin this for your next brunch inspiration.
The final, and perhaps most difficult, step is waiting for the cake to cool slightly before slicing. This allows the cake’s structure to set, ensuring you get clean, beautiful slices that show off all your hard work.
What You Need (For This Step):
- The hot, baked coffee cake.
- A wire cooling rack.
- An airtight container for storage.
Step-by-Step Directions:
- Remove the cake from the oven and place the entire pan on a wire cooling rack.
- Let the cake cool in the pan for at least 20-30 minutes. This step is critical, as it allows the cake’s structure to set, preventing it from falling apart when you slice it.
- You can serve the cake warm directly from the pan.
- To store leftovers, allow the cake to cool completely, then cover the pan tightly with plastic wrap or transfer slices to an airtight container. Store at room temperature for up to 3 days.
Lesson Learned: Never slice into a cake straight from the oven, no matter how tempting it is! A brief cooling period allows the “carryover cooking” to finish and lets the crumb firm up, ensuring clean, beautiful slices.
Key Takeaways: Your Quick Guide to Moist Coffee Cake
- Sour Cream is Non-Negotiable: For the most tender, moist crumb, use full-fat sour cream at room temperature.
- Cold Butter for the Topping: To get that signature crunchy streusel, use cold butter cut into the dry ingredients and chill the mixture before using.
- Measure Flour Correctly: Avoid a dry cake by spooning flour into your measuring cup and leveling it, or better yet, use a kitchen scale.
- Do Not Overmix: Once you add the flour, mix on the lowest speed only until it’s just combined. A few flour streaks are fine!
- Cool Before Slicing: Let the cake rest in the pan for at least 20 minutes after baking to ensure clean slices.
FAQs About how to make coffee cake
Why is my coffee cake always dry?
The most common cause of dry coffee cake is using too much flour. Instead of scooping directly from the bag, spoon flour into your measuring cup and level it off. The second most common reason is overbaking. Start checking for doneness at the low end of the baking time and remove the cake as soon as a toothpick comes out with moist crumbs.
What is the secret to a moist coffee cake?
The secret ingredient is a high-fat, acidic dairy product like full-fat sour cream. The fat adds richness and moisture, while the acid works to tenderize the gluten in the flour, resulting in a supremely soft and tender crumb. Using room temperature ingredients also ensures everything mixes together properly for the best texture.
How do you keep the crumb topping from sinking into the cake?
Use a thick cake batter and a cold crumb topping. A thin, runny batter won’t be able to support the weight of the streusel. This recipe’s sour cream batter is nice and thick. Additionally, using cold butter and chilling the topping for 10-15 minutes before use helps it stay on top of the batter while it bakes.
Can I make coffee cake the night before?
Yes, coffee cake is perfect for making ahead. You have two options: you can assemble the entire unbaked cake in the pan, cover it tightly, and refrigerate it overnight before baking in the morning. Or, you can bake it completely, let it cool, and store it in an airtight container at room temperature for up to two days.
Final Thoughts
With this tested recipe and these simple, expert baking tips, you now have everything you need to confidently bake a perfect, moist coffee cake. Gone are the days of dry, disappointing results. This recipe delivers a rich, buttery cake with a thick cinnamon swirl and an irresistibly crunchy crumb topping that will impress your family and friends.
Now you have the ultimate recipe for a coffee cake that never turns out dry. What’s the first occasion you’ll be baking this for? Let me know in the comments below
Last update on 2026-01-19 / Affiliate links / Images from Amazon Product Advertising API

