As an Amazon Associate CoffeeXplore.com earns from qualifying purchases.
Iced Ube Latte Master Recipe For Vibrant Color And Creaminess
Struggling to make that perfect café-style Ube latte at home? You’re not alone if your creations end up with a weak color or a gritty texture. This common frustration often comes from using the wrong type of Ube or an imbalanced recipe.
The Ube Latte is a Filipino-inspired specialty coffee that gets its unique flavor and vibrant purple color from Ube, a purple yam. It masterfully combines this sweet, earthy base with rich espresso and creamy milk. Getting that perfect balance is the secret to a delicious, visually stunning drink.
An Ube Latte is a specialty Filipino-inspired coffee beverage that combines rich espresso, creamy milk, and a prepared base of Ube (purple yam) known for its distinctive, naturally sweet, earthy flavor and vibrant purple color. This master recipe will guide you through the exact steps to achieve vibrant color, velvety creaminess, and authentic flavor every single time.
Why Your Homemade Ube Latte Should Be Creamy and Vibrant
Many homemade ube latte attempts fall short, resulting in a drink that’s either grainy, has a faded, dull color, or tastes more like sweet milk than a balanced coffee beverage. The secret to a professional-quality purple yam coffee drink lies in a holistic approach that respects each core component. Success isn’t just about mixing ingredients; it’s about understanding how they interact.
The vibrancy and creaminess come from three key areas: the Ube source, the coffee-to-milk ratio, and the layering technique. The authentic flavor comes from using Ube Halaya, a traditional Filipino dessert jam that provides a depth you can’t get from extracts alone. Our recipe was rigorously tested, comparing Ube Halaya against Ube Extract to find the perfect method that guarantees both exceptional color and a balanced, complex flavor profile. By mastering these elements, you can finally create that perfect, photo-worthy creamy ube latte at home.
The Master Iced Ube Latte Method: 9 Steps to Perfection
This DIY ube latte tutorial breaks down the entire process into nine distinct, actionable steps. We’ll cover everything from preparing the authentic Ube base to frothing the perfect velvety ube cold foam and mastering the aesthetic layering technique. Each step is designed to address a common pain point, ensuring you achieve café-quality results.
1. Preparing the Authentic Ube Halaya Base (For Max Flavor)

Pin this genius tips to your ‘Dream Coffee Bar’ board!
For the deepest, most complex flavor, starting with traditional Ube Halaya is non-negotiable. This thick jam needs to be thinned into a pourable, smooth base that won’t clump at the bottom of your glass.
Ingredients & Tools Needed:
- Ube Halaya (pre-made jar or fresh): 1/4 cup per serving
- Sweetened Condensed Milk: 2 tablespoons (adjust for sweetness)
- Milk (or water) for thinning: 1-2 tablespoons
- Pure Vanilla Extract: 1/4 teaspoon
- Small saucepan or microwave-safe bowl
- Fine mesh strainer (optional, but recommended)
Step-by-Step Directions:
- Combine & Heat: In the saucepan, combine the Ube Halaya, Sweetened Condensed Milk, and thinning liquid (milk or water).
- Dissolve: Heat gently over low heat, stirring continuously until the mixture is smooth, homogenous, and pourable (3-5 minutes). Do not boil.
- Enhance Flavor: Remove from heat and stir in the vanilla extract.
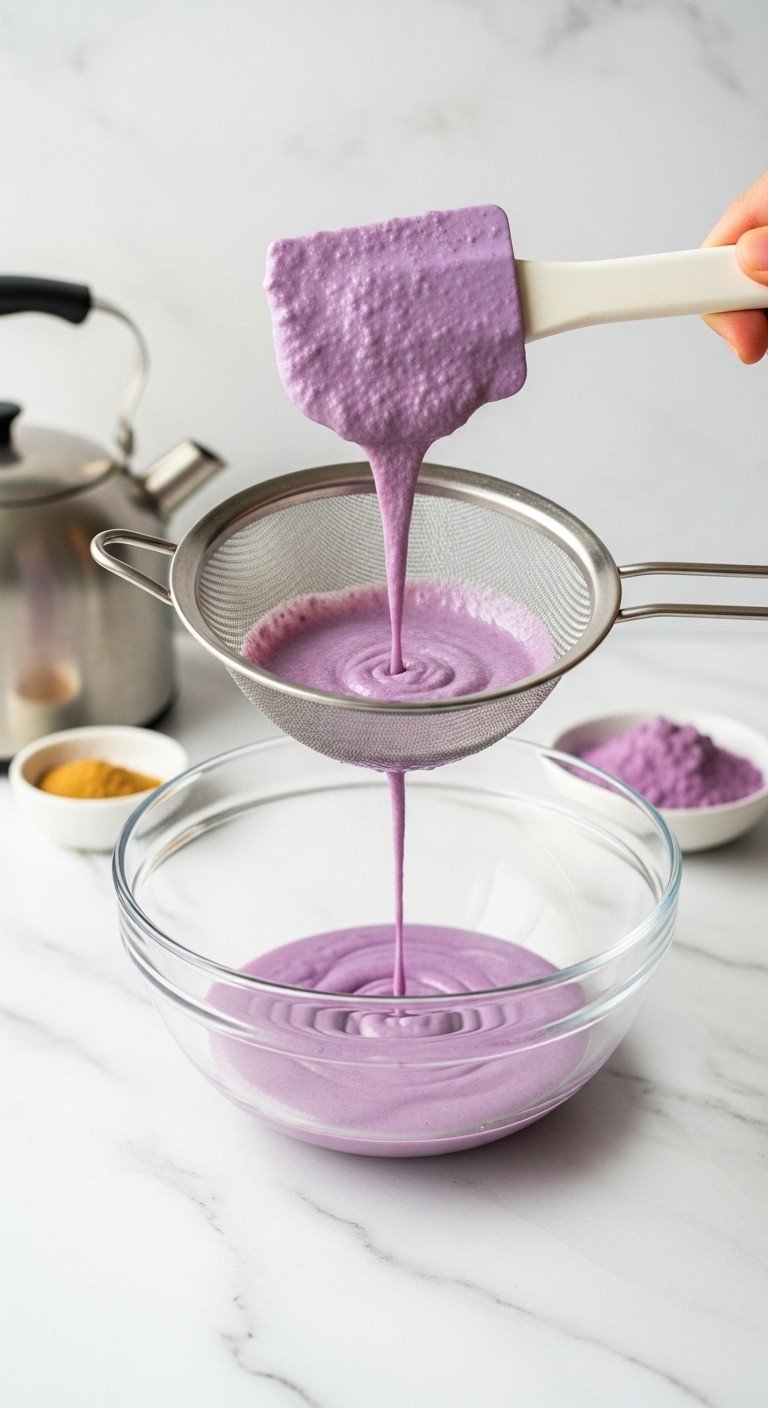
- Strain (Crucial Step): For the smoothest texture, push the warm Ube base through a fine mesh strainer into a separate container.
- CRITICAL Chill Time: Refrigerate the Ube base immediately. It MUST be completely chilled before assembly to ensure proper layering.
Pro-Tip: Ube Halaya is the secret to rich, complex flavor, but it must be thinned and chilled; using sweetened condensed milk adds viscosity that prevents immediate mixing with the milk layer later.
2. Quick-Prep Ube Extract Syrup (The Color Maximizer)
Save this clever organization idea!
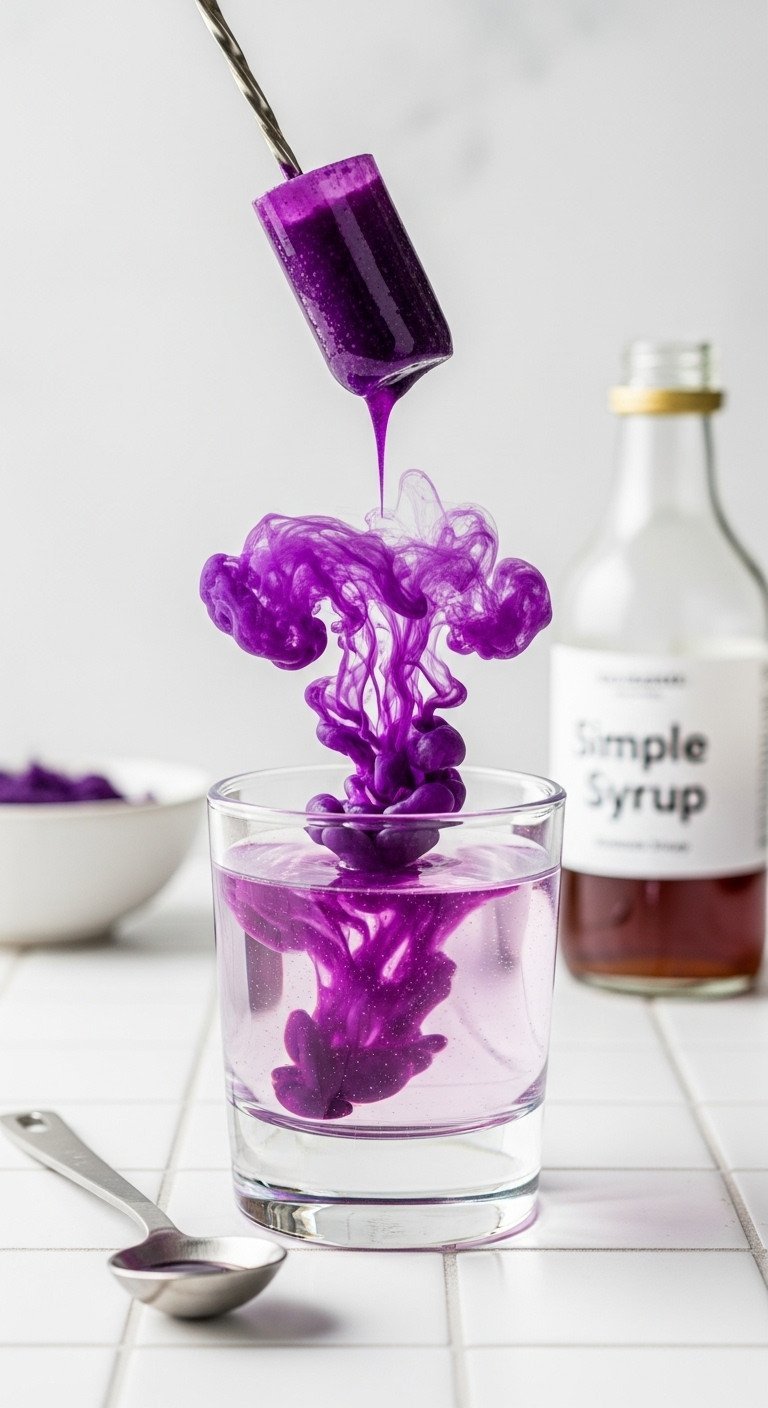
When convenience and the most intense purple color are your top priorities, creating a quick syrup with Ube extract is the best method. This approach creates a vibrant and easily mixable base in seconds.
Ingredients & Tools Needed:
- Ube Extract (high quality brand): 1-2 teaspoons per serving
- Simple Syrup (or Agave/Maple Syrup): 2-3 tablespoons
- Filtered Hot Water: 1 tablespoon
- Small whisk or spoon
- Small glass or mixing bowl
Step-by-Step Directions:
- Mix Sweetener: Pour the Simple Syrup into your mixing vessel.
- Add Color: Carefully measure and add the Ube Extract directly to the syrup.
- Dissolve: Stir vigorously until the color is fully incorporated and the mixture reaches your desired saturation. If using Ube Powder, use the hot water now to dissolve it completely before adding syrup.
- Set Aside: This syrup can be used immediately or stored in the refrigerator. Since it contains no dairy, it chills quickly.
Lesson Learned: While Ube Halaya offers authentic flavor, using Ube Extract is the fastest way to achieve the trending, intensely vibrant purple color. Always check the brand’s recommended ratio as concentration varies wildly.
3. Brewing the Perfect Espresso Shot (The Balanced Foundation)
Pin this technique to your ‘Home Barista’ board!
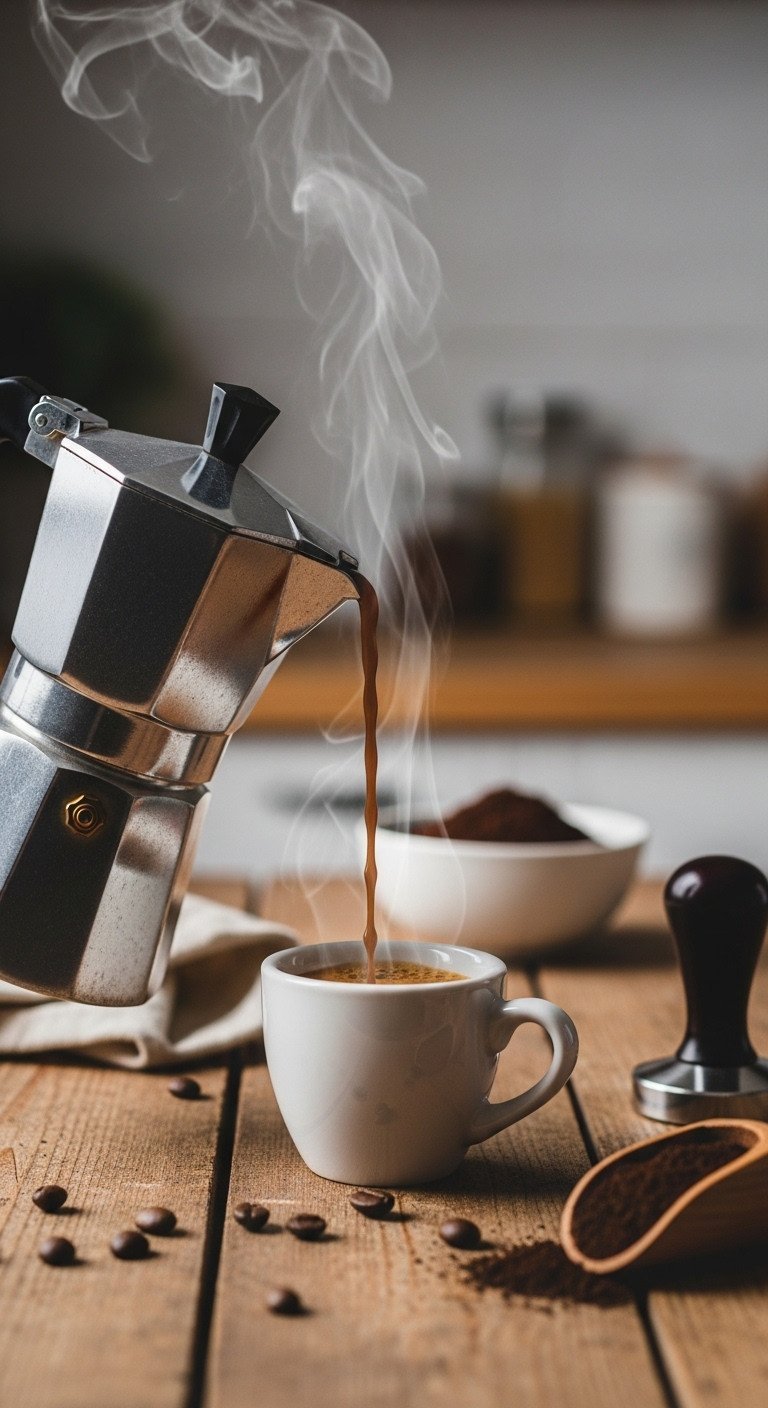
The sweet, earthy Ube base needs a strong, concentrated coffee to create a balanced latte. Weak drip coffee will be completely lost. Aim for a properly extracted double shot of espresso or a very strong Moka pot brew.
Equipment & Ingredients:
- Medium-roast Arabica coffee beans: 18-20 grams (or pre-ground)
- Espresso machine or Moka Pot (for concentration)
- Digital Scale (recommended for consistency)
- Optional: Strong cold brew concentrate (3-4 oz)
Step-by-Step Directions:
- Grind: Grind your beans finely, suitable for your machine (slightly coarser for a Moka Pot).
- Dose: Measure out 18-20g of grounds for a standard double shot.
- Extract (Machine): Aim for a 20-30 second extraction time, resulting in 36-40 grams (1:2 ratio) of espresso yield.
- Extract (Moka Pot): Brew a small, very concentrated Moka Pot batch using high-quality medium roast beans.
- Cool Slightly: Allow the shot to cool for 30 seconds to prevent rapid melting of ice or curdling of non-dairy milk.
Expertise Tip: The professional ratio for a double shot is 1:2 (coffee grounds to liquid yield). Do NOT use weak drip coffee; the flavor will be completely lost in the sweet Ube.
4. Frothing the Ultimate Ube Cold Foam (Velvety Texture)

Save this velvety foam technique for later!
The velvety cold foam topping is what elevates a simple iced latte into a luxurious specialty beverage. This stable emulsion of air and high-fat cream adds a wonderful textural contrast.
Ingredients & Tools:
- Cold Heavy Whipping Cream (or Coconut Cream for vegan): 1/4 cup
- Powdered Sugar or Vanilla Syrup: 1 teaspoon
- Ube Extract: 1/4 teaspoon (for color and flavor)
- Electric handheld frother or small blender
Step-by-Step Directions:
- Chill: Ensure the heavy cream (or coconut cream) is very cold.
- Combine: Place the cream, sugar, and Ube extract into a narrow glass or measuring cup.
- Froth: Use the handheld frother, starting at the bottom and slowly moving upwards, until the liquid has roughly doubled in volume and has a soft, thick consistency (about 30-60 seconds). Do not over-froth into stiff peaks.
- Set Aside: Keep the cold foam in the refrigerator while you assemble the latte.
Expertise Tip: For stable cold foam, use high-fat liquid. If using non-dairy milk, the foam will be thinner; add a tiny pinch of Xanthan gum or use a specialty barista-blend cream alternative for better results.
5. Mastering the Iced Ube Latte Layering Technique (Aesthetic Appeal)

Save this layering guide to prevent separation!
The iconic layered look is achieved by leveraging the density differences between the thick Ube base, the milk, and the espresso. A physical barrier of ice is crucial for success.
Components & Tools:
- Chilled Ube Base (Halaya or Syrup)
- Milk of Choice (full-fat coconut milk recommended): 6-8 oz, chilled
- Freshly Brewed Espresso Shot (cooled slightly)
- Ice Cubes (use large cubes for slower melt)
- Tall, clear serving glass (16-20 oz)
- Long-handled spoon
Step-by-Step Directions:
- Base Layer: Pour the fully chilled Ube base (2-3 tbsp) directly into the bottom of the serving glass.
- Ice Barrier: Fill the glass completely with ice cubes. This creates a physical barrier to separate the milk and base.
- Milk Layer: Very slowly pour the cold milk over the back of a spoon onto the ice. Pouring slowly minimizes turbulence and ensures the milk density settles above the thick Ube base.
- Espresso Float: Slowly pour the slightly cooled espresso shot over the milk layer (or pour over the back of the spoon if needed). The espresso is slightly less dense than the milk and should settle just above it.
- Top: Finish with your Ube Cold Foam (Step 4) or a simple garnish. Instruct the drinker to stir before consuming.
Pro-Tip: The key to layering is the density difference. Ensure your Ube base is thick (thanks to condensed milk or Halaya) and cold. Using large, non-porous ice cubes also helps keep the layers distinct longer.
6. The Vegan/Dairy-Free Ube Latte Method (Substitution Guide)

Pin this dairy-free alternative now!
Creating a delicious vegan ube latte is simple with the right substitutions. The goal is to maintain creaminess and flavor balance without using any dairy products.
Vegan Material Substitutions:
- Barista-blend Oat Milk (best frothing capability) or Full-Fat Coconut Milk
- Maple Syrup or Agave (replaces condensed milk for sweetness)
- Canned Full-Fat Coconut Cream (replaces heavy cream for cold foam)
- Ube Extract or vegan-certified Ube Halaya
Step-by-Step Directions:
- Adjust Base Sweetness: When preparing the Ube Halaya or syrup (Steps 1 or 2), replace condensed milk with an equal volume of Maple Syrup or Agave. Note that this base will be thinner.
- Optimize Milk: Use highly chilled Barista Blend Oat Milk for the best results in the main latte layer.
- Vegan Foam: Use only the solid coconut cream layer scooped from a refrigerated can of full-fat coconut milk to create the thickest, most stable vegan cold foam (Step 4).
- Assembly: Follow the standard layering procedure (Step 5), taking extra care with the thinner, maple-syrup-based Ube layer.
Lesson Learned: Barista-blend oat milk is recommended because it contains stabilizing agents that help prevent separation and provide a creamier mouthfeel, mitigating the loss of texture from removing condensed milk.
7. Troubleshooting: Fixing Graininess, Faded Color, and Separation
Save this tip to fix grainy lattes!
Even with a great recipe, issues can arise. Here are quick fixes for the most common ube latte problems.
Common Issues & Causes:
- Problem 1: Grainy Texture (Cause: Undissolved Ube powder or starch granules)
- Problem 2: Weak/Faded Color (Cause: Low-quality Ube source or high acidity)
- Problem 3: Immediate Separation/Mixing (Cause: Ube base is too thin or not cold enough)
Quick Solutions:
- Fixing Graininess: If using Ube powder, gently re-heat the base with a little more liquid (milk) and vigorously whisk for 2 minutes to cook out the starch, then immediately push through a fine mesh strainer.
- Boosting Color: Add 1/2 teaspoon of high-quality Ube Extract directly to your base mixture. The extract provides concentrated pigment (anthocyanins) without overly affecting the flavor.
- Preventing Mixing: If your base is thin, whisk in a small amount of cornstarch slurry (1/2 tsp cornstarch dissolved in 1 tbsp cold water) before reheating and chilling, or simply add more sweetened condensed milk to increase the density.
- Taming Bitterness: If the espresso dominates, increase the sweetness in the Ube base by 1/2 teaspoon of sugar or syrup at a time, and consider using a milder roast coffee bean.
Expertise Tip: The anthocyanin pigment in Ube is sensitive to acid. Ensure your espresso is not overly acidic, and keep the pH neutral/alkaline by using whole milk or a non-dairy milk with a neutral profile.
8. The Cozy Hot Ube Latte Variation (Closing the Coverage Gap)
Pin this perfect winter beverage idea!
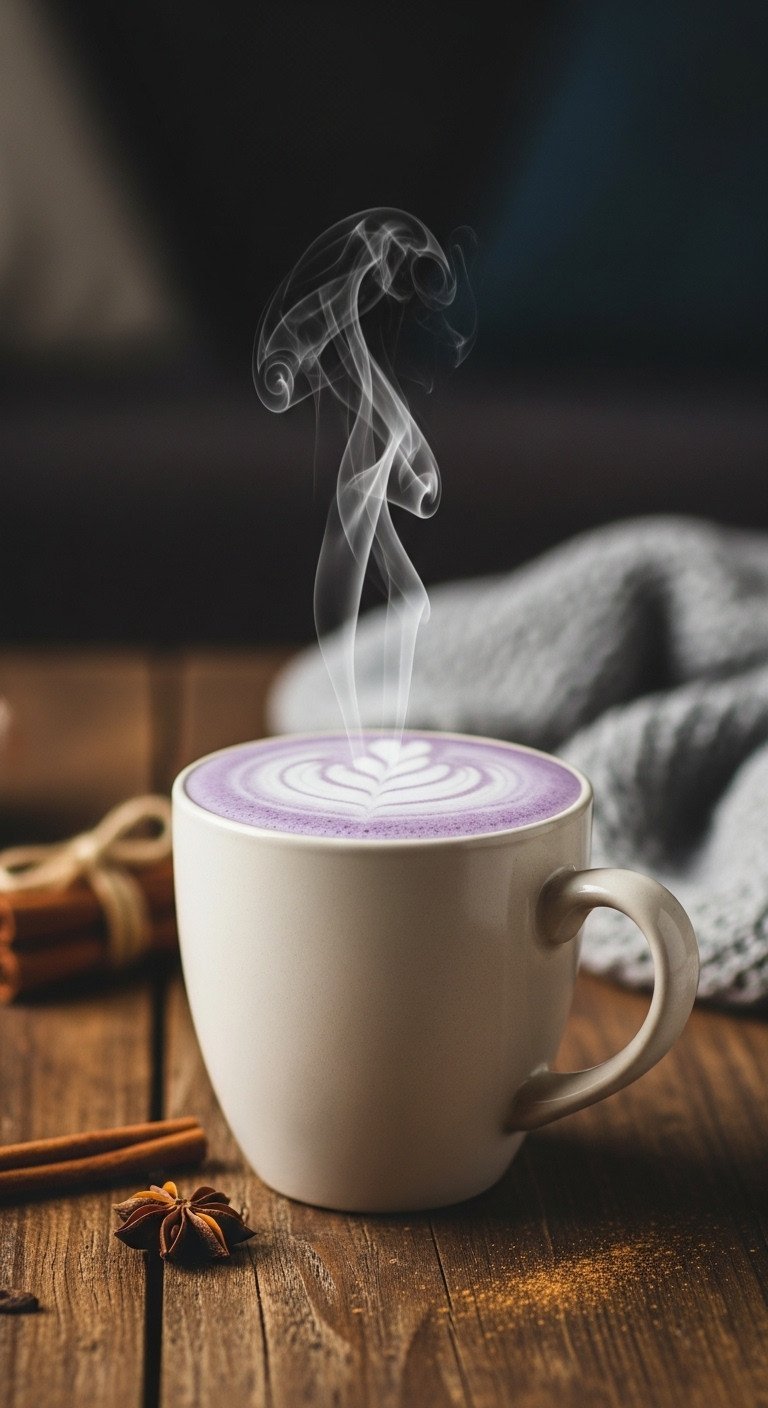
While the iced version is more popular, a hot ube latte is a comforting and delicious winter ube beverage. The technique is slightly different, focusing on homogenization rather than layering.
Components & Tools:
- Ube Base (Halaya or Syrup, room temperature): 2-3 tablespoons
- Espresso Shot: 1 double shot
- Milk of Choice: 8-10 oz
- Milk Steamer or Steaming Wand (for optimal texture)
- Thermometer (optional, for precision)
Step-by-Step Directions:
- Combine Base: Pour the Ube base into the bottom of your serving mug.
- Steam Milk: Steam your milk to the optimal temperature range of 135°F to 150°F (57°C to 65°C). Avoid exceeding this to prevent denaturing the proteins and losing sweetness.
- Mix Ube Milk: Pour a small amount (2 oz) of the steamed milk into the mug and vigorously stir with the Ube base until completely dissolved and homogenous.
- Add Coffee & Fill: Pour the fresh espresso shot into the mug. Then, fill the remainder of the mug with the remaining steamed milk, holding back the foam slightly.
- Top: Scoop the foamed milk onto the top of the latte. Garnish with a sprinkle of cinnamon or Ube powder.
Expertise Tip: The milk steaming process is essential for releasing the milk’s natural sugars. Do not heat the Ube base and milk separately, as this can often lead to a less integrated, overly sweet flavor.
9. Advanced Flavor Pairing and Customization Ideas
Pin these gourmet flavor ideas!
Once you’ve mastered the basic recipe, you can experiment with gourmet flavor pairings to create a truly unique ube latte.
Flavor Boosts:
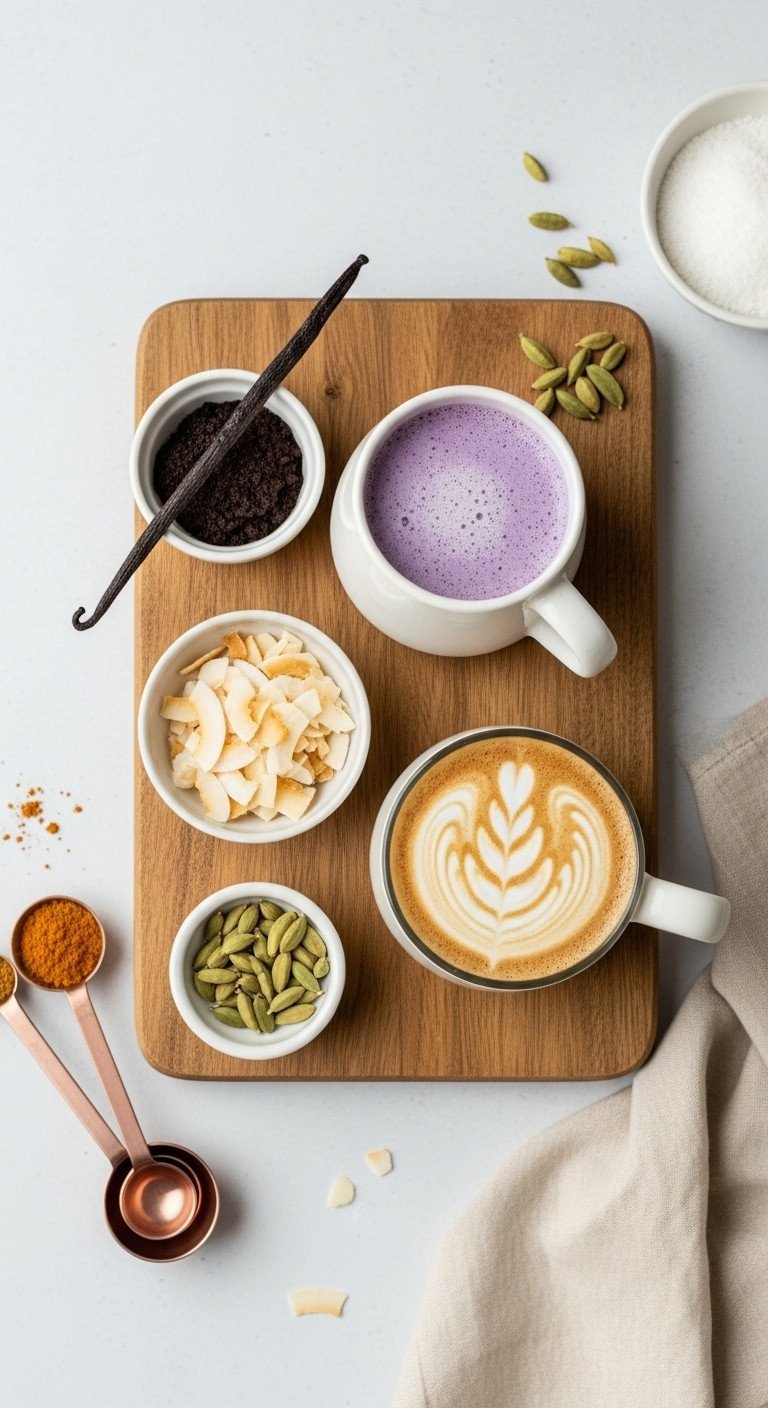
- Gourmet Vanilla: Substitute vanilla extract with 1/4 tsp of pure Vanilla Bean Paste for deeper flavor complexity.
- Nutty & Warm: Add a tiny pinch of ground cardamom or black sesame powder to the Ube base for an unexpected depth.
- Low-Carb Sweetener: Replace standard sweeteners with Monk Fruit or Stevia liquid drops in the Ube base.
- Toppings: Toasted coconut flakes, Ube powder sifted over the cold foam, or a drizzle of caramel sauce.
Quick Integration Steps:
- Integration: If using a liquid flavor booster (like Vanilla Bean Paste), mix it directly into the Ube base during the preparation stage (Step 1 or 2).
- Garnish: Add toppings immediately after the cold foam is placed, ensuring they adhere to the velvety texture.
- Salt Balance: Add a tiny (literally one grain) pinch of high-quality sea salt to the Ube base before chilling to balance the sweetness.
Pro-Tip: Ube’s inherent profile pairs naturally with deep, rich flavors. A small amount of high-quality vanilla bean paste elevates the Halaya’s earthy notes far beyond what standard extract can achieve.
Key Takeaways: Your Quick Guide to Ube Latte Success
- Color Check: Ube Extract is typically necessary for the trending, vibrant purple hue; Ube Halaya alone often yields a softer, duller color.
- Textural Stability: Always ensure the Ube base is completely chilled before layering, and use high-fat cream or barista-blend milk for the most stable cold foam.
- Authenticity: Ube Halaya delivers the deepest, most complex flavor profile, closely matching traditional Filipino desserts.
- Layering Mastery: Achieve distinct layers by pouring the cold milk and espresso slowly over a barrier of large ice cubes (reverse layering technique).
- Coffee Strength: Use concentrated coffee (double espresso shot or strong Moka Pot brew) to prevent the coffee flavor from being overpowered by the sweet Ube base.
People Also Ask About Ube Latte Ingredients and Sourcing
What is the difference between Ube Halaya, Extract, and Powder?
Ube Halaya is a sweet, cooked Filipino jam that provides the most authentic flavor and creamy body but requires thinning. Ube Extract is a highly concentrated liquid used primarily for maximizing the vibrant purple color and convenience. Ube Powder is dried, concentrated yam that must be fully rehydrated with hot liquid and strained to avoid a grainy texture, offering a middle ground on flavor and effort.
Where can I reliably buy quality Ube Halaya or Extract in the U.S.?
Ube products are most easily sourced online via large retailers like Amazon or specialty Asian import stores. Locally, check the refrigerated or dessert sections of large Asian supermarkets, particularly those specializing in Filipino, Japanese, or Vietnamese ingredients. When possible, check the ingredient list for genuine Dioscorea alata (purple yam).
Can I substitute Taro for Ube in this recipe?
Taro (or taro powder) is a common, though technically distinct, substitute. While both are root vegetables, Taro has a lighter, starchier texture and often lacks the distinct, vibrant purple coloring of Ube. If substituting, you may need to add additional purple food coloring or increase the amount of extract to achieve the desired aesthetic.
How long can I store the prepared Ube base?
If stored in an airtight container in the refrigerator, the prepared Ube base (syrup or thinned Halaya) remains fresh for up to five to seven days. Always ensure the base is fully chilled before storing. If you plan to store it longer, freeze the mixture in small portions for up to one months.
Final Thoughts
The Iced Ube Latte is more than just a novelty; it’s a beautiful, balanced specialty beverage achievable in your own kitchen if you focus on the details: the correct Ube source, the right milk ratio, and the final layering technique. By following this master recipe, you have unlocked the secrets to a vibrant color, velvety texture, and authentic flavor that rivals any coffee shop. Now that you’ve mastered the ultimate technique, what gourmet flavor pairing (vanilla bean, caramel, or cardamom) will you try next in your homemade Ube latte?
Last update on 2026-01-15 / Affiliate links / Images from Amazon Product Advertising API

