As an Amazon Associate CoffeeXplore.com earns from qualifying purchases.
The Secret To Smooth Iced Protein Coffee That Never Clumps
Struggling with a lumpy, chalky protein coffee? You’re not just making a drink; you’re trying to build a better morning routine.
This drink, often called “proffee,” is a simple combination of coffee and a protein supplement. The problem is that getting a smooth, delicious result can be frustratingly difficult.
The secret to a clump-free protein coffee is to hydrate the powder properly before fully mixing it. This guide will show you the foolproof methods to get a perfectly smooth, coffee-shop-quality drink every single time.
Tired of Chewing Your Iced Coffee? Here’s Why It Clumps
Have you ever dumped a scoop of protein powder into your coffee, only to end up with a gritty, clumpy mess? It’s a common frustration that ruins an otherwise perfect drink. The cause isn’t a bad powder, but a bit of simple science.
Protein powder clumps in coffee because the protein molecules don’t hydrate properly, sticking together instead of dissolving. This happens for two main reasons. First, dumping the powder into liquid all at once means the outside of the powder pile gets wet and forms a barrier, leaving the inside dry and clumpy. Second, using coffee that is too hot can “cook” or denature the protein instantly, causing it to seize up into rubbery bits that will never dissolve. Understanding this is the first step to fixing the problem for good.
The Foolproof Iced Protein Coffee Recipe (Clump-Free Method)
For those who want the answer right now, here is the tried-and-true recipe for a perfectly smooth iced protein coffee. This method incorporates the core principles we’ll explore later, guaranteeing a delicious, creamy result with zero clumps.
Ingredients:
* 1 cup unsweetened almond milk (or milk of choice)
* 1 scoop vanilla whey isolate protein powder
* 2 oz cold brew concentrate or 2 shots chilled espresso
* 1 cup ice cubes
* Optional: 1 tsp stevia or monk fruit sweetener
Instructions:
1. Add your almond milk and cold brew concentrate to a blender.
2. Add the protein powder and any optional sweetener.
3. Blend on high for 30-45 seconds until completely smooth and slightly frothy.
4. Fill a glass with ice cubes and pour the blended protein coffee over the top.
7 Secrets to The Smoothest Iced Protein Coffee Every Single Time
The recipe above is a great start, but mastering the art of the perfect proffee comes down to a few key techniques. These seven “secrets” are the difference between an acceptable drink and one you’ll look forward to every single morning. Each tip is a simple adjustment that makes a huge impact on the final texture and taste.
1. The Secret Starts With a Better Powder
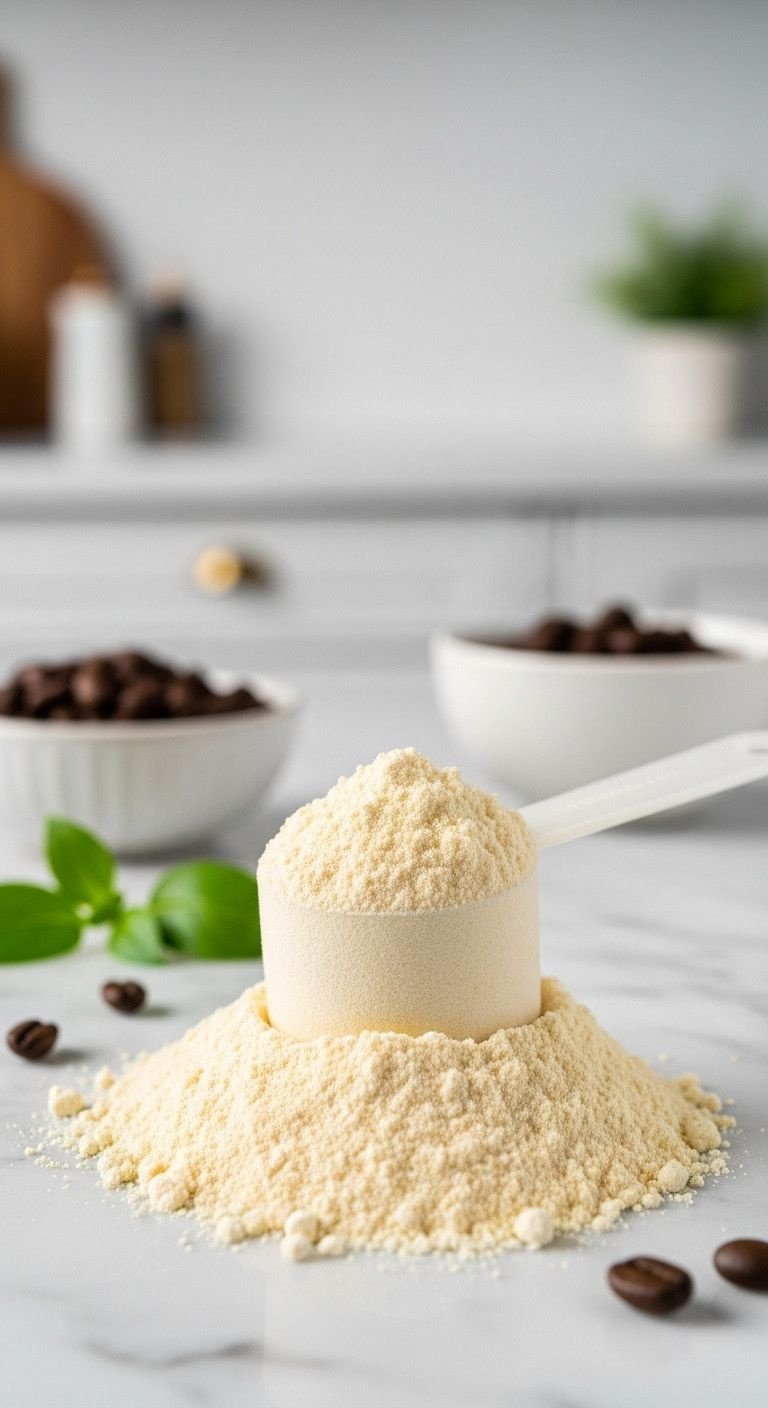
Pin this essential tip for your next proffee!
Not all protein powders are created equal. The single biggest factor in achieving a smooth, non-chalky texture is starting with a powder that is designed for easy mixability.
What You Need:
- Whey Protein Isolate: Look for a micro-filtered or cross-flow filtered whey isolate. This type has less fat and lactose, resulting in a finer powder that dissolves much more easily than cheaper whey concentrate.
- Smooth Plant-Based Blend: If you’re vegan, choose a powder that blends multiple sources, like pea and rice protein, specifically marketed as a “smooth” or non-gritty formula.
The Method:
- Read the ingredient label. The first ingredient should be “Whey Protein Isolate,” not “Whey Protein Concentrate.”
- When shopping, look for reviews that specifically mention “mixability” or “dissolves easily.”
- Invest in a quality powder. While more expensive, a premium protein isolate is the single biggest factor in achieving a smooth texture.
Pro-Tip: Unflavored or simple vanilla and chocolate flavors tend to have fewer extra ingredients (thickeners, etc.) and often mix “cleaner” than complex dessert flavors.
2. Master The 30-Second “Slurry Method”
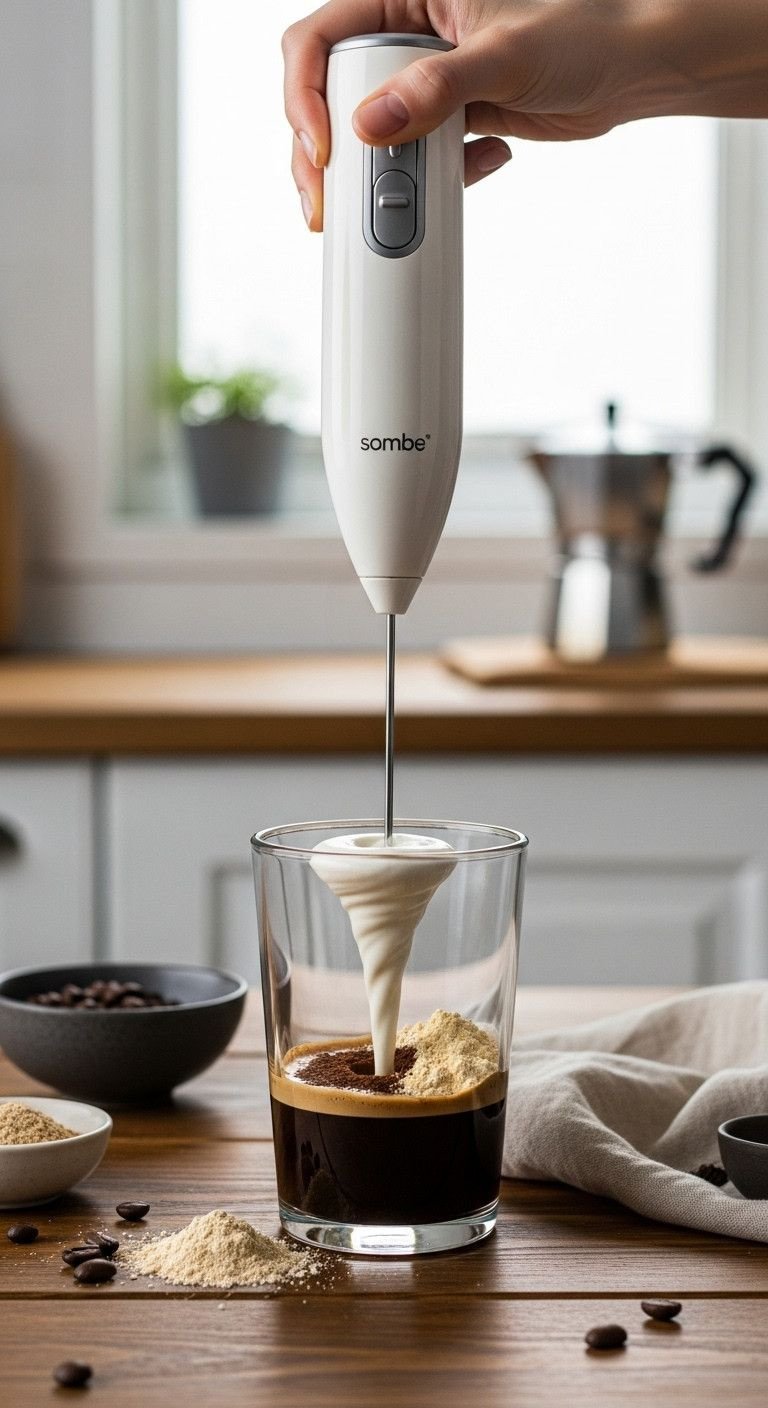
Save this game-changing technique!
If you don’t have a blender, this is the single most important technique to learn. The slurry method ensures every particle of protein powder gets fully hydrated, which is the key to dissolving it completely.
What You Need:
- Your scoop of protein powder
- A tall glass
- A small amount of liquid (about 2-3 tablespoons of your coffee or milk)
- A handheld electric milk frother or a small whisk
The Method:
- Add your scoop of protein powder to the bottom of your empty glass.
- Pour just 2-3 tablespoons of your cold coffee or milk directly on top of the powder.
- Turn on your milk frother and submerge it. Whisk for 15-20 seconds until a completely smooth, thick paste forms with no dry spots.
- Once the slurry is perfect, slowly pour in the rest of your liquid while continuing to stir.
Lesson Learned: Don’t just dump and stir. Creating a paste first allows every particle of powder to get fully hydrated, which is the key to dissolving it completely.
3. Use a Blender For Ultimate Creaminess
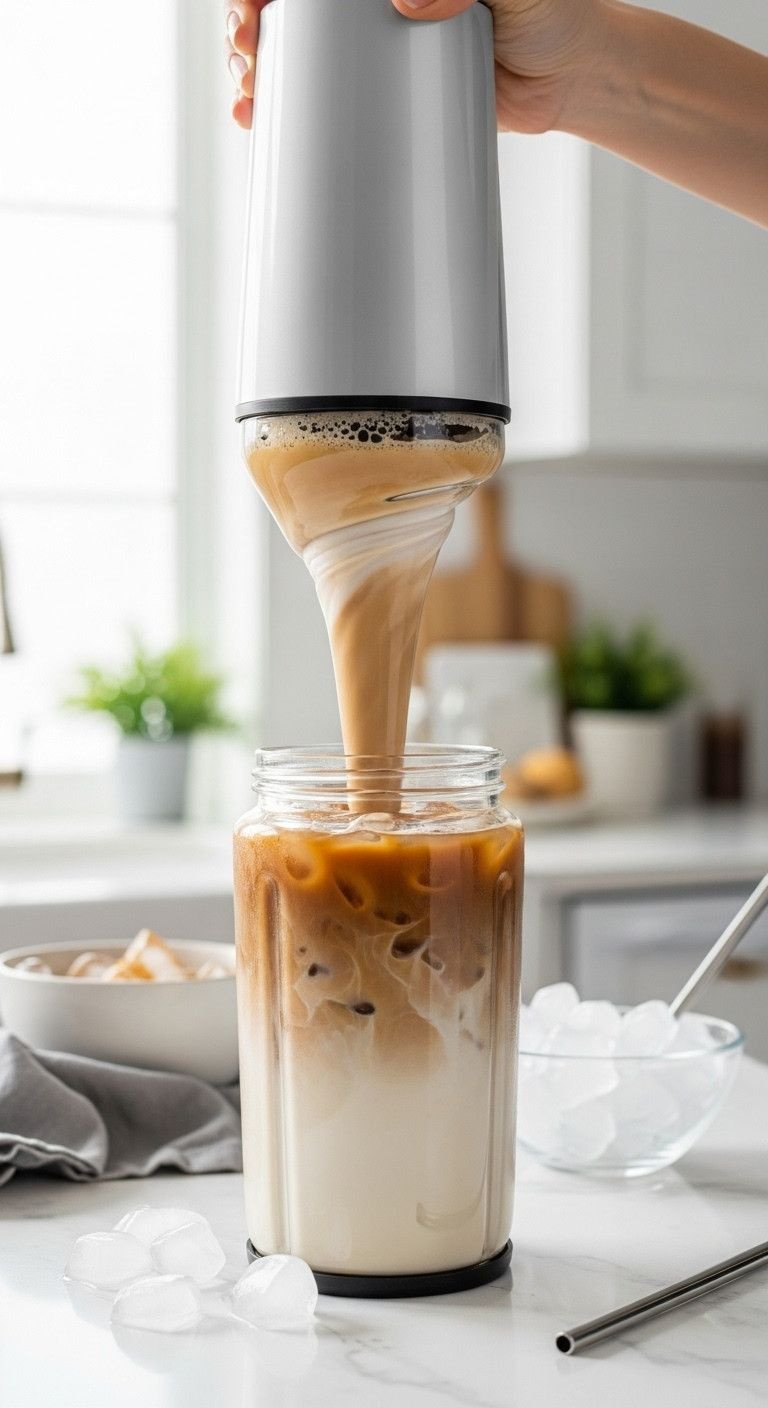
Pin this tip for coffee-shop quality drinks at home!
While a shaker bottle or frother can work, nothing beats a blender for creating a truly emulsified, frothy, and creamy drink. The high-speed blades do more than just mix; they shear the ingredients together for a superior texture.
What You Need:
- A personal or countertop blender
- All your iced coffee ingredients
The Method:
- Pour all your liquid ingredients into the blender first (milk, coffee concentrate).
- Add your protein powder and any other powdered ingredients or sweeteners.
- Secure the lid and blend on high for 30-45 seconds. The high speed not only mixes but also emulsifies the ingredients, creating a thicker, creamier, and more stable drink.
- Pour the blended mixture into a glass filled with ice. Do not blend the ice unless you want a slushy-style frappe.
Pro-Tip: For an extra thick, milkshake-like texture, use casein protein powder instead of whey. Casein absorbs more liquid and is perfect for blending.
4. The Golden Rule: Always Keep it Cold

Save this crucial rule for clump-free coffee!
This is the most important rule of all. Heat is the enemy of whey protein. Even slightly warm coffee can begin the denaturing process, leading to clumps that are impossible to fix.
What You Need:
- Chilled Coffee Base: Use either store-bought or homemade cold brew concentrate, or espresso shots that have been allowed to cool completely to room temperature (or chilled in the fridge).
- Cold Milk: Use milk straight from the refrigerator.
The Method:
- Never, ever introduce whey protein powder to a hot liquid. Heat causes the whey protein to denature, or “cook,” instantly seizing up into rubbery clumps that will never dissolve.
- If you brew fresh espresso, pour the shots into a separate cup and place it in the fridge or freezer for 5 minutes to cool down rapidly before adding it to your shake.
- Always build your drink with cold ingredients from the start. The ice is for keeping it cold, not for cooling it down.
Lesson Learned: Even lukewarm coffee can be enough to start the clumping process. Truly cold liquid is non-negotiable for a smooth whey protein coffee.
5. The Shaker Bottle Secret: Liquid First, Always
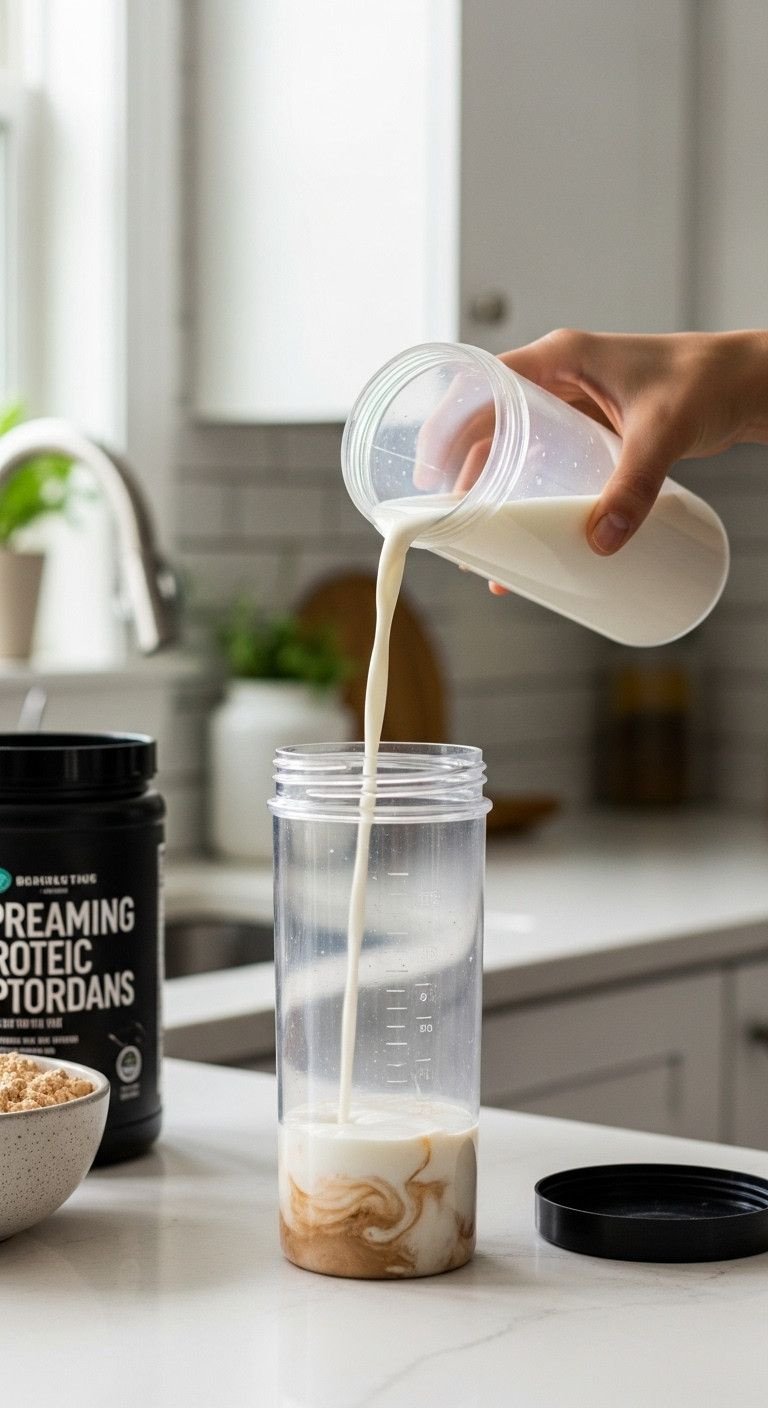
Your shaker bottle will thank you for this tip!
For those days when you’re using a shaker bottle at the office or the gym, the order of operations is critical. Getting it wrong is a guaranteed way to get dry, stubborn clumps stuck in the bottom corners of your bottle.
What You Need:
- A good quality shaker bottle with a mixing element (like a wire ball or grid).
- Your liquid (coffee, milk).
- Your protein powder.
The Method:
- Step 1 is CRITICAL: Pour your cold coffee and milk into the shaker bottle first.
- Next, add your scoop of protein powder on top of the liquid.
- Drop in the mixing ball.
- Screw the lid on tightly and shake vigorously for 30-45 seconds. By adding the liquid first, you create a surface that the powder can’t stick to, preventing those stubborn, dry clumps from forming.
Pro-Tip: After shaking, immediately pour the drink into your glass of ice. Don’t add ice to the shaker bottle itself, as it can obstruct the mixing ball and prevent a smooth blend.
6. A Creamier Milk Makes a Creamier Coffee
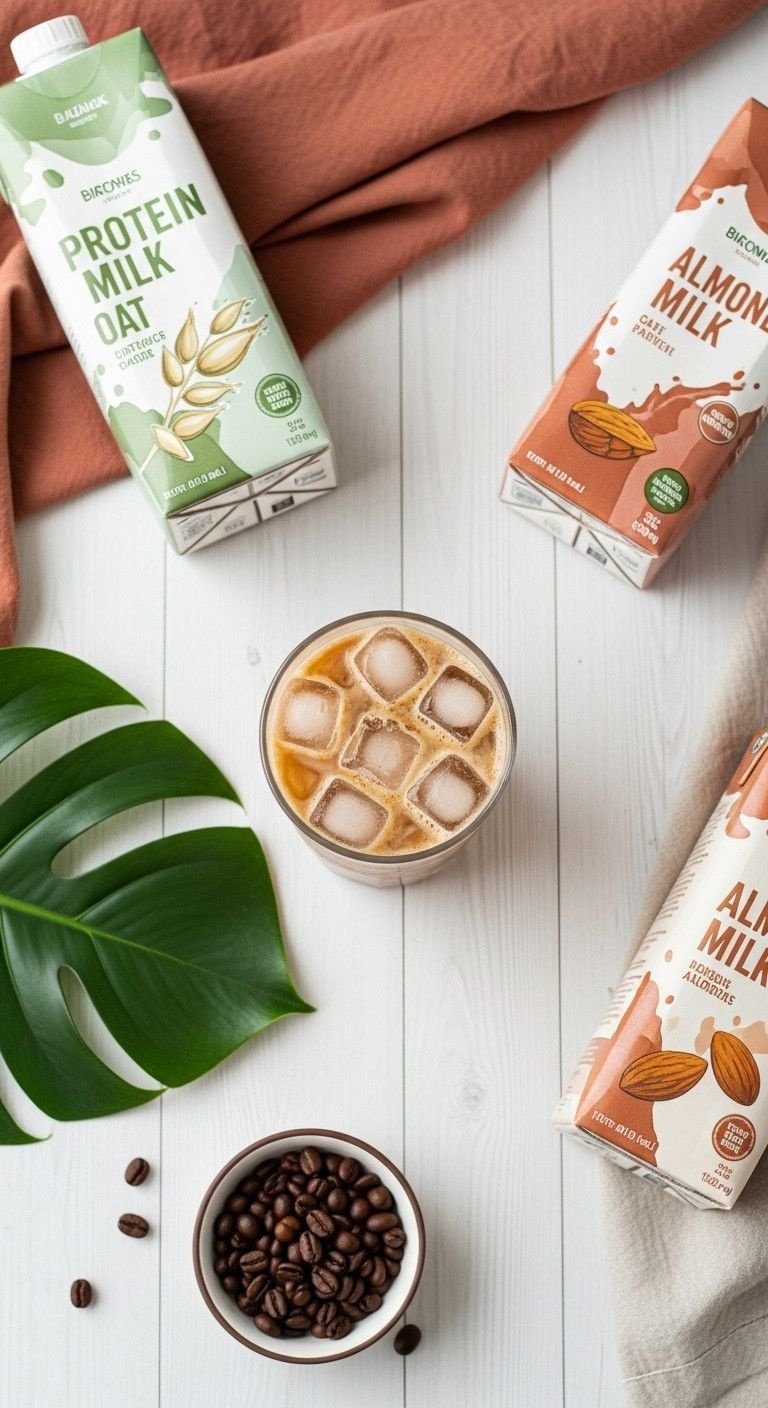
Pin this guide to choosing the best milk!
The liquid you choose as your base plays a huge role in the final creaminess and mouthfeel of your drink. While any milk works, some are definitely better than others for creating a luxurious texture.
What You Need:
- Your preferred milk. Consider options with slightly higher fat content for better texture.
The Method:
- For Ultimate Creaminess: Use an extra-creamy or barista-blend oat milk. The higher fat and protein content creates a luxurious, latte-like texture.
- For a Great Dairy-Free Option: Cashew milk and soy milk are naturally creamier than almond milk and work beautifully.
- For a Classic Taste: Use whole dairy milk or 2% milk. The milk fat helps create a smoother, more emulsified drink.
- While standard unsweetened almond milk works, it has a very thin consistency. If you use it, the final drink will be less creamy.
Pro-Tip: If you only have thin almond milk but want a creamier result, add a tablespoon of half-and-half or heavy cream. For a dairy-free boost, add a tablespoon of canned coconut cream.
7. The Final Secret: Let It Rest For 60 Seconds

Save this simple but effective final step!
This last step is the easiest but often overlooked. A little bit of patience after mixing can make a surprising difference in the final texture, especially if you’ve shaken your drink and created a lot of foam.
What You Need:
- Your freshly blended or shaken protein coffee.
- 60 seconds of patience.
The Method:
- After you blend or shake your coffee, you’ll often have a thick layer of foam on top.
- Pour the drink into your glass with ice, then simply let it sit on the counter for 60-90 seconds.
- During this time, the foam will settle down significantly, and any tiny, undissolved protein particles will have a final chance to fully hydrate and absorb into the liquid.
- The result is a less frothy, smoother, and more integrated final drink.
Lesson Learned: Sometimes the final touch isn’t more action, but a moment of rest. This simple pause makes a noticeable difference in the final drinking experience.
Key Takeaways: Your Quick Guide to Clump-Free Protein Coffee
Feeling overwhelmed? Just remember these four critical rules, and you’ll be on your way to a perfect iced protein coffee every time.
- The Slurry Method is Your Best Friend: Always mix your protein powder with a tiny bit of liquid to form a paste before adding the rest. This is the #1 technique to prevent clumps.
- Temperature is Everything: Never add whey protein to hot or even warm coffee. Use cold brew concentrate or chilled espresso to guarantee a smooth mix.
- Your Blender is a Game-Changer: For the absolute creamiest, most coffee-shop-like texture, a 30-second blast in a blender is foolproof.
- Invest in a Better Powder: A high-quality whey isolate or a smooth plant-based blend is the foundation for a great-tasting, non-gritty drink.
People Also Ask About Iced Protein Coffee
Can I use hot coffee to make protein coffee?
It is not recommended for whey protein. High heat causes whey to denature and form irreversible clumps. For a hot drink, you should use collagen powder which dissolves easily in hot liquids, or mix your whey protein with cold milk first and then gently warm the entire beverage without boiling it.
What is the best tasting protein powder to use in coffee?
Vanilla and chocolate whey isolates are the most popular choices. They complement the coffee flavor perfectly. For a pure coffee taste, an unflavored protein isolate or collagen powder is ideal. Ultimately, the “best” taste is subjective, so start with a versatile flavor like vanilla.
Can I make protein coffee ahead of time?
Yes, you can prepare it up to 24 hours in advance. Mix your protein coffee and store it in a sealed container like a mason jar in the refrigerator. The texture might settle a bit, so be sure to give it a very good shake right before you pour it over ice to drink.
Why does my protein coffee taste chalky?
A chalky taste is usually caused by low-quality protein powder or powder that hasn’t fully dissolved. To fix this, use a micro-filtered whey isolate, ensure you are using enough liquid, and use a blender for the smoothest possible texture. Letting the drink rest for a minute can also help.
Final Thoughts
You now have all the secrets to ditch clumpy, disappointing drinks for good. By choosing the right powder, controlling the temperature, and using a smart mixing technique, you can create a delicious, smooth, and energizing beverage that fits perfectly into your healthy lifestyle. No more chewing your coffee—just a perfect, high-protein boost to power your day.
What’s your go-to flavor combination for protein coffee? Share your favorites in the comments below
Last update on 2025-12-05 / Affiliate links / Images from Amazon Product Advertising API

