As an Amazon Associate CoffeeXplore.com earns from qualifying purchases.
Foolproof Vanilla Iced Coffee That Is Never Watery
Tired of that sad, watery iced coffee from your kitchen? You spend time brewing it, only for the ice to melt and ruin the flavor in minutes. It’s a frustrating morning ritual that never quite matches the coffee shop version.
A homemade vanilla iced coffee is a chilled beverage made from brewed coffee, vanilla syrup, and milk, served over ice. The biggest challenge is making one that stays bold and flavorful from the first sip to the very last. You deserve a better, richer coffee experience at home.
The secret to a foolproof vanilla iced coffee that is never watery is using a double-strength coffee concentrate. This ensures that as the ice melts, it dilutes the coffee to the perfect drinking strength, rather than making a regular-strength brew taste weak. This guide will show you the exact secrets to crafting that perfect, coffee-shop-quality drink every single time.
Tired of Weak, Watery Iced Coffee? Here’s the Foolproof Fix
There’s nothing more disappointing than a homemade vanilla iced coffee that tastes like coffee-flavored water. You followed the steps, but as soon as the ice starts melting, the rich flavor you were hoping for vanishes. It’s a common problem that makes you want to just give up and head to the drive-thru.
The core issue isn’t your coffee beans or your vanilla syrup; it’s the brewing method. Regular-strength coffee simply can’t stand up to the dilution from melting ice. After countless tests in my own kitchen, I’ve cracked the code to making perfect vanilla iced coffee at home. The key to a non-watery vanilla iced coffee is using a double-strength coffee concentrate. I’ll share the exact secrets that prevent the dreaded watery flavor and guarantee a delicious, robust result every time.
7 Secrets to a Perfect Vanilla Iced Coffee (That’s Never Watery)
Making a cafe-quality vanilla iced coffee at home is easier than you think. It’s not about expensive equipment; it’s about a few simple techniques that make all the difference. We’ll walk through seven secrets, from brewing the perfect coffee base to adding a professional finishing touch, that will banish weak, watery coffee from your life forever.
1. Start with the Foundation: The Double-Strength Brew Method
Pin this essential coffee tip for later!
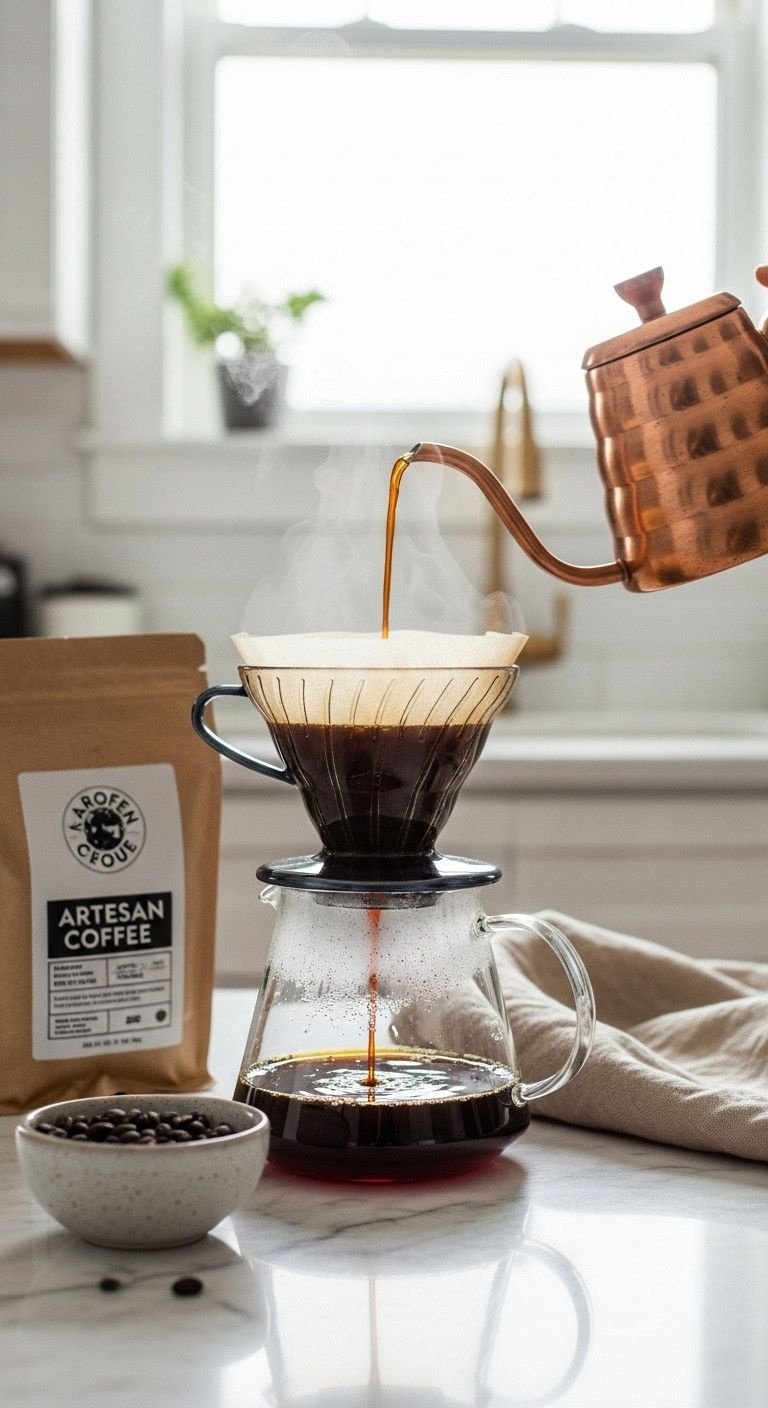
This is the single most important step. A double-strength coffee concentrate has a bold flavor that is designed to be diluted. As the ice melts, your coffee reaches the perfect drinking strength instead of becoming weak.
Materials Needed:
- 6 tablespoons of medium-grind coffee (a medium or dark roast works best)
- 12 oz filtered water
- Your preferred coffee maker (drip machine, pour-over, or French press)
Step-by-Step Directions:
- Measure: Use double the amount of coffee grounds you would normally use for the same amount of water. The ideal ratio is 1 part coffee to 10-12 parts water by weight.
- Brew: Brew the coffee using your preferred hot brew method. The result will be a potent, rich coffee concentrate.
- Cool: This is crucial! Let the coffee concentrate cool at room temperature for at least 20-30 minutes before pouring it over ice. For faster results, place it in the fridge.
Pro-Tip: For the absolute smoothest, non-acidic flavor, use a cold brew concentrate instead. Simply steep coarse coffee grounds in cold water for 12-18 hours and strain.
2. Craft the Perfect Flavor: Easy Homemade Vanilla Syrup

Save this easy 3-ingredient syrup recipe!
Granulated sugar doesn’t dissolve well in cold liquid, leaving a gritty texture. A simple homemade vanilla syrup ensures smooth, perfectly integrated sweetness and flavor in every sip. Plus, it’s cheaper and tastes better than store-bought versions.
Ingredients Needed:
- 1 cup granulated white sugar
- 1 cup filtered water
- 1 tablespoon high-quality pure vanilla extract
Step-by-Step Directions:
- Combine: In a small saucepan, combine the sugar and water.
- Dissolve: Heat over medium heat, stirring gently, just until the sugar has completely dissolved. Do not let it boil for a long time.
- Cool & Flavor: Remove the pan from the heat and let it cool for about 10 minutes. Stir in the vanilla extract.
- Store: Pour the finished syrup into a clean, airtight glass bottle or jar. It will last in the refrigerator for up to 4 weeks.
Lesson Learned: Always add the vanilla extract off the heat. Adding it while the syrup is boiling can cook off some of the delicate vanilla flavor.
3. Beat Dilution Forever: The Coffee Ice Cube Hack
![]()
Pin this genius trick to your ‘Kitchen Hacks’ board!
This is the ultimate secret weapon against watery coffee. Instead of using ice made from water, use ice made from coffee! As the cubes melt, they release more coffee flavor into your drink instead of diluting it.
Materials Needed:
- Leftover brewed coffee, cooled to room temperature
- A silicone ice cube tray (makes for easy removal)
Step-by-Step Directions:
- Brew Extra: The next time you brew coffee, intentionally make an extra cup or two.
- Cool Completely: Allow the leftover coffee to cool down fully to room temperature.
- Pour & Freeze: Carefully pour the cooled coffee into your ice cube tray.
- Freeze Solid: Place the tray in the freezer for at least 4-6 hours, or until the cubes are completely solid. Use these in place of regular water ice cubes.
Pro-Tip: Use a tray that makes large, 2-inch cubes. They melt much slower than smaller cubes, keeping your drink colder and stronger for longer.
4. Assemble Like a Pro: The Foolproof Recipe & Order

Save this perfect vanilla iced coffee recipe!
Now that you have all the components, assembling them in the right order makes a big difference for easy mixing and a beautiful presentation.
Ingredients:
- 2 tablespoons Homemade Vanilla Syrup (or to taste)
- 1 cup coffee ice cubes (or regular ice)
- 6 oz double-strength coffee concentrate, chilled
- 3-4 oz milk of choice (half-and-half is excellent for creaminess)
Instructions:
- Syrup First: Pour the vanilla syrup into the bottom of a tall 16 oz glass. This ensures it mixes in easily.
- Add Ice: Fill the glass to the top with your coffee ice cubes or regular ice.
- Pour Coffee: Slowly pour the chilled coffee concentrate over the ice, leaving about an inch of space at the top.
- Top with Milk: Finish by pouring your milk of choice over the coffee. Watch the beautiful swirl, then stir well with a long spoon or straw and enjoy immediately.
Pro-Tip: For that classic coffee shop layered look, pour the milk very slowly over the back of a spoon held just above the coffee’s surface.
5. Achieve Ultimate Creaminess: Choosing the Right Milk
Pin this guide to the best milks for iced coffee!
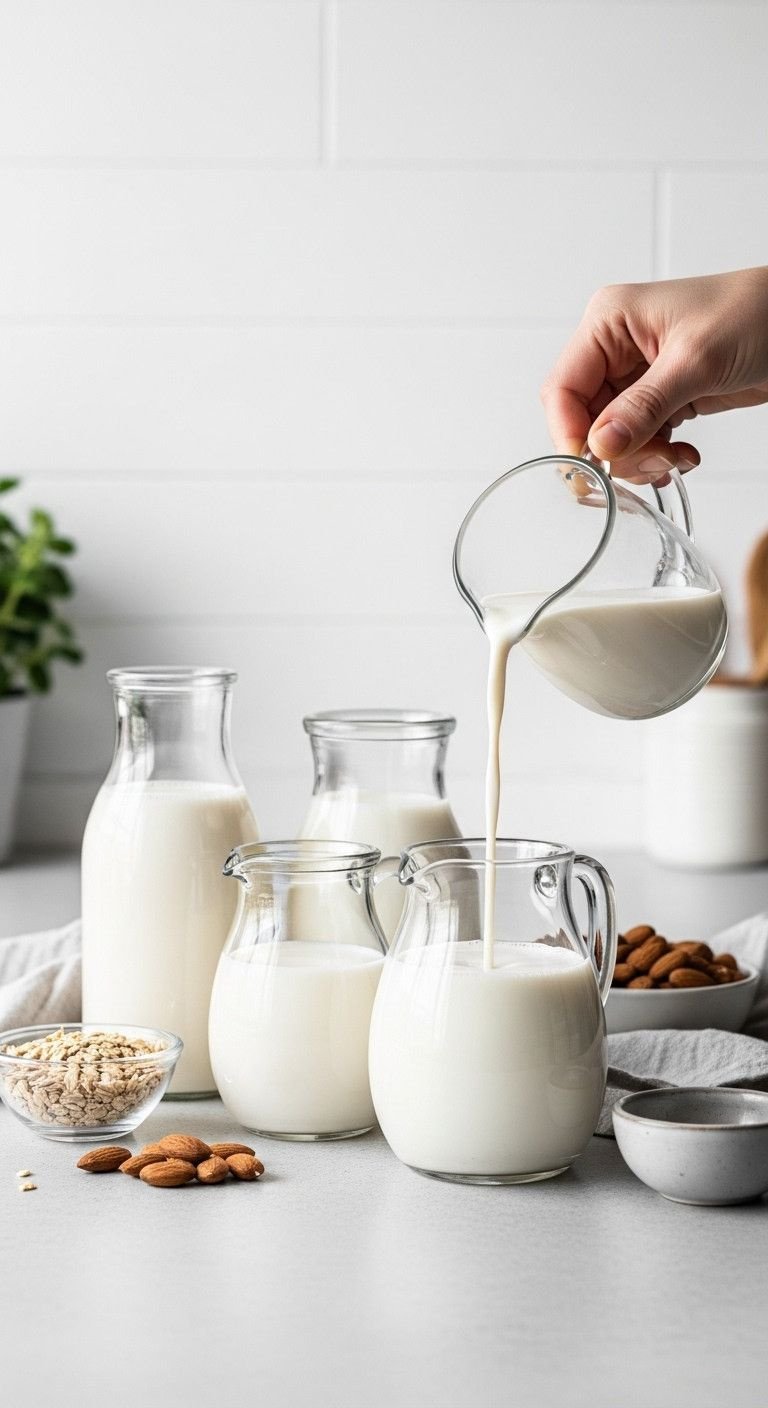
The milk you choose has a huge impact on the final taste and texture. Understanding your options allows you to customize your drink perfectly.
Milk Options Needed:
- For Max Creaminess: Half-and-half or heavy cream.
- For Classic Flavor: Whole milk.
- For Best Dairy-Free Creaminess: Barista-blend oat milk.
- For a Lighter, Nutty Flavor: Unsweetened almond milk.
- For a Tropical Twist: Full-fat canned coconut milk.
How to Choose:
- Decide on Richness: For a decadent, dessert-like coffee, choose half-and-half. For a daily drink, whole milk or oat milk are fantastic.
- Consider Flavor: Remember that non-dairy milks like almond and coconut will add their own subtle flavor to the drink. Oat milk is the most neutral-tasting option.
- Check for Sweetness: If using a sweetened non-dairy milk, you may want to reduce the amount of vanilla syrup you add initially to avoid an overly sweet drink.
Lesson Learned: “Barista-edition” oat milks are worth it. They are formulated with more fat to create a creamier texture that doesn’t separate in coffee like some regular oat milks can.
6. Upgrade to a Latte: The Espresso & Milk Froth Trick
Save this easy iced vanilla latte tutorial!
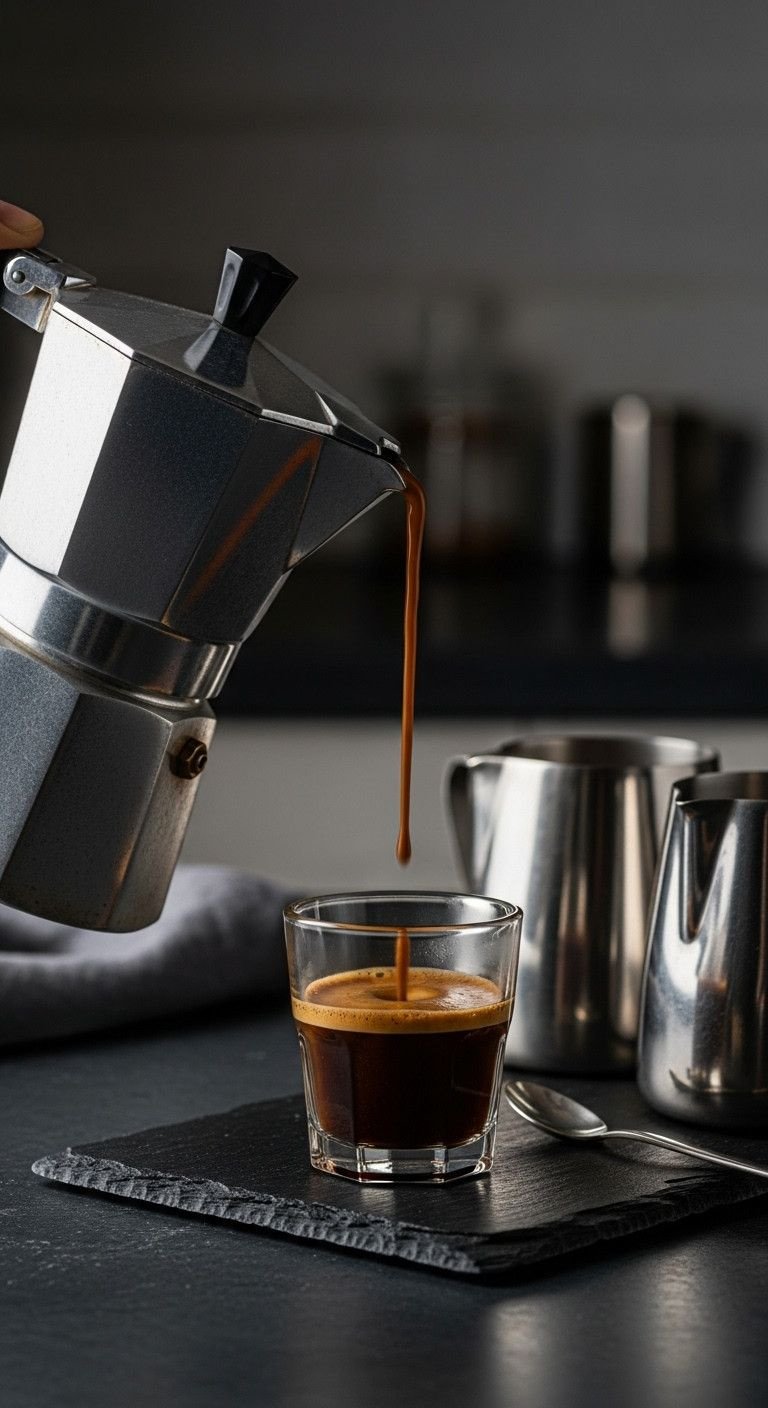
An iced coffee and an iced latte are similar, but the key difference is the coffee base. An iced latte uses espresso instead of brewed coffee, resulting in a milkier, bolder drink. You can easily make this switch at home.
Tools Needed:
- 2 shots of espresso (from a Moka pot, Nespresso, or Aeropress)
- 6 oz milk of choice
- Handheld milk frother
- The same vanilla syrup and ice from the main recipe
Step-by-Step Directions:
- Swap the Base: Instead of double-strength coffee, brew two shots of strong espresso and let them cool for a minute.
- Build the Drink: Pour vanilla syrup into your glass, followed by ice. Pour the milk over the ice next, leaving room for the espresso.
- Top with Espresso: Slowly pour the espresso shots over the milk to create a beautiful layered effect.
- Optional Froth: For a fluffier texture, use a handheld frother to froth your cold milk for 15-20 seconds before pouring it into the glass.
Pro-Tip: An iced latte is milkier than an iced coffee. The typical ratio is about 1 part espresso to 3 parts milk, but you can adjust this to your personal taste.
7. Add a Coffee Shop Finish: Quick Vanilla Sweet Cream Cold Foam

Pin this easy cold foam recipe to elevate your coffee!
To truly replicate that coffee shop experience, top your drink with a velvety vanilla sweet cream cold foam. It’s a trendy, delicious finish that’s surprisingly easy to make.
Supplies Needed:
- 3 tablespoons heavy whipping cream
- 1 tablespoon 2% milk
- 1 tablespoon vanilla syrup
- Handheld milk frother
Quick Steps:
- Combine: In a small cup or jar, combine the heavy cream, milk, and vanilla syrup.
- Froth: Submerge the head of your milk frother just below the surface of the cream mixture. Turn it on and froth for about 20-30 seconds.
- Thicken: The mixture will thicken into a velvety, pourable foam. It should have soft peaks, but not be as stiff as whipped cream.
- Top It Off: Gently pour the vanilla sweet cream cold foam over the top of your finished iced coffee. It will float beautifully on top.
Lesson Learned: Make sure all your ingredients for the cold foam are very cold, straight from the fridge. This helps the cream whip up much faster and creates a more stable foam.
Key Takeaways: Your Quick Guide to Foolproof Iced Coffee
Here’s a quick recap of the most important secrets to making perfect homemade vanilla iced coffee every time.
* Brew it Strong: Always start with a double-strength coffee concentrate.
* Use a Syrup: Granulated sugar won’t dissolve properly. A simple vanilla syrup is key for smooth sweetness.
* Cool it Down: Never pour hot coffee directly over ice. Let it cool first.
* Use Coffee Ice Cubes: For the ultimate non-watery experience, freeze leftover coffee in an ice cube tray.
* Order Matters: Add syrup to the glass first, then ice, then coffee, and finally milk.
People Also Ask About Vanilla Iced Coffee
How can I make my vanilla iced coffee not watery?
The best way to avoid watery iced coffee is to brew your coffee at double strength. Use twice the amount of coffee grounds for the same amount of water. This creates a concentrate that tastes perfect once the ice melts. Letting the coffee cool before icing it and using coffee ice cubes are also highly effective methods.
What’s the difference between an iced vanilla coffee and an iced vanilla latte?
The main difference is the coffee base. A classic iced coffee is made with chilled brewed coffee (from a drip machine, pour-over, etc.). An iced latte is made with shots of espresso, which gives it a distinct, bolder flavor, and it typically contains a higher ratio of milk.
Can I use vanilla extract instead of vanilla syrup?
You can, but you must also add a sweetener. Vanilla extract has flavor but no sweetness. For the best results, it’s better to make a simple syrup, as liquid sweeteners mix much more smoothly into cold drinks than granulated sugar, which can feel gritty.
What is the best milk to use for creamy iced coffee?
For the richest, creamiest texture, half-and-half is the best choice. For a creamy dairy-free option, a barista-edition oat milk works wonderfully and has a neutral flavor. Whole milk is a great all-around option for a classic taste and texture.
Final Thoughts
You’re now equipped with all the secrets to banish watery coffee forever! Making a delicious, coffee-shop-quality drink at home is simple when you have the right techniques. From brewing a strong concentrate to crafting your own syrup, you have complete control over the flavor, sweetness, and creaminess of your perfect iced coffee.
What will you be pairing with your perfect homemade vanilla iced coffee? Let me know your favorite coffee-time treats in the comments below
Last update on 2026-01-15 / Affiliate links / Images from Amazon Product Advertising API

