As an Amazon Associate CoffeeXplore.com earns from qualifying purchases.
The Easiest Homemade Iced Mocha Recipe For Perfect Results
Is that craving for a cold, sweet, and caffeinated drink hitting hard? You want that rich, chocolaty coffee, but not the coffee shop price tag. I get it.
An Iced Mocha is a chilled coffee drink combining coffee, milk, and chocolate. The problem is that homemade versions often end up watery or disappointingly weak. Your search for the perfect, simple recipe ends right here.
This Homemade Iced Mocha recipe is a simple, 5-minute method to create a rich and creamy chocolate coffee drink at home. It uses basic ingredients and requires no special equipment. You’ll learn the secrets to making it better than your favorite café.
Craving a Café-Style Iced Mocha Without the Coffee Shop Price?
I get it—that afternoon craving for something cold, sweet, and caffeinated is real. And after countless tests, I’ve perfected a homemade iced mocha recipe that’s just as good (if not better!) than the one from your favorite coffee shop. This foolproof method delivers a rich, creamy, and perfectly chilled chocolate cold coffee recipe in minutes. Forget the long lines and high costs; you’re about to become your own favorite barista.
The Easiest Homemade Iced Mocha Recipe
This is the tried and true base recipe for a perfect, easy iced mocha. It’s incredibly simple and serves as the foundation for all the fun variations and pro-tips that follow. We’re focusing on high-quality flavor with minimal fuss.
Core Ingredients You’ll Need
- Strong, Chilled Coffee: 1 cup (use cold brew or double-strength brewed coffee that’s been refrigerated).
- Milk of Choice: ½ cup (whole milk for creaminess, oat milk for a great dairy-free option).
- Chocolate Syrup: 2-3 tablespoons (use a quality brand for the best flavor).
- Optional – Unsweetened Cocoa Powder: 1 teaspoon (for a deeper, richer chocolate flavor).
- Optional – Sweetener: 1-2 teaspoons of simple syrup, maple syrup, or to taste (if your chocolate syrup isn’t sweet enough).
- Ice: Enough to fill a tall glass.
Simple Step-by-Step Instructions
- Prep Your Glass: Fill a tall glass to the top with ice. For a café-style look, drizzle chocolate syrup around the inside of the glass before adding the ice.
- Combine Liquids: In a separate jar or shaker with a secure lid, combine the chilled coffee, milk, chocolate syrup, and cocoa powder (if using).
- Mix Thoroughly: Secure the lid and shake vigorously for 30 seconds until everything is well-combined and frothy. Alternatively, you can use a milk frother or simply stir briskly in a large cup.
- Pour and Serve: Pour the mixed chocolate coffee over the ice in your prepared glass.
- Garnish and Enjoy: Top with whipped cream and an extra drizzle of chocolate syrup, if desired. Serve immediately.
7 Pro-Tips & Variations to Perfect Your Iced Mocha
Ready to take your basic recipe from “good” to “absolutely perfect”? These seven tried-and-true tips and variations are the key. Each one solves a common problem or offers a delicious way to customize your drink to be exactly how you like it.
1. The Secret to Never-Watery Coffee: Use Coffee Ice Cubes
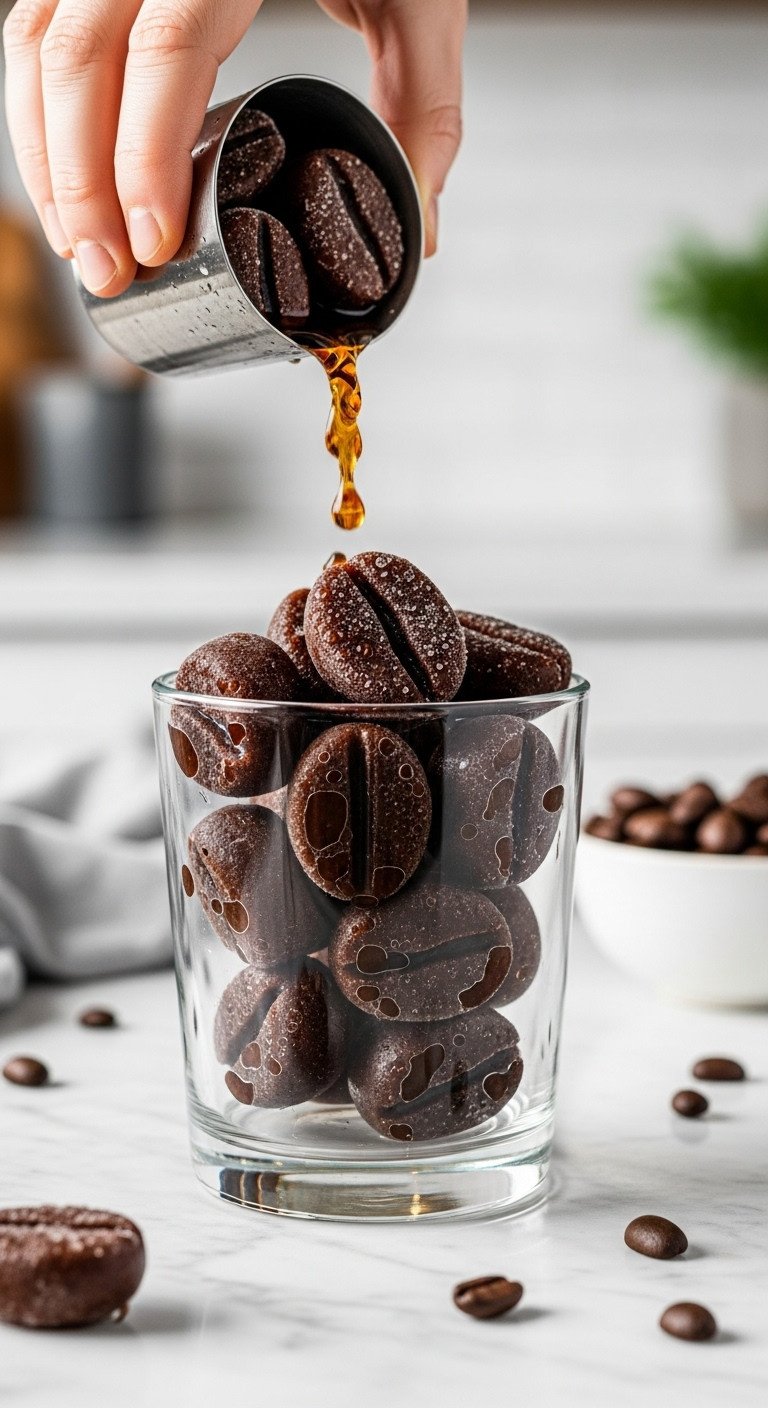
Pin this genius tips to your ‘Coffee Recipes’ board!
Materials Needed:
- Leftover brewed coffee, cooled to room temperature
- An ice cube tray (a silicone coffee bean shaped tray adds a fun touch)
Step-by-Step Directions:
- Pour: Carefully pour your cooled leftover coffee into the ice cube tray.
- Freeze: Place the tray in the freezer for at least 4 hours, or until completely solid.
- Store: Pop the coffee cubes out of the tray and store them in a freezer-safe bag for easy access.
- Use: Use these cubes in place of regular water ice cubes in any iced coffee drink to keep it strong and flavorful to the last sip.
Pro-Tip: Make a large batch of coffee ice cubes over the weekend so you have them ready for quick and flavorful iced mochas all week long.
2. For the Smoothest Texture: Master the Cocoa Slurry
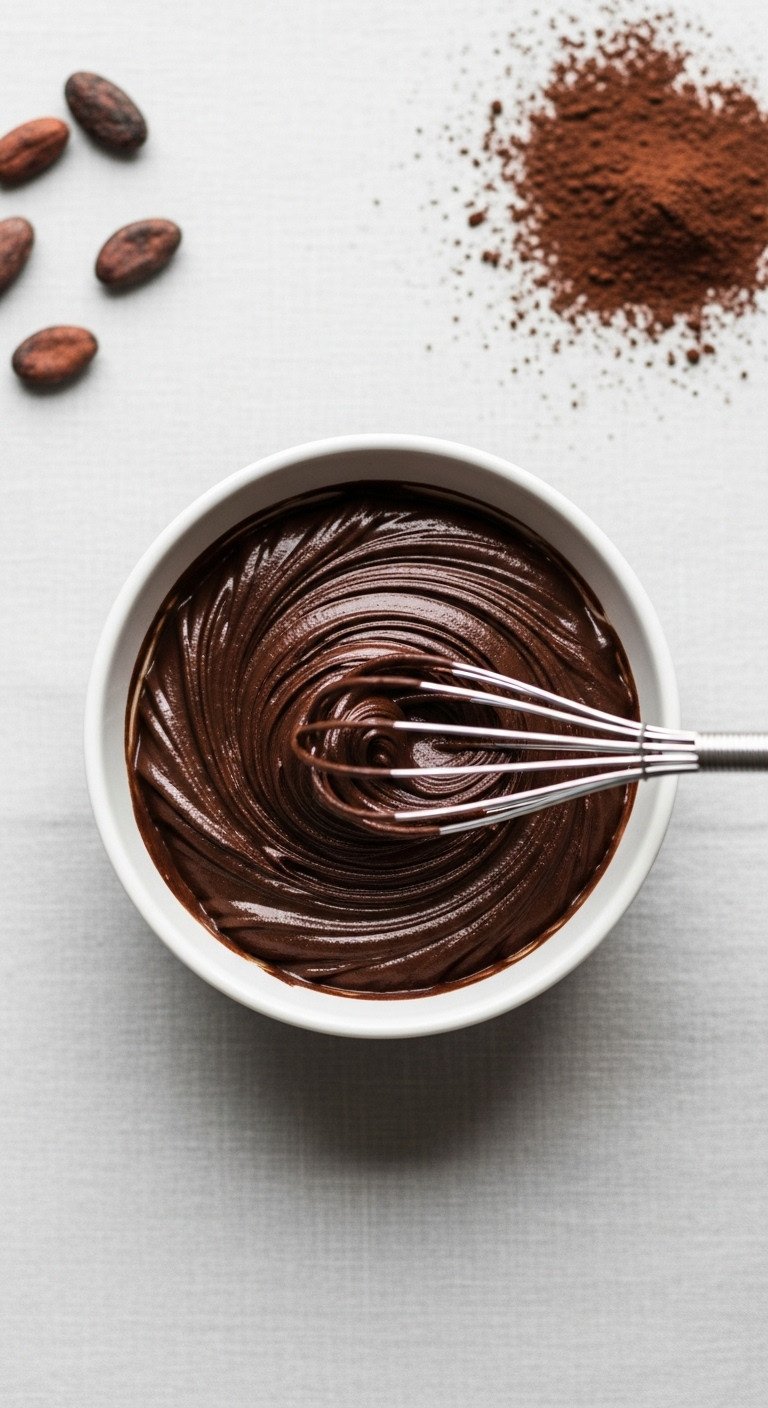
Save this essential tip for perfectly smooth chocolate drinks!
Materials Needed:
- 1 tablespoon unsweetened cocoa powder
- 2 tablespoons very hot water (or hot coffee)
- A small bowl
- A mini-whisk or milk frother for best results
Step-by-Step Directions:
- Combine: Add the cocoa powder to your small bowl.
- Pour: Pour the hot water or coffee over the cocoa powder.
- Whisk: Immediately begin whisking vigorously for 20-30 seconds. Continue until all the clumps are gone and you have a smooth, glossy chocolate paste. This is your slurry.
- Incorporate: Add this slurry to your cold milk and coffee mixture. It will now dissolve perfectly, giving you a rich and smooth chocolate flavor without any grit.
Lesson Learned: I used to just dump cocoa powder into my cold milk and get frustrated with the clumps. Taking 30 seconds to make a slurry is the single best trick for a professional, smooth texture.
3. For the Best Flavor: Upgrade to Cold Brew Coffee

Pin this tip for a smoother, richer iced mocha!
Materials Needed:
- Coarsely ground coffee (1 cup)
- Filtered, cool water (4 cups)
- A cold brew coffee maker pitcher with a filter, or a large mason jar and cheesecloth
Step-by-Step Directions:
- Combine: Place the coarse coffee grounds into your filter or directly into the large mason jar.
- Add Water: Slowly pour the cool, filtered water over the grounds, ensuring they are all saturated.
- Steep: Cover the container and let it steep at room temperature or in the refrigerator for 12 to 18 hours. The longer it steeps, the stronger the concentrate will be.
- Strain: If using a mason jar, carefully strain the coffee through cheesecloth or a fine-mesh sieve to remove all the grounds. If using a cold brew maker, simply remove the filter insert.
- Store & Use: Store the cold brew concentrate in a sealed container in the fridge for up to two weeks. Use it in place of regular chilled coffee for an incredibly smooth, rich, and never-bitter iced mocha.
Pro-Tip: Because cold brew is less acidic, it allows the rich notes of the chocolate to shine through more clearly, creating a more balanced and delicious drink.
4. The Creamy Vegan Iced Mocha Hack
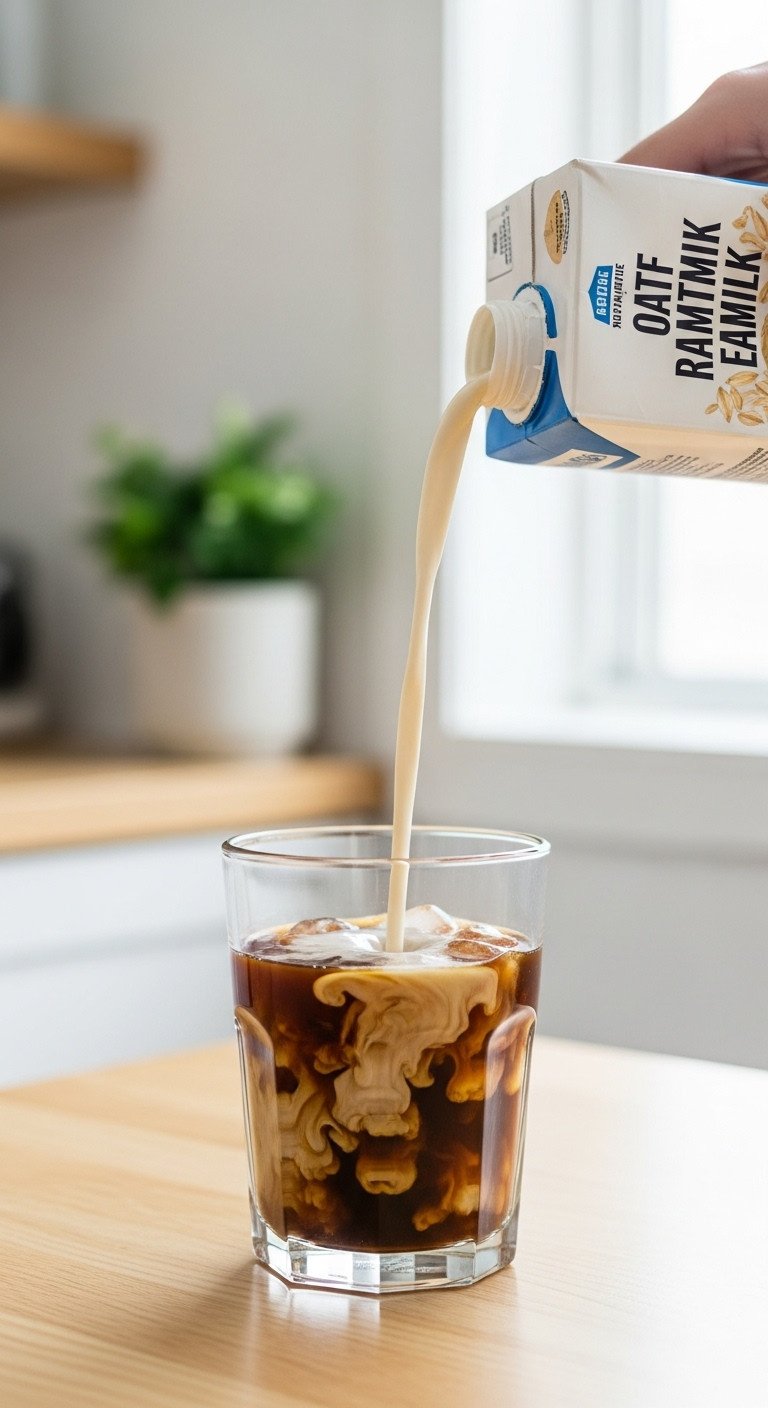
Save this easy dairy-free iced mocha idea!
Ingredient Swaps:
- Milk: Swap regular milk for a full-fat or “barista blend” oat milk. It’s the creamiest dairy-free option and doesn’t curdle in coffee.
- Chocolate Syrup: Check the label to ensure your chocolate syrup is dairy-free (many popular brands are).
- Topping: Use a store-bought coconut or almond-based whipped cream, or whip a chilled can of full-fat coconut cream at home.
How to Adapt the Recipe:
- Follow the Base Recipe: Prepare the iced mocha exactly as described in the main recipe.
- Use Oat Milk: Simply substitute the dairy milk with an equal amount of your favorite creamy barista-style oat milk.
- Check Your Syrup: Double-check that your chocolate syrup is vegan.
- Top It Off: Garnish with a swirl of coconut whipped cream for the full café experience.
Pro-Tip: Almond milk and soy milk also work, but for that truly rich and creamy texture that rivals whole milk, barista-style oat milk is the undisputed winner.
5. How to Make a Guilt-Free Sugar-Free Mocha

Pin this healthy coffee tips for later!
Ingredient Swaps:
- Chocolate Source: Use 1-2 tablespoons of unsweetened cocoa or cacao powder instead of sugary syrup.
- Sweetener: Use a few drops of liquid monk fruit sweetener, stevia, or 1-2 tablespoons of a granular erythritol blend.
- Convenience Option: Use a pre-made sugar-free chocolate syrup.
How to Adapt the Recipe:
- Make a Slurry: Create a smooth slurry with your unsweetened cocoa powder and a little hot water (as described in Tip #2).
- Sweeten to Taste: Add your chosen sugar-free sweetener to the slurry and mix well.
- Combine: Add the sugar-free chocolate base to your chilled coffee and milk (a low-carb option like almond milk works great here).
- Mix and Serve: Shake or stir until combined and pour over ice.
Lesson Learned: You have much more control over the sweetness and achieve a richer chocolate flavor by using unsweetened cocoa powder and adding your own sugar-free sweetener.
6. The 30-Second Café-Style Topping: Make Cold Foam

Save this easy trick for coffee shop-style drinks at home!
Materials Needed:
- ¼ cup cold milk (skim or 2% milk works best for creating stable foam)
- 1 teaspoon sweetener of choice (optional)
- A handheld electric milk frother
Step-by-Step Directions:
- Combine: Pour the cold milk and sweetener (if using) into a tall glass or measuring cup.
- Froth: Submerge the head of the milk frother just below the surface of the milk. Turn it on and froth for 20-30 seconds, moving the wand up and down slightly.
- Thicken: Continue frothing until the milk has doubled in volume and formed a thick, pourable foam.
- Top It Off: Gently spoon or pour the cold foam over the top of your finished iced mocha for a professional, layered look and velvety texture.
Pro-Tip: For a chocolate cold foam, simply add a teaspoon of cocoa powder to the milk before you begin frothing.
7. For a Decadent Treat: Turn It Into a Blended Frappe
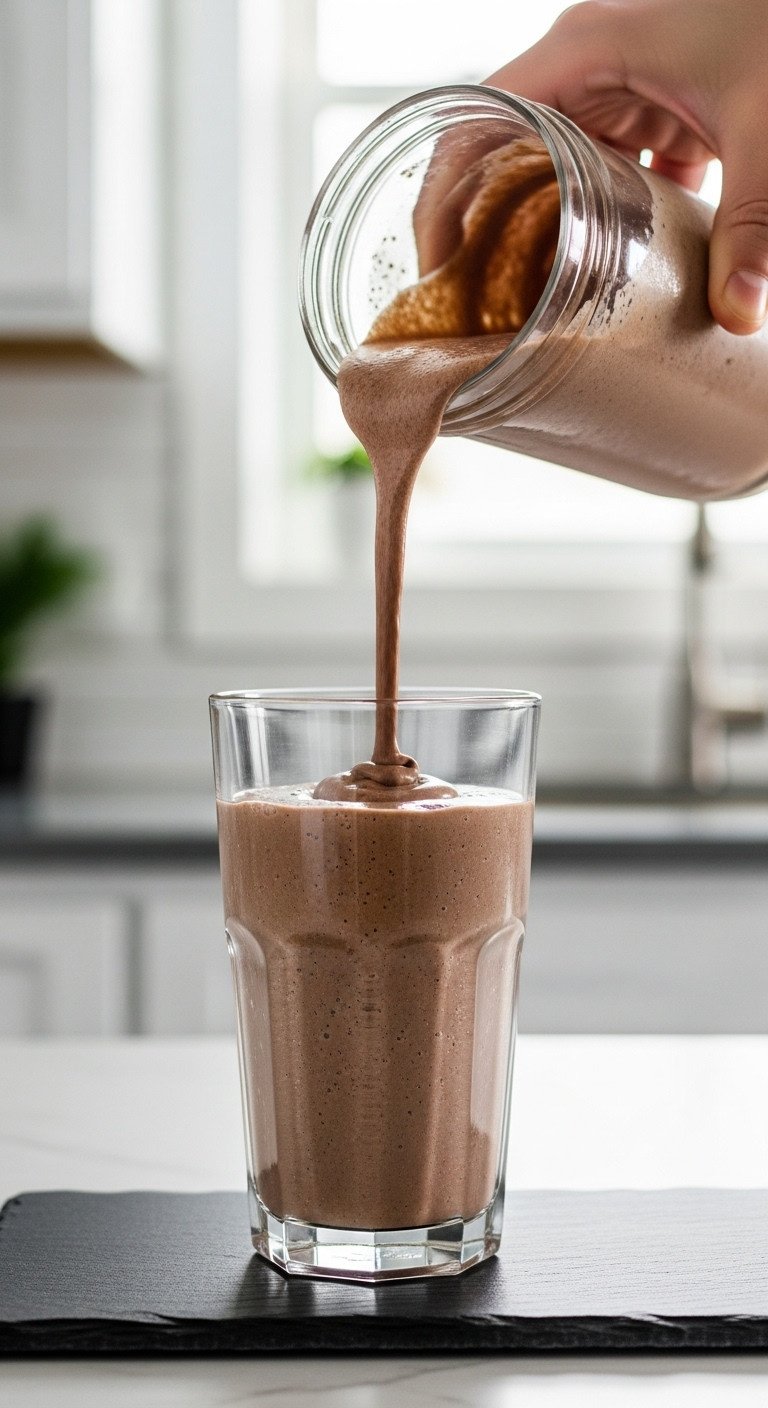
Pin this indulgent blended iced coffee recipe!
Ingredients:
- 1 cup strong, chilled coffee
- ½ cup milk
- 2-3 tablespoons chocolate syrup
- 1 cup ice
- Optional: 1 scoop of chocolate or vanilla ice cream for extra creaminess
- A personal or high-powered blender
Instructions:
- Load Blender: Add all the ingredients—coffee, milk, chocolate syrup, ice, and ice cream (if using)—to your blender.
- Blend: Secure the lid and blend on high for 30-45 seconds, or until the ice is completely crushed and the mixture is thick and smooth.
- Serve Immediately: Pour the frappe into a tall glass, top with whipped cream, and enjoy this decadent treat right away before it starts to separate.
Pro-Tip: Using frozen coffee ice cubes instead of regular ice will give you a stronger coffee flavor and an even thicker, less icy texture.
Key Takeaways: Your Quick Guide to the Perfect Iced Mocha
- Start with Cold, Strong Coffee: Never use hot coffee. For the best flavor, use chilled, double-strength coffee or cold brew.
- Use Coffee Ice Cubes: To prevent a watery drink, freeze leftover coffee in ice cube trays. Your drink will stay strong to the last sip.
- Make a Cocoa Slurry: For the smoothest texture when using cocoa powder, always whisk it with a little hot water first to make a paste.
- Shake, Don’t Stir: For a perfectly chilled and slightly frothy drink without a blender, shake all ingredients in a sealed jar.
- Customize It: Don’t be afraid to experiment! Use the base recipe as a starting point and try different milks, sweeteners, and toppings to find your perfect combination.
People Also Ask About Homemade Iced Mochas
What’s the difference between an iced mocha and an iced latte?
The main difference is chocolate. An iced latte is made with just espresso and milk served over ice. An iced mocha is an iced latte with the addition of a chocolate component, like chocolate syrup or a cocoa mixture, which makes it sweeter and more flavorful.
How can I make my homemade iced mocha taste richer?
To make your iced mocha richer, increase the fat content. Swap your regular milk for whole milk, half-and-half, or a splash of heavy cream. For an ultra-decadent treat, add a scoop of chocolate ice cream and blend it all together for a milkshake-like consistency.
Can I make a large batch of iced mocha in advance?
Yes, you can prep a batch to store in the fridge. Combine the chilled coffee, milk, and chocolate syrup in a large pitcher and store it for up to 3 days. Do not add ice until you are ready to serve to prevent it from becoming diluted.
Why is my iced coffee watery?
Your iced coffee is likely watery because the hot coffee melted the ice too quickly. Always start with coffee that is completely chilled. To prevent this entirely, brew your coffee at double strength or use frozen coffee ice cubes instead of regular water ice cubes.
Final Thoughts
Now you have the secret to the perfect homemade iced mocha! You’re fully equipped to create a delicious, café-quality treat that’s perfectly tailored to your tastes, right in your own kitchen. No more overpriced coffee runs needed to satisfy that chocolate coffee craving.
What will you try first—the coffee ice cubes or the homemade cold foam? Let me know your favorite combinations in the comments below
Last update on 2026-01-15 / Affiliate links / Images from Amazon Product Advertising API

