As an Amazon Associate CoffeeXplore.com earns from qualifying purchases.
Mocha Frappe Copycat Guide For Perfect Creamy Texture
Tired of homemade frappes that turn into a watery, separated mess? You’ve followed the recipe, but it still tastes thin and icy. A Mocha Frappe is an ice-blended coffee drink, but achieving that perfect creamy texture at home feels impossible.
The Mocha Frappe texture issue is almost always due to incorrect ratios, weak coffee, or lack of a stabilizer. This guide reveals the secret ratios and blending science used by pros. You will learn the exact, tested steps to create a rich, smooth, and perfectly emulsified frozen mocha every single time.
Are You Tired of Watery, Separated Homemade Frappes?
That feeling of disappointment is real. You blend up your ingredients with high hopes, only to watch your drink separate into a layer of thin, bitter coffee and a chunky ice cap within minutes. After personally testing dozens of recipes and ratios, I’ve isolated the core scientific principles that ensure texture success, moving beyond a simple ingredient list to the techniques that create a stable, creamy blended mocha coffee.
A perfect homemade mocha frappe requires a specific framework. It relies on a 4:3:1 ratio (4 parts ice, 3 parts liquid/coffee concentrate, 1 part syrup) combined with a high-fat milk or a micro-dose of a viscosity agent like xanthan gum. This guide breaks down the simple science of emulsification and ice crystallization, giving you the expert-tested knowledge to finally achieve that perfect consistency you’ve been chasing. Say goodbye to watery frappes for good.
The 9 Core Secrets to Perfect Creamy Mocha Frappe Texture
Achieving that commercial-grade, smooth texture isn’t about having a secret ingredient; it’s about understanding the science of how ingredients interact inside a blender. These nine core secrets are derived from food science principles and commercial coffee formulation. They focus on the specific techniques and ingredient properties required to create high viscosity, prevent separation, and deliver a rich chocolate flavor.
1. The Optimal Coffee Foundation: Strong Cold Brew Concentrate
Pin this genius tips to your ‘Dream Coffee Bar’ board!
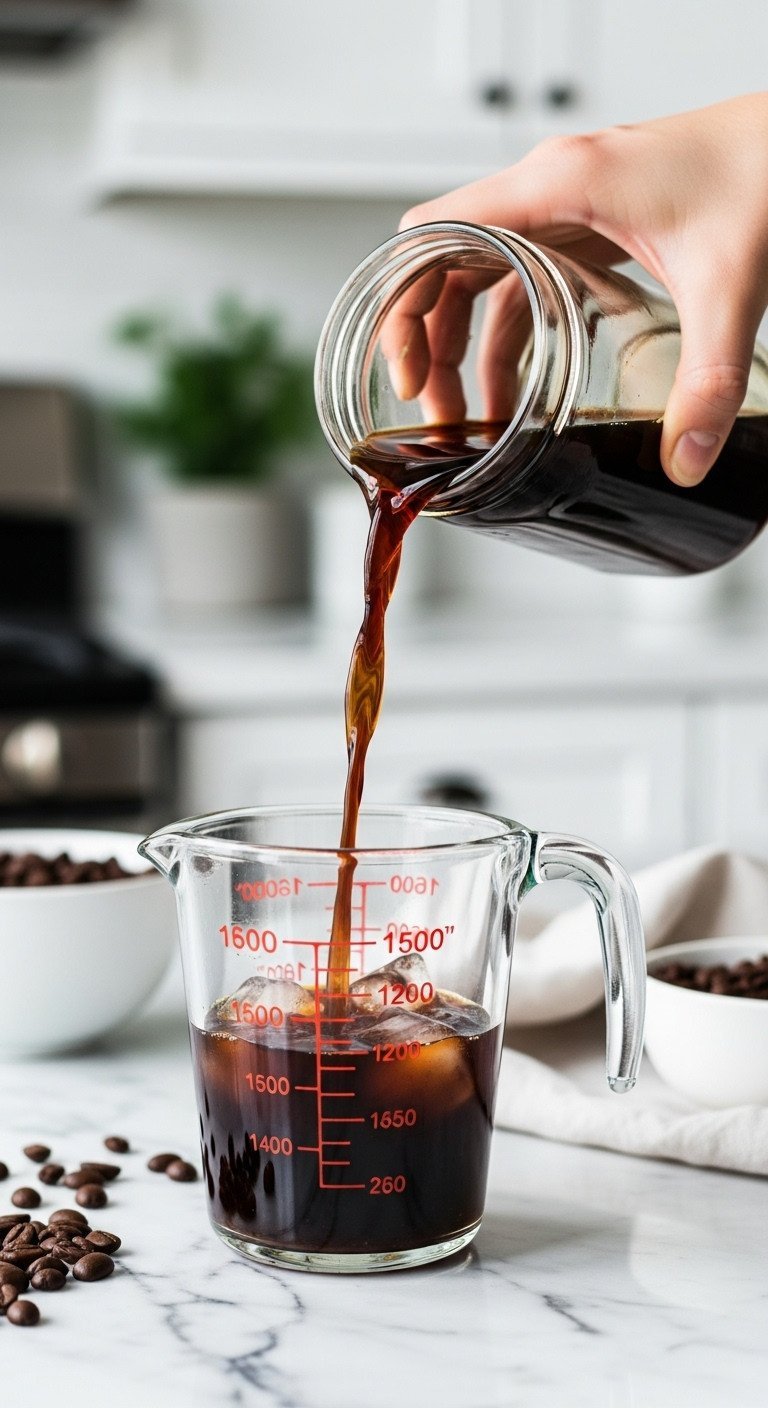
A weak coffee base is the number one cause of a bland, thin frappe. Using standard-strength brewed coffee adds too much water, which dilutes both the coffee and chocolate flavor. The secret is to use a concentrated, chilled coffee base to maximize flavor with minimal liquid volume.
Ingredients Needed:
- 1/4 cup Cold Brew Coffee Concentrate (or 2 chilled espresso shots)
- 1/2 cup Milk (Whole Milk or Half and Half recommended for creaminess)
- 2 tablespoons Simple Syrup (or sweetener of choice)
- 2 tablespoons Mocha Sauce/Syrup (for rich chocolate flavor)
Preparation Method:
- Prepare your coffee base (concentrate or espresso) the day before and chill it completely in the refrigerator. Do not use hot or warm coffee.
- Measure the cold brew concentrate precisely; using double-strength liquid is the key to minimizing the total liquid volume added.
- If using instant coffee, dissolve 1-2 teaspoons of high-quality instant coffee powder in 1/4 cup of cold milk before adding to the blender.
- Combine the chilled coffee concentrate, milk, and sweeteners in the blender jar first.
Pro-Tip: If using espresso, brew it, then pour it over a few ice cubes to rapidly chill it before measuring. Warm liquid melts the ice instantly and ruins the texture.
2. Mastering the Ice-to-Liquid Ratio (The 4:3:1 Rule)

Save this clever organization idea!
The second most common mistake is an incorrect ice-to-liquid ratio. Too much liquid and not enough ice results in a watery drink, not a frappe. The 4:3:1 rule is a proven framework for achieving the perfect, thick viscosity every time.
Materials Needed:
- 2 cups Crushed Ice (optimally 200-250 grams by weight for consistency)
- 1/4 cup Chilled Coffee Concentrate (from H3 1)
- 1/2 cup Milk (Whole Milk recommended)
- 1/4 cup Flavorings/Syrup
Ice Volume Management:
- Measure by Volume (4 Parts): Fill your blender with crushed ice first, ensuring it takes up roughly 60% of the volume you intend to blend.
- Add Liquids (3 Parts): Pour the combined chilled coffee and milk (the liquid portion) over the ice. The liquid should NOT cover the ice completely.
- Add Syrups (1 Part): Finally, add your mocha syrup and any other flavorings.
- Test the Blender: Ensure the blades are completely submerged in the liquid/ice mixture. If the blades are struggling, add liquid one tablespoon at a time until the mixture moves freely.
Lesson Learned: Always use crushed ice if possible. If using whole cubes, use a high-powered blender and blend on a low setting for 10 seconds before switching to high to prevent air pockets and uneven blending.
3. The Emulsification Secret: Using a Hydrocolloid Stabilizer
Pin this Pro-Tip to your ‘Baking & Cooking Science’ board!
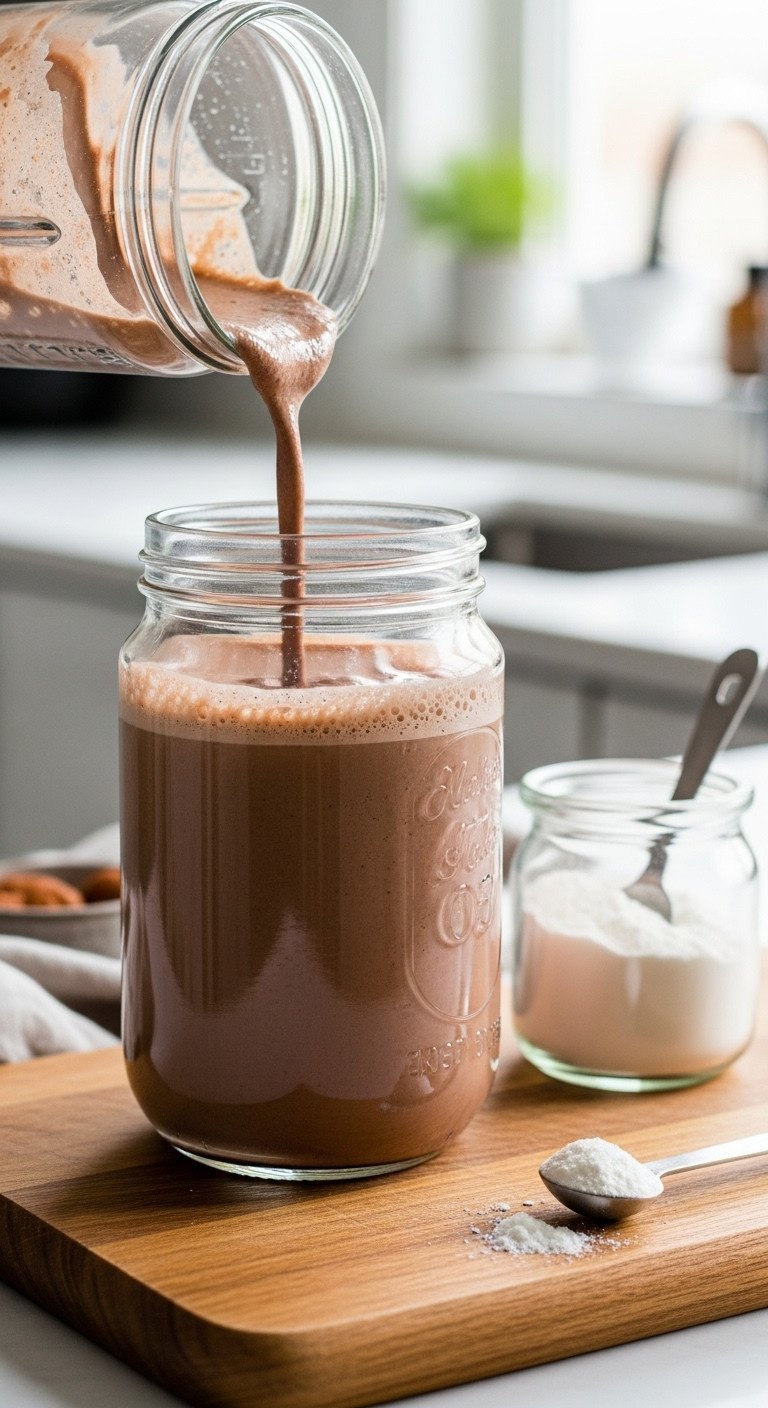
Ever wonder how coffee shops get that incredibly smooth, non-separating texture? The secret is a hydrocolloid stabilizer. Xanthan gum is a common, flavorless food thickener that works wonders in blended drinks. A tiny amount creates a stable emulsion, preventing the ice and liquid from separating.
Stabilizer Addition:
- 1/8 teaspoon Xanthan Gum (or 1/4 teaspoon unflavored gelatin powder)
- All liquid ingredients (chilled coffee, milk, syrup)
The Emulsification Technique:
- Dispersion: Add all liquid ingredients to the blender before adding the stabilizer powder.
- Pre-Mix: Add the measured 1/8 teaspoon of xanthan gum directly on top of the liquid mixture.
- Initial Blend: Pulse the blender briefly (2-3 pulses) before adding the ice. This disperses the gum into the liquid, preventing clumping and initiating the thickening process.
- Final Blend: Add the ice (as per H3 2) and blend on high for 30 seconds. The gum will instantly increase viscosity, resulting in a cohesive, smooth texture that resists separation.
Expert Insight: Xanthan gum is the preferred stabilizer as it works immediately without heat, prevents separation, and doesn’t add any flavor, making it a powerful tool for achieving high viscosity similar to commercial frappe bases.
4. Homemade Mocha Syrup for Superior Flavor Depth
Save this mocha syrup recipe for rich coffee flavor!
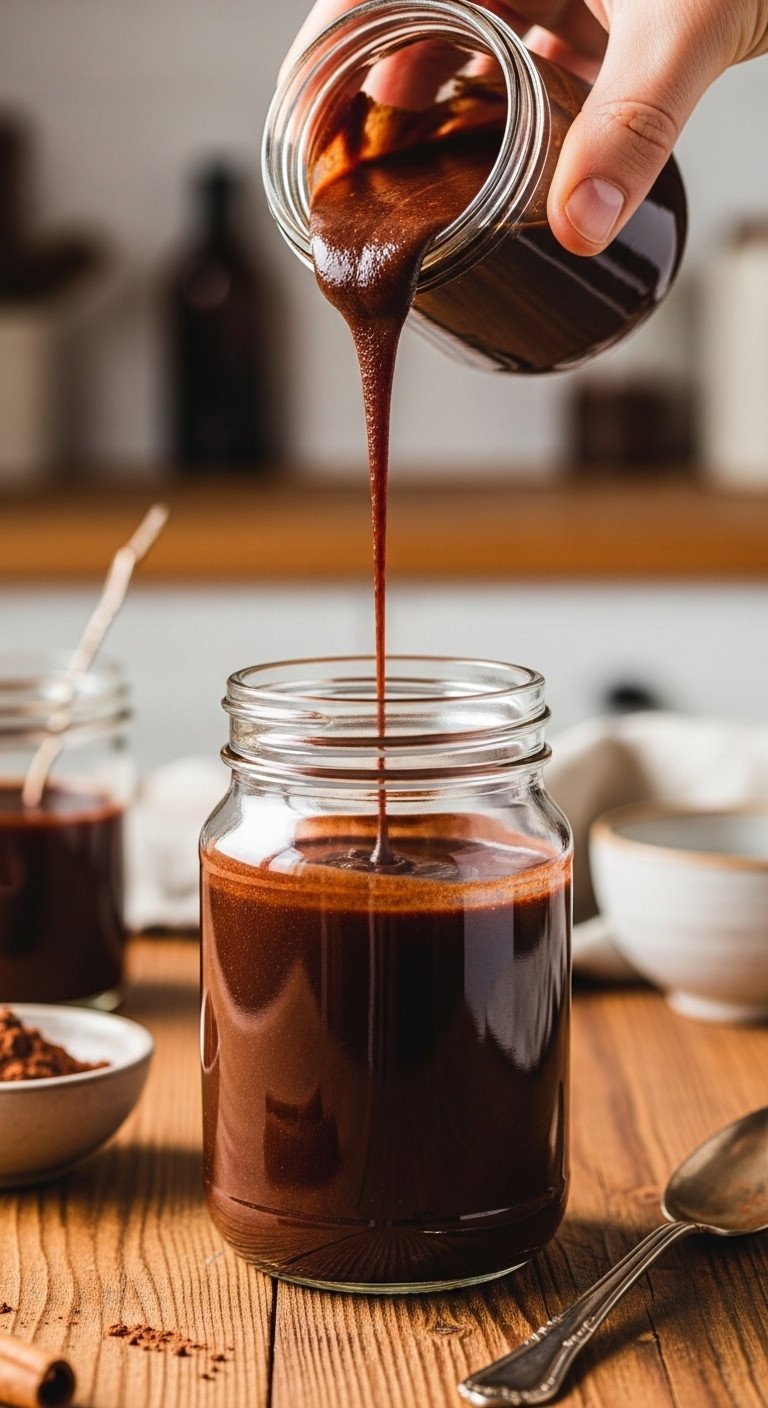
Store-bought chocolate syrups can have an artificial taste and often lack the richness needed for a great mocha. Creating your own mocha syrup gives you complete control over the sweetness and flavor depth. Using a high-quality unsweetened cocoa powder is key.
Ingredients Needed:
- 1/2 cup Unsweetened Cocoa Powder (high quality)
- 1 cup Granulated Sugar
- 1 cup Water
- 1/4 teaspoon Salt (optional, to enhance flavor)
Simple Syrup Method:
- Combine: In a medium saucepan, whisk together the cocoa powder, sugar, and water until no lumps remain.
- Bloom: Bring the mixture to a low simmer over medium heat, stirring constantly until the sugar is fully dissolved (about 3-5 minutes). Do not boil vigorously.
- Thicken: Reduce heat and let simmer gently for 2 minutes. The syrup will thicken slightly as it simmers.
- Chill: Remove from heat, stir in the salt, and let the syrup cool completely before storing in an airtight container in the refrigerator for up to January. This chilling process is essential before blending.
Pro-Tip: Adding a 1/4 teaspoon of instant coffee grounds while the syrup simmers will bloom the coffee and chocolate together, resulting in a deeper, more complex mocha flavor profile.
5. Replicating Starbucks’ Viscosity (The Frappuccino Copycat)
Pin this copycat recipe before your next coffee run!
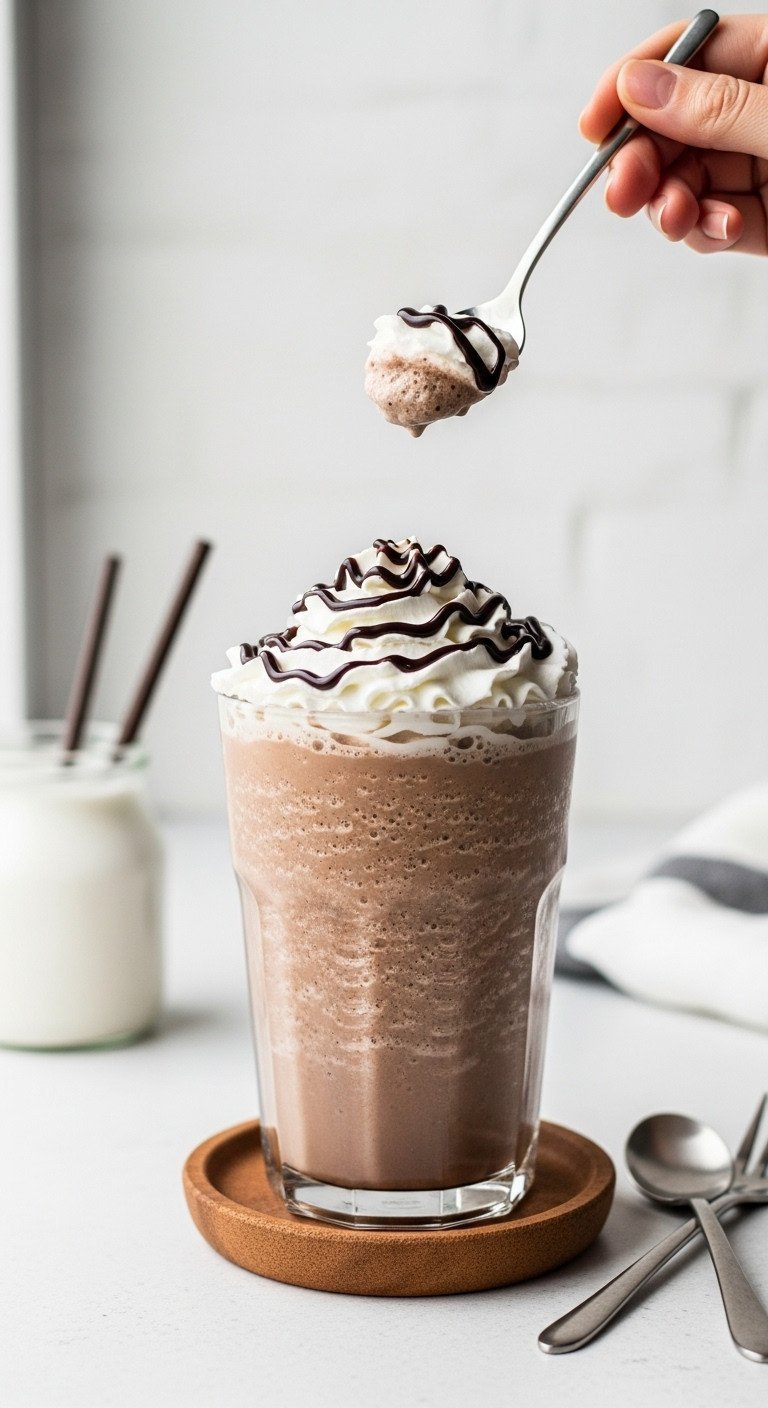
The Starbucks Frappuccino is known for its extreme thickness and sweetness. This signature viscosity comes from their proprietary Frap Roast and a sweetened, gum-based syrup. You can replicate this texture at home by combining a high-fat dairy with a strong stabilizer.
Frappuccino Copycat Base:
- 1/4 cup Chilled Coffee Concentrate (or espresso)
- 1/4 cup Half and Half (or heavy cream)
- 1/4 cup Store-Bought Caramel or Vanilla Simple Syrup (mimics Starbucks’ sweetener base)
- 1/8 teaspoon Xanthan Gum (critical for stability)
- 1 cup Crushed Ice
Blending for Commercial Thickness:
- Mix Base: Combine all liquids and the xanthan gum in the blender jar and pulse briefly to incorporate the stabilizer (Step 3, H3 3).
- Add Ice: Add the cup of crushed ice.
- Power Blend: Blend on the highest speed for a full 45 seconds. The combination of high fat (from the Half and Half) and the stabilizer creates the signature, thick viscosity.
- Final Check: The mixture should be so thick that the central vortex in the blender disappears almost immediately. If it remains liquidy, add 2-3 extra ice cubes and blend for another 10 seconds.
Expert Insight: The distinct Starbucks texture comes from their proprietary Frap Roast and their sweetened, gum-based base syrup. Replicating this requires using both high-fat dairy and a strong stabilizer like xanthan gum.
6. Replicating McCafé’s Rich Mouthfeel (The Cream Blend)
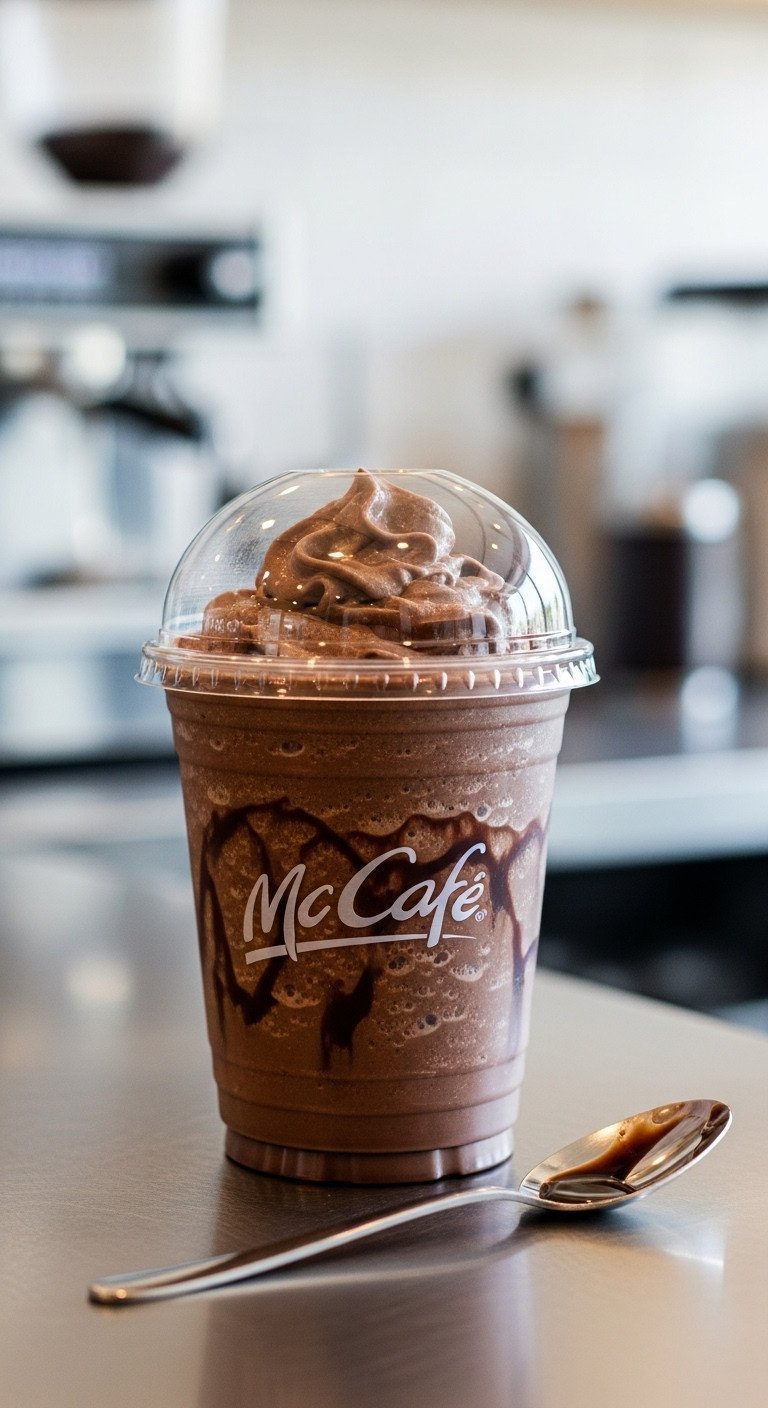
Save this McCafé copycat tips to your ‘Budget Coffee’ board!
The McDonald’s McCafé Mocha Frappe is known for its intense chocolate flavor and rich, creamy mouthfeel. This version relies less on thick stabilizers and more on the fat content from heavy cream to achieve its signature velvety texture.
McCafé Copycat Base:
- 1/4 cup Strong, Chilled Brewed Coffee (not concentrate—McCafé is less intense)
- 1/4 cup Heavy Cream
- 1/2 cup Milk (2% or Whole)
- 3 tablespoons Store-Bought Chocolate Syrup (high viscosity, like Hershey’s or Torani)
- 1 cup Ice Cubes
Blending for Creamy Richness:
- Prioritize Fat: The ratio of heavy cream to milk is critical here. Combine the cream, milk, coffee, and chocolate syrup.
- Add Ice: Place the ice cubes on top.
- Blend: Use a high-speed setting. Blend until the texture is smooth, but slightly less viscous than the Starbucks version (approx. 30 seconds). The richness comes from the heavy cream, which adds a velvety mouthfeel.
- Garnish: Serve immediately topped with whipped cream and a generous amount of chocolate drizzle, reflecting the indulgent nature of the McCafé version.
Lesson Learned: Use high-viscosity, sweetened chocolate syrup, as McCafé relies heavily on this commercial base for flavor and texture. Do not use cocoa powder for this specific copycat.
7. Preventing the “Watery Frappe” Disaster (Troubleshooting Guide)
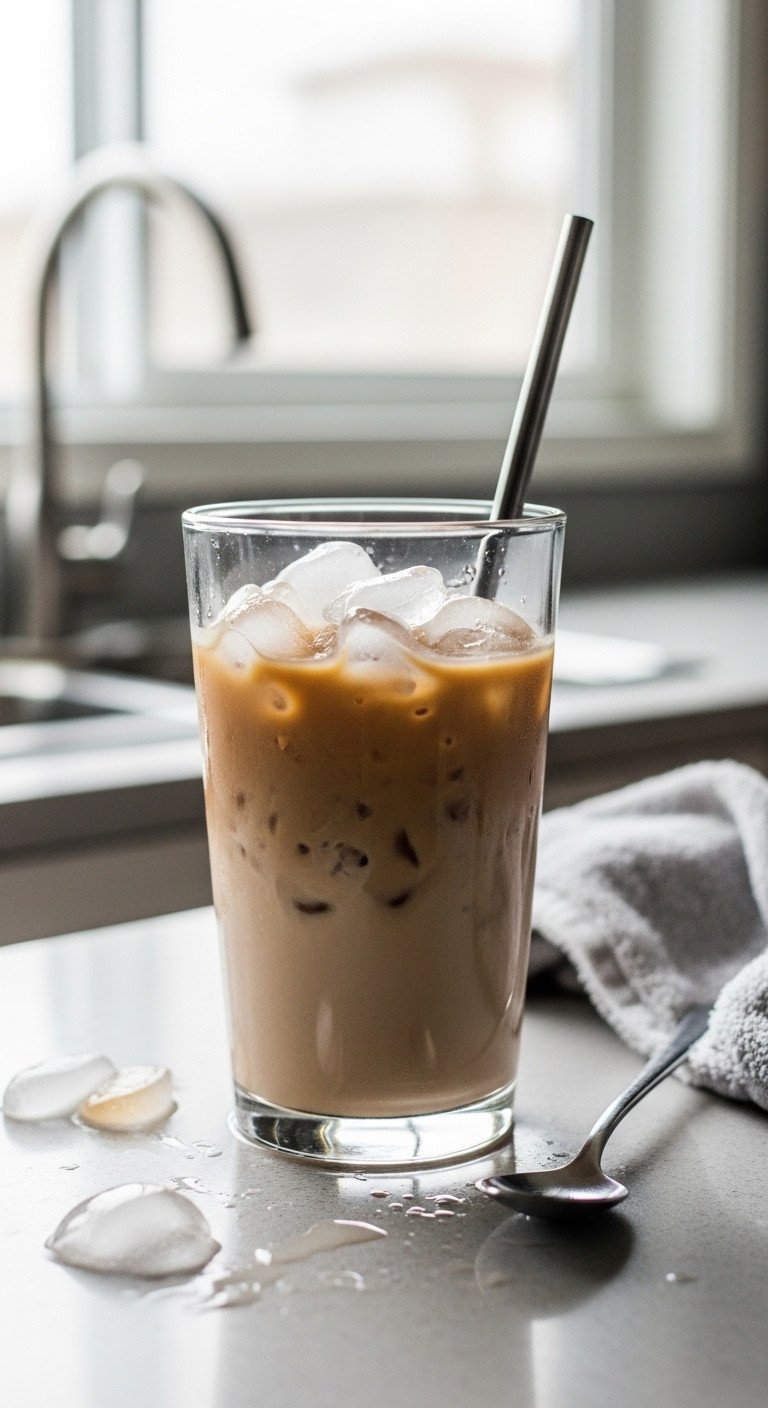
Pin this guide to avoid coffee mistakes!
Even with the best recipe, things can go wrong. This quick troubleshooting guide will help you diagnose and fix the most common frappe failures.
Common Problem Diagnosis:
- Problem 1: Watery Consistency: Used regular brewed coffee or too much liquid (not enough ice).
- Problem 2: Immediate Separation: Lack of emulsification and stabilizer.
- Problem 3: Ice Lumps/Chunks: Blender lacks power or blending time was too short.
Solutions and Fixes:
- Fixing Wateriness: Add 1/4 cup of frozen coffee cubes and 1/4 teaspoon of milk powder or protein powder, then blend quickly until smooth. The extra frozen mass and protein will thicken the mixture instantly.
- Stopping Separation: If the drink starts to separate, add a tiny pinch (1/16 tsp) of xanthan gum and re-blend on high for 5 seconds.
- Eliminating Lumps: Pause the blender, use a tamper or spatula to push the ingredients closer to the blade, and resume blending on the highest speed for an extra 15 seconds. Ensure all ingredients are moving freely in the vortex.
- Too Bitter: The coffee base or cocoa powder is too strong. Add 1/2 teaspoon of Simple Syrup to balance the bitterness.
Pro-Tip: Over-blending generates heat, which melts the ice and causes separation. Keep high-speed blending time under 45 seconds. If you need more time, pause for 15 seconds to let the mixture chill, then continue.
8. Low-Carb & Keto Mocha Frappe Ingredient Swaps
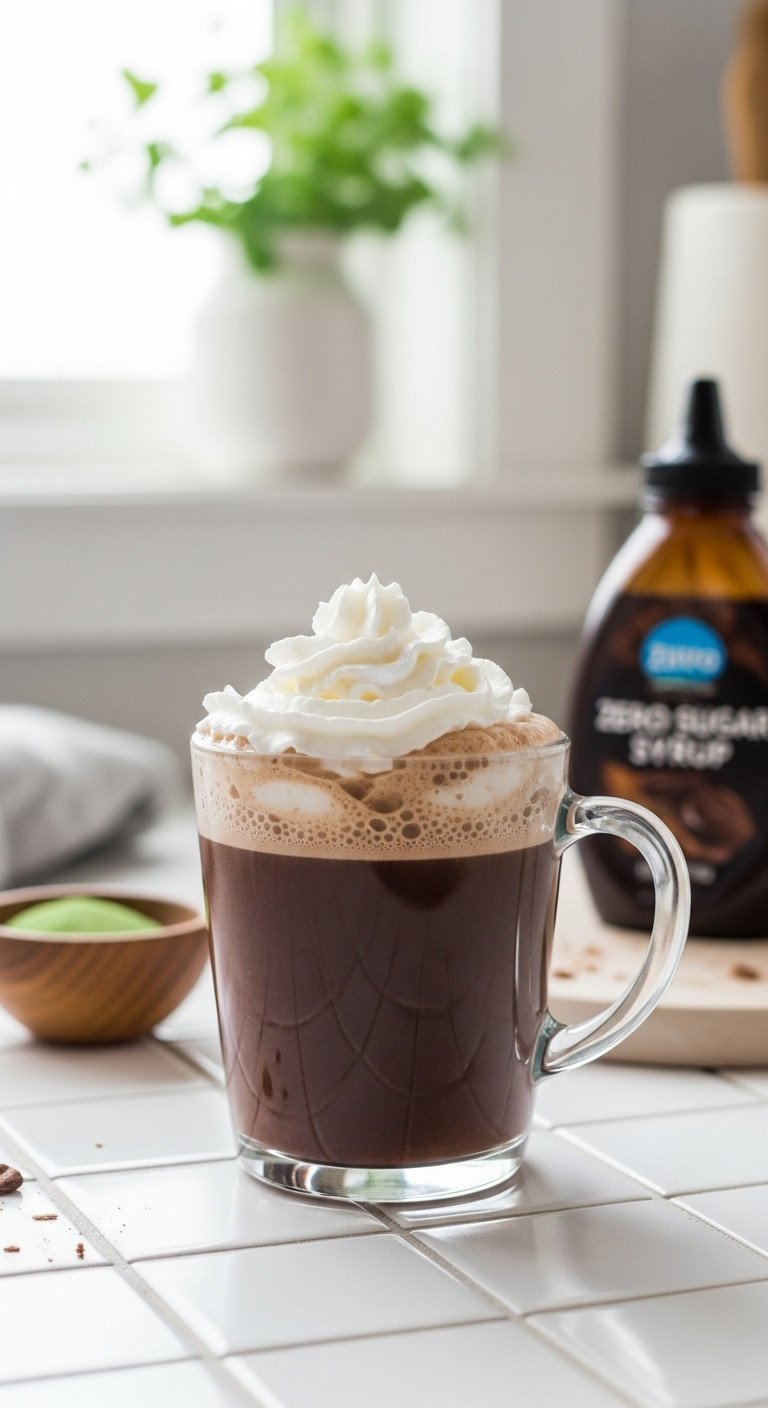
Pin this guilt-free Keto recipe!
You can enjoy a rich, creamy mocha frappe while adhering to a low-carb or Keto diet. The key is to replace the sugar and dairy with ingredients that provide fat and protein for stability.
Keto/Low-Carb Ingredients:
- 1/4 cup Strong Cold Brew Concentrate
- 1/2 cup Unsweetened Almond Milk (or full-fat coconut milk for richness)
- 2 tablespoons Zero-Sugar Chocolate Syrup (Monk Fruit or Erythritol based)
- 1 teaspoon MCT Oil or 1 scoop Collagen Peptides (acts as fat stabilizer)
- 1 cup Ice Cubes
Steps for Dietary Stability:
- Fat/Protein Inclusion: Combine the coffee, milk, sugar-free syrup, and the MCT oil/collagen peptides in the blender first.
- Blend Stabilizer: Pulse the mixture briefly to emulsify the fat/protein, which will help bind the ice.
- Blend: Add ice and blend until completely smooth (30-45 seconds). The fat content from the MCT oil provides an excellent mouthfeel, mimicking dairy creaminess without the carbs.
- Topping: Top with whipped heavy cream or coconut cream, ensuring the sweetener used is zero-calorie.
Expert Insight: When eliminating dairy and sugar, you lose two key stabilizers. Adding a healthy fat source like MCT oil or a protein powder (collagen/whey) is essential to restore the structure and prevent separation.
9. The Ultimate Finishing Touch: The Quick Cold Foam Topping
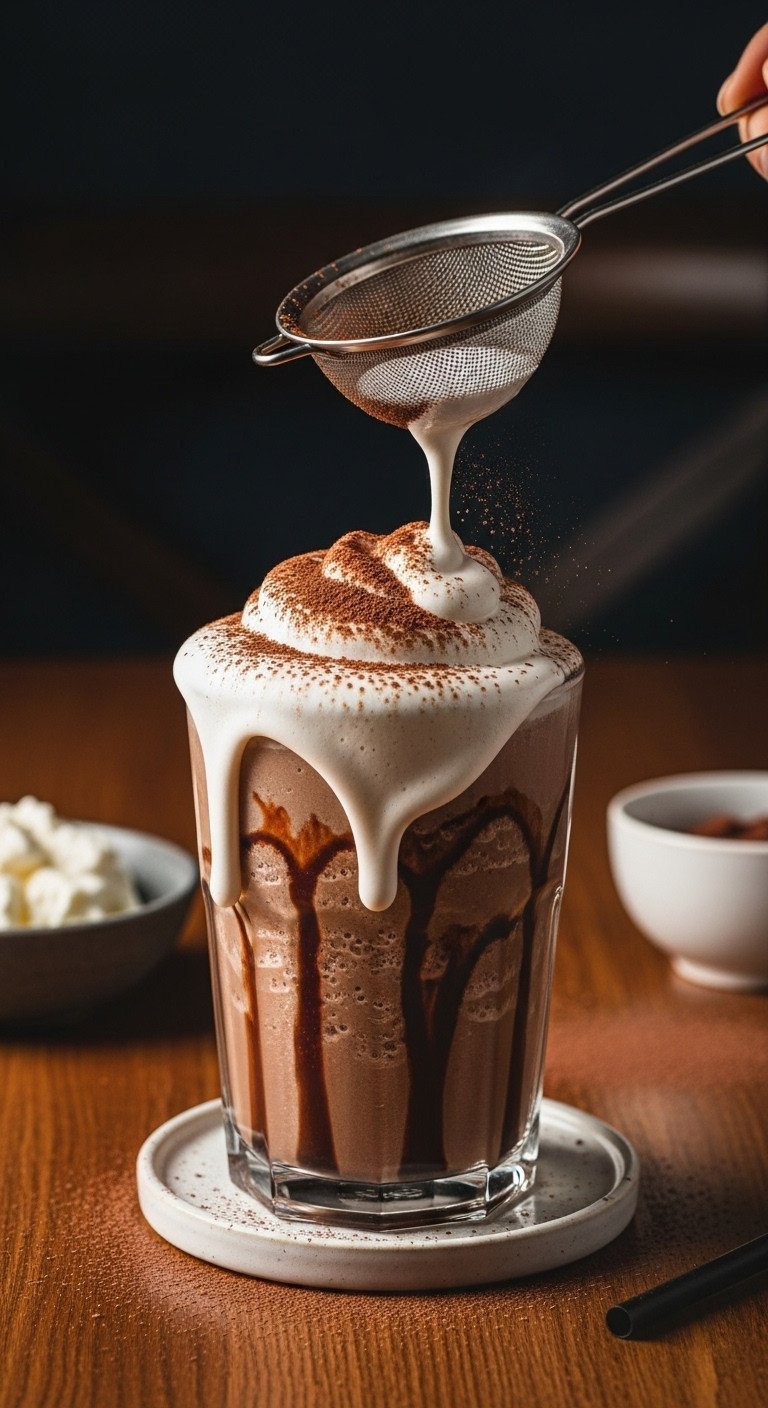
Pin this barista-quality cold foam technique!
Elevate your homemade frappe to coffee-shop level with a luxurious cold foam topping. It’s lighter than traditional whipped cream and incredibly easy to make without any special equipment.
Cold Foam Ingredients:
- 1/4 cup Heavy Cream
- 1/4 cup Milk (2% or Whole)
- 1 tablespoon Simple Syrup (or vanilla syrup)
Aeration Steps (The Quick Way):
- Combine: Place the heavy cream, milk, and syrup into a small French Press or a jar with a tight-fitting lid.
- Whip (French Press Method): If using a French press, pump the plunger vigorously for 30-45 seconds. The sheer force of the screen will aerate the milk and cream, creating thick, velvety foam.
- Whip (Jar Method): If using a jar, shake extremely vigorously until the mixture is thick and doubled in volume (about 60 seconds).
- Top and Garnish: Spoon the cold foam directly onto your finished frappe. Finish with a dusting of cocoa powder or a final chocolate drizzle.
Pro-Tip: Cold foam requires high fat content to stabilize the bubbles. Using cold heavy cream is non-negotiable for a dense, stable topping that won’t immediately dissolve into the frappe.
Key Takeaways: Your Quick Guide to Ultimate Frappe Texture
Mastering the perfect frappe texture comes down to a few critical, non-negotiable techniques. Keep this quick guide handy to ensure a smooth, creamy, and delicious result every time.
The Five Non-Negotiables for Perfect Texture:
- Use Concentrate Only: Never use weak, warm, or standard-strength brewed coffee. Opt for chilled cold brew concentrate or espresso shots to maximize flavor with minimal liquid volume.
- Master the 4:3:1 Ratio: Use 4 parts Ice (crushed or frozen coffee cubes) to 3 parts Liquid (milk/coffee) to 1 part Flavor/Syrup. This high ice ratio is crucial for thickness.
- Emulsify with Fat or Stabilizer: The true secret to commercial texture is preventing separation. Use a high-fat milk (Half and Half) or a micro-dose (1/8 tsp) of a hydrocolloid like xanthan gum.
- Use Chilled Ingredients: Ensure all liquid components (coffee, milk, syrup) are completely chilled before blending to combat heat generated by the blender motor and prevent premature melting.
- Stop Blending Early: Blend for precisely 30-45 seconds on high speed. Over-blending generates heat, which melts the ice and results in a watery, separated frappe.
People Also Ask About Mocha Frappe Troubleshooting
What is the best liquid to use to thicken a mocha frappe?
The best liquids to thicken a mocha frappe are high-fat dairy options like Half and Half or heavy cream. These liquids contain more fat and protein, which act as natural emulsifiers, creating a stronger bond with the ice and preventing the drink from separating into a watery layer and an icy layer.
Can I use regular ice cubes, or do I need coffee ice cubes?
You can use regular ice cubes, but coffee ice cubes are highly recommended. Regular ice will dilute the coffee flavor as it melts, potentially making the frappe bland. Freezing strong coffee concentrate into cubes ensures that as the ice melts, it simply reinforces the coffee flavor, maintaining intensity and quality.
How long does a homemade mocha frappe last before separating?
A homemade mocha frappe is best consumed immediately (within 5-10 minutes) for peak texture. If properly stabilized with xanthan gum and blended with high-fat ingredients, a frappe can maintain acceptable thickness for up to 20-30 minutes, although the texture will slowly become more liquid as the ice melts.
What is the difference between a frappe and a Frappuccino?
A Frappuccino is Starbucks’ trademarked version of a frappe. While both are blended coffee drinks, a Frappuccino usually refers to the specific, highly-sweetened, and stabilized version sold by Starbucks. The general term “frappe” refers to any thick, cold, blended coffee drink, often made with simpler ingredients.
Is a high-powered blender necessary for a smooth texture?
Yes, a high-powered blender (1000 watts or more) is highly recommended. High wattage is essential for efficiently crushing large amounts of ice and frozen coffee cubes into a uniform, fine texture. Using a lower-powered blender can lead to chunky ice shards, over-blending, and eventual heat-induced separation.
Final Thoughts: Achieve Barista-Quality Texture Today
The pursuit of the perfect, creamy mocha frappe boils down to three core principles: extreme chilling, precise ingredient ratios, and strategic use of stabilizers to maintain that velvety texture. You now possess the expert knowledge—the science, the tipss, and the troubleshooting—that separates professional results from watery disappointments. Stop paying premium prices and start enjoying barista-quality mocha frappes at home this January 2026.
Which tips—the xanthan gum stabilizer or the frozen coffee cube method—are you trying first to perfect your ultimate homemade mocha frappe? Let us know your results in the comments
Last update on 2026-01-14 / Affiliate links / Images from Amazon Product Advertising API

