As an Amazon Associate CoffeeXplore.com earns from qualifying purchases.
Matcha Latte Recipe The Secret to Non-Bitter Clump Free Smoothness
Are your homemade matcha lattes turning out bitter and full of clumps? You followed the directions, but it just doesn’t taste like the creamy, smooth drink from your favorite cafe. It’s a common and frustrating problem that wastes expensive matcha powder.
The secret to a non-bitter, clump-free matcha latte is twofold: 1. Always sift ceremonial-grade matcha powder before use, and 2. Never use water hotter than 175°F (80°C). This guide reveals the proven techniques, adapted from traditional Japanese methods, to help you master a perfect matcha latte every single time. Get ready to unlock cafe-quality smoothness in your own kitchen.
Are Clumps and Bitterness Ruining Your Homemade Matcha Latte?
If you’ve ever been disappointed by a gritty, bitter homemade matcha latte, you’re not alone. The frustration of trying to create that vibrant green, creamy drink only to end up with a murky, unpleasant result is a major reason people give up and go back to expensive cafes. The good news is that the problem isn’t your skill—it’s your technique.
The ultimate secret to a professional matcha latte experience lies in two simple but non-negotiable rules. First, you must sift the matcha powder. This aerates the powder and breaks up microscopic clumps caused by moisture. Second, you must control the water temperature. Using boiling water instantly scorches the delicate chlorophyll in the tea leaves, releasing harsh tannins that cause that signature bitter taste. The ideal temperature is precisely 175°F (80°C).
This ultimate matcha latte guide adapts traditional Japanese preparation methods for the modern home kitchen, ensuring you can replicate that perfect, smooth texture and sweet, earthy flavor every single time.
9 Steps to the Perfect Non-Bitter, Clump-Free Matcha Latte
Achieving a flawless matcha latte is a science, but it’s one that’s easy to master with the right steps. This simple matcha latte recipe is a reliable, step-by-step tutorial designed to eliminate common mistakes. Every part of this process, from the specific ratios to the whisking motion, has been tested to meet professional barista standards for optimal flavor extraction and consistency in a home setting. Follow these nine steps for a perfect result in about five minutes.
1. Sifting & Measuring Ceremonial-Grade Matcha
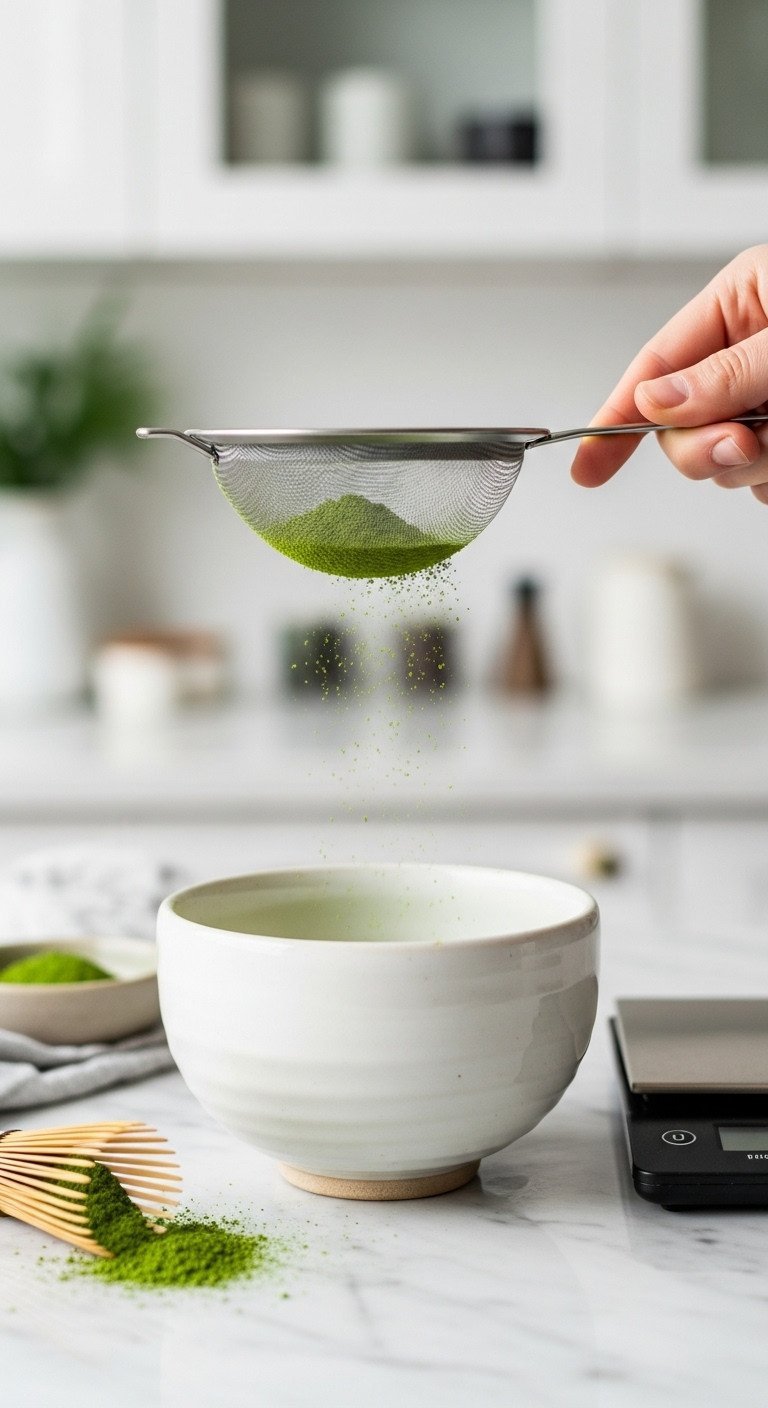
Pin this genius tips to your ‘Home Barista’ board!
This first step is non-negotiable for a clump-free texture. Using ceremonial grade matcha powder ensures a vibrant green color and naturally less bitterness, while sifting guarantees it dissolves completely.
Materials Needed:
- 1.5 tsp (2-3g) Ceremonial Grade Matcha Powder (ensures vibrant color and less bitterness)
- Fine Mesh Sieve (or dedicated matcha sifter)
- Small Bamboo Scoop (for accurate, level measuring)
Step-by-Step Directions:
- Place the fine mesh sieve over your matcha bowl (chawan) or chosen mug.
- Measure the exact amount of matcha (1 to 1.5 teaspoons or 2-3 grams) using a clean scoop.
- Gently tap or push the matcha through the sieve using the back of a spoon or the scoop until all powder has passed through.
- Discard any large, stubborn clumps that remain on the sieve surface.
Pro-Tip: Clumps are caused by moisture exposure. Even ceremonial grade can clump. Sifting aerates the powder and breaks up any microscopic moisture bonds, making dissolution instant.
2. Controlling the Water Temperature (The Non-Bitter Secret)

Save this clever temperature tips for a perfect morning latte!
This is the most critical step for flavor. Precise temperature control is what separates a sweet, earthy matcha from a harsh, bitter one.
Materials Needed:
- Filtered or Soft Water (hard water affects flavor extraction)
- Digital Instant-Read Thermometer (for E-E-A-T compliance)
- Electric Kettle (or stovetop kettle)
Step-by-Step Directions:
- Heat your water, aiming for a temperature between 170°F and 175°F (76-79°C).
- Do Not Use Boiling Water (212°F). If your kettle whistles or boils, remove it from the heat and allow it to rest for exactly 1-2 minutes before pouring.
- Measure out only 2 ounces (60 ml) of the 175°F water. This small amount is crucial for creating a highly concentrated base.
- Pour the measured water over your sifted matcha powder immediately to begin the dispersion process.
Pro-Tip: Water above 180°F (82°C) “scorches” the delicate chlorophyll in the matcha, instantly releasing harsh tannins which result in the bitter, dull flavor. Controlling the temperature is the single most important technique.
3. Mastering the “W” Whisking Technique for Optimal Froth
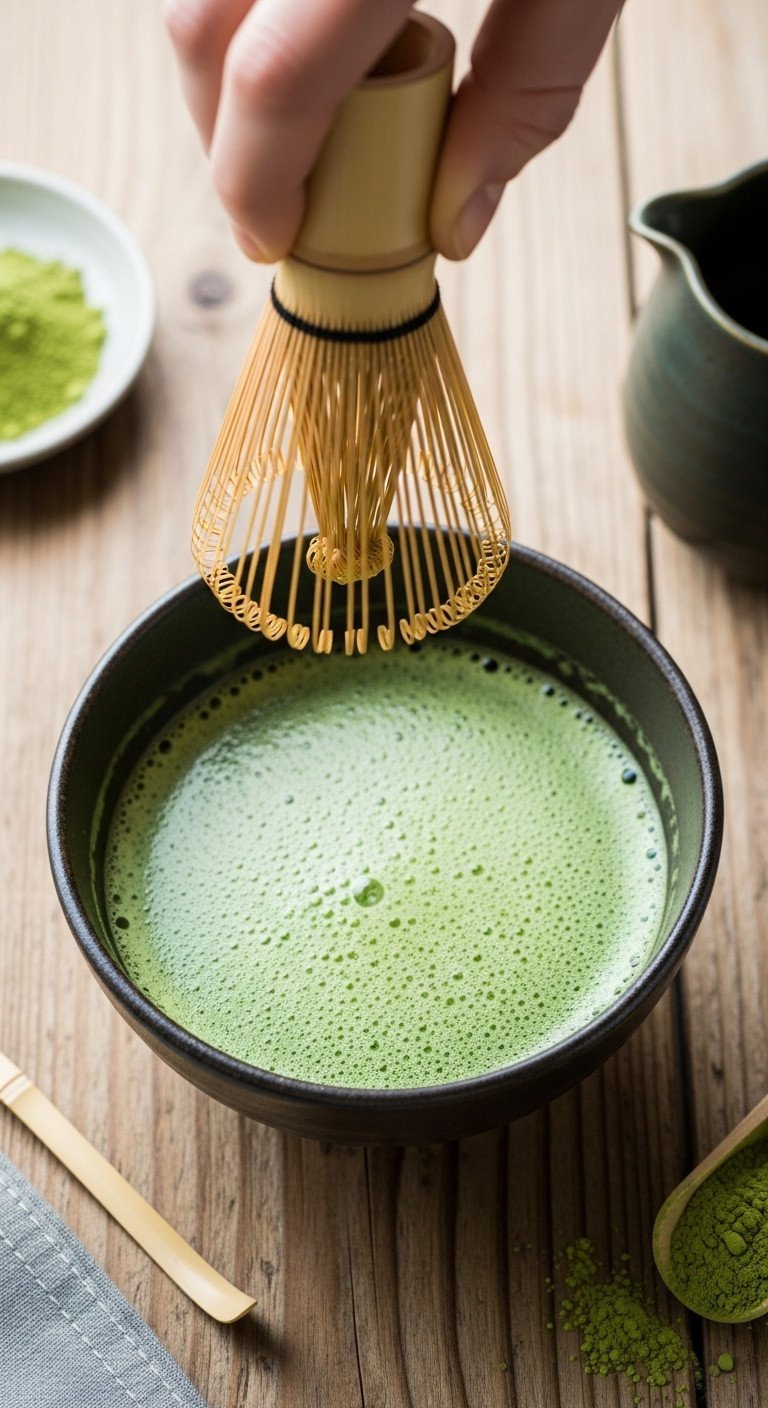
Watch our video tutorial on the “W” motion—it’s easier than you think!
Proper whisking doesn’t just dissolve the powder; it emulsifies it into the water and creates the delicate layer of foam that defines a quality matcha base.
Materials Needed:
- Sifted Matcha Base (from steps 1 & 2)
- Bamboo Whisk (Chasen)
- Whisk Stand (optional, for drying/storage)
Step-by-Step Directions:
- Grip the chasen lightly with your dominant hand, holding the handle loosely at the top.
- Immerse the prongs of the whisk into the hot water/matcha mixture, ensuring the prongs touch the base of the bowl but are not pressing too hard.
- Using only your wrist and forearm, whisk vigorously in a rapid zig-zag (W or M) motion for 15 to 20 seconds. Crucial: Do not whisk in a circular stirring motion.
- Continue until a fine, uniform layer of tiny bubbles (foam) covers the entire surface and the base is completely dissolved.
Pro-Tip: The rapid back-and-forth motion (W or M) creates the necessary aeration and turbulence to break up the remaining particles and suspend them evenly, ensuring that smooth texture and beautiful foam layer.
4. Choosing the Best Milk for Creaminess and Froth
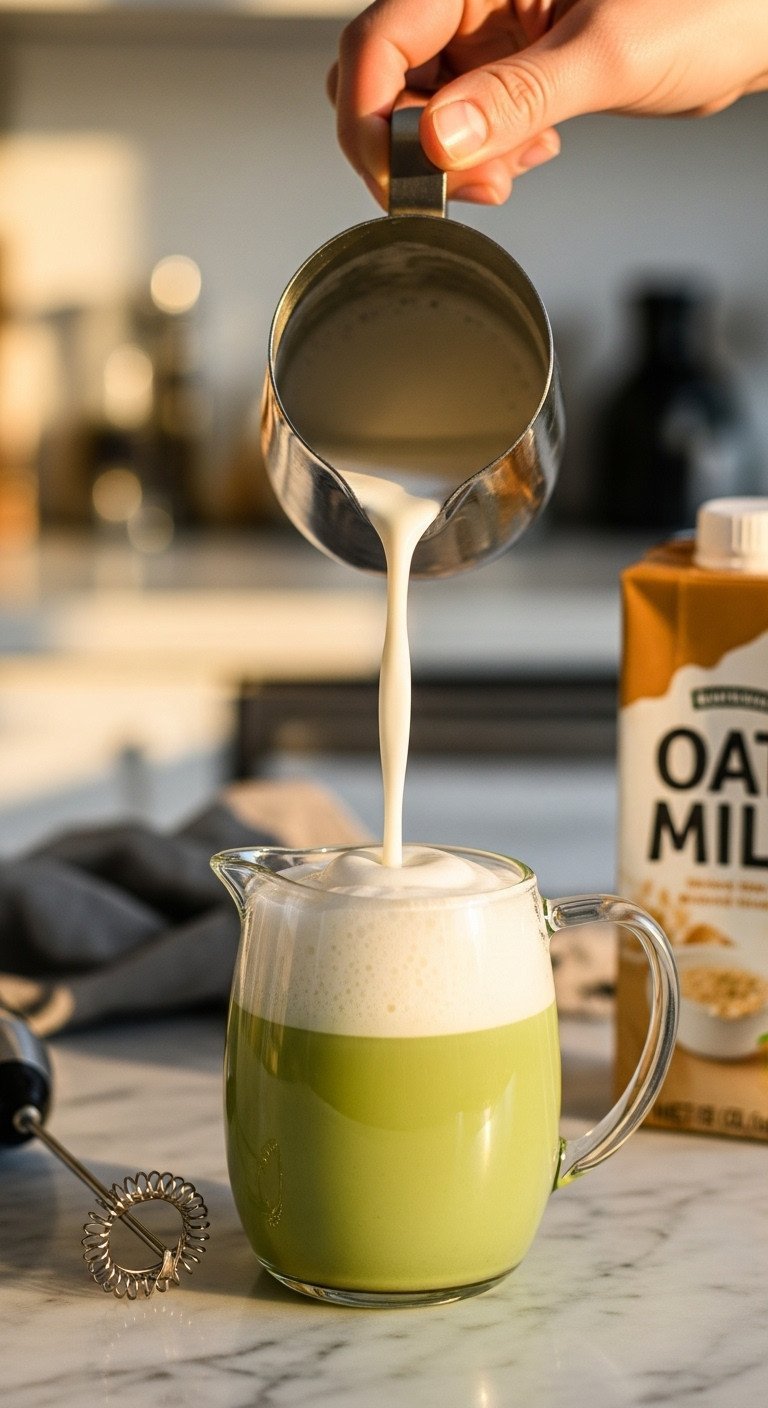
Need help picking the best milk? Save our comparison chart!
The type of milk you choose has a huge impact on the final texture and creaminess of your latte. While any milk works, some are far superior for frothing.
Materials Needed:
- 6-8 oz Oat Milk (Barista Blend is recommended for best results)
- Sweetener of Choice (Maple Syrup, Honey, or Stevia)
- Electric Handheld Frother (or stovetop/steamer)
Step-by-Step Directions:
- Pour the milk into a heat-safe container or frothing pitcher.
- Add 1-2 teaspoons of your preferred sweetener to the milk, if desired.
- Heat the milk to 140°F–150°F (60°C–65°C)—just below a simmer—for optimal sweetness and frothing.
- Use the electric frother to aerate the milk for 10-15 seconds until a smooth, dense layer of micro-foam is achieved.
Pro-Tip: Oat milk is the current barista favorite because its balance of fat and protein content holds air beautifully, resulting in the most stable, creamy micro-foam that pairs perfectly with the matcha’s earthy flavor.
5. Assembling the Perfect Hot Matcha Latte Ratio
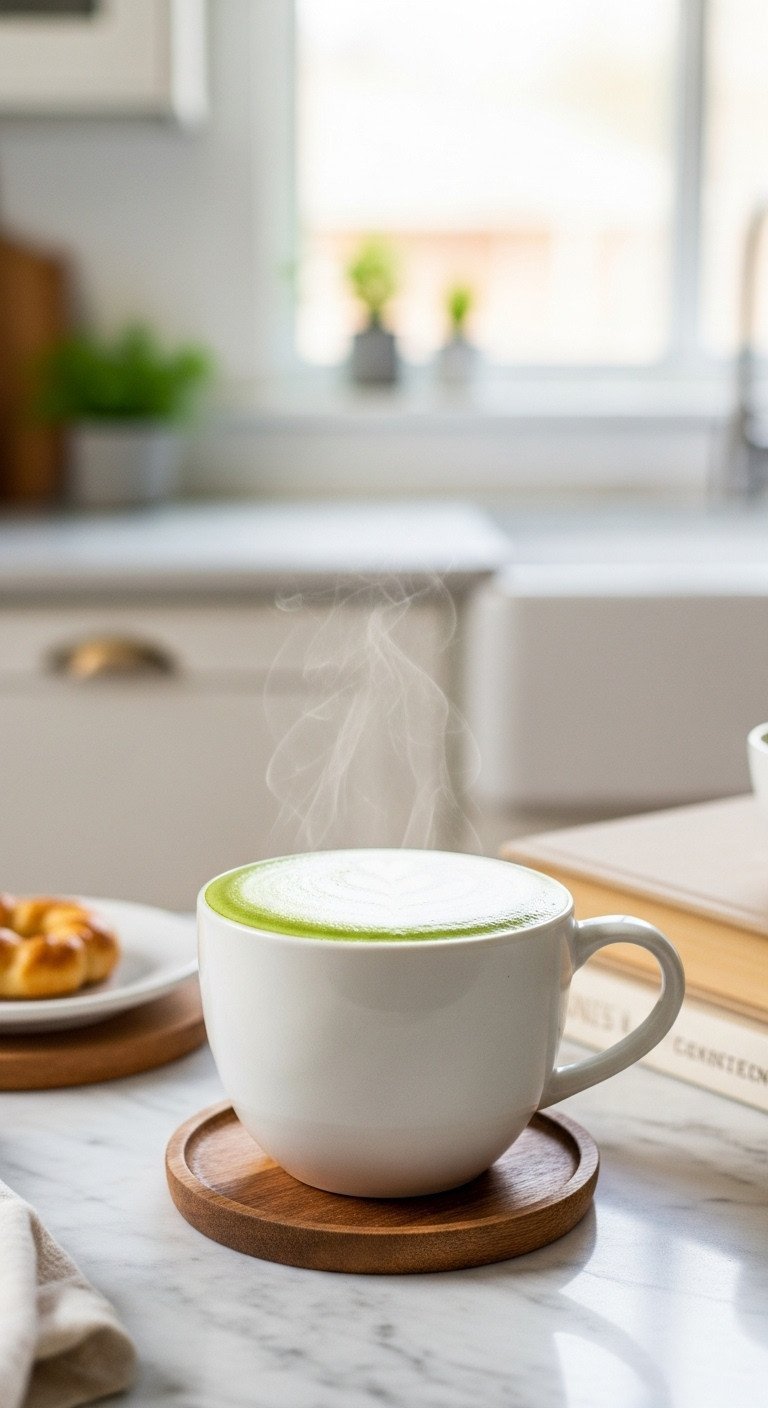
Pin the ultimate hot matcha recipe for a cozy morning ritual!
Now it’s time to bring the two main components together. The pouring technique helps integrate the matcha base and frothed milk for a seamless, delicious final drink.
Materials Needed:
- Matcha Base (1.5 tsp powder, 2 oz 175°F water, fully whisked)
- Frothed Milk (6-8 oz, heated to 145°F, sweetened or unsweetened)
- Your favorite ceramic mug (10-12 oz capacity)
Step-by-Step Directions:
- Pour the fully whisked, frothy matcha base directly into the bottom of your ceramic mug.
- Holding the frothing pitcher 2-3 inches above the mug, slowly pour the warm milk into the matcha base.
- If using a spoon, hold back the foam initially and allow the warm liquid milk to blend with the matcha base first.
- Finish the pour by tilting the pitcher slightly to release the thick micro-foam layer on top.
- Serve immediately.
Pro-Tip: For the smoothest blend, give the milk a quick swirl in the pitcher right before pouring; this helps integrate the foam with the liquid milk for a cohesive texture.
6. The Quickest Ultimate Iced Matcha Latte Method

Save this Iced Matcha layering technique for summer!
Adapting this recipe for a refreshing iced matcha latte is simple, but there’s one crucial rule: you must still dissolve the matcha in hot water first.
Materials Needed:
- Matcha Base (1.5 tsp powder, 2 oz 175°F water, fully whisked)
- 8-10 oz Cold Milk (refrigerated, non-dairy works best)
- Large Ice Cubes (prevents rapid dilution)
- Tall Drinking Glass
Step-by-Step Directions:
- Prepare and whisk the matcha base in the chawan exactly as instructed in Steps 1-3. Allow the hot base to cool for 30-60 seconds to avoid melting the ice immediately.
- Fill your tall glass completely with large, clear ice cubes.
- Pour the 8-10 oz of cold milk of choice over the ice.
- Gently pour the warm matcha concentrate (the whisked base) over the back of a spoon or slowly down the side of the glass to create a beautiful layered effect.
- Use a straw to slowly mix before drinking, or enjoy the layers for an aesthetic look.
Pro-Tip: Using large, dense ice cubes slows dilution, which prevents your carefully prepared latte from becoming watery. Always dissolve the base in hot water first; cold water alone will result in a gritty texture.
7. Customizing Your Latte with Homemade Vanilla Flavor
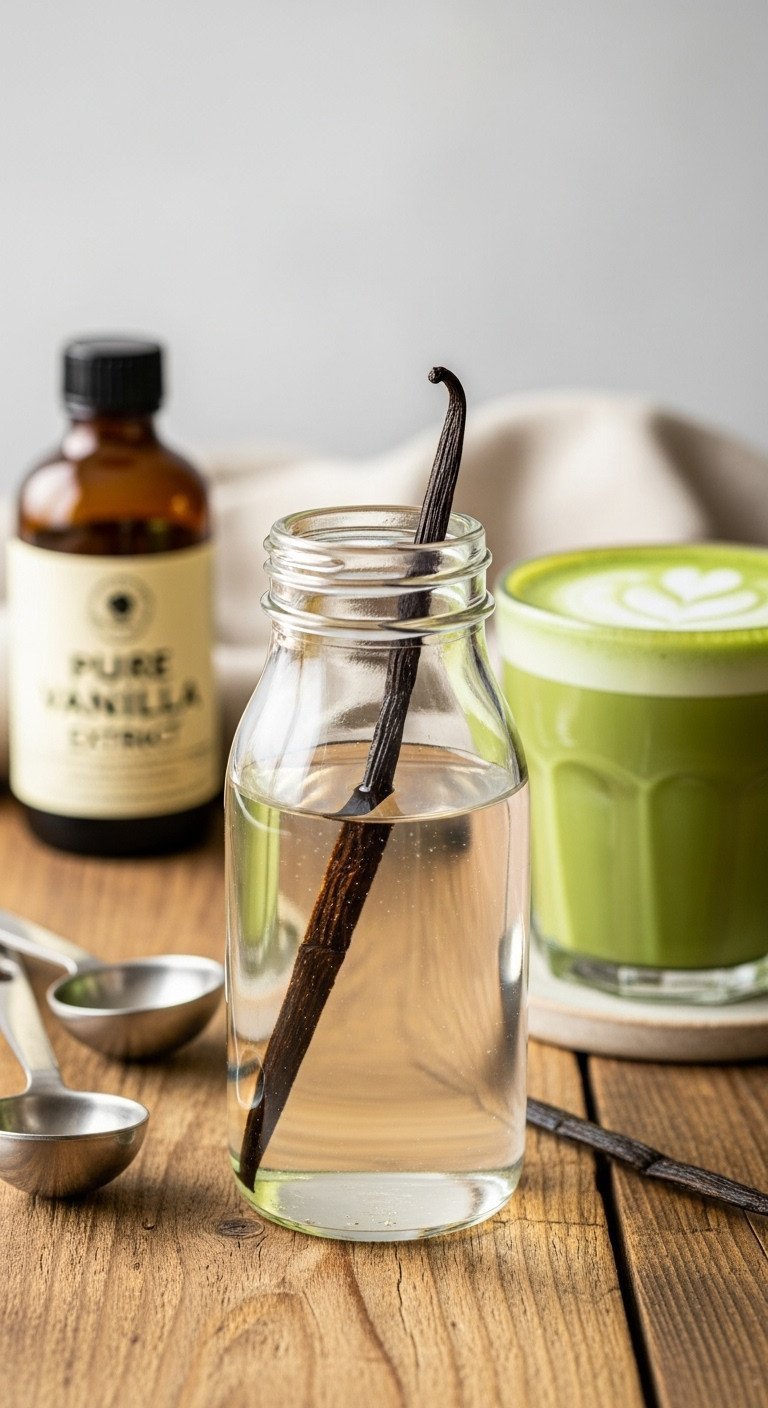
This simple syrup recipe is the key to cafe-style flavor!
Elevate your homemade matcha latte with a rich vanilla flavor. Making your own simple syrup gives you complete control over the sweetness and avoids artificial aftertastes.
Materials Needed:
- 1 cup Granulated Sugar (or Monk Fruit/Stevia equivalent)
- 1 cup Water (filtered)
- 1 tsp Pure Vanilla Extract (or 1 Vanilla Bean, split)
- Airtight Jar or Syrup Dispenser
Step-by-Step Directions:
- Combine the water and sugar (or alternative sweetener) in a small saucepan.
- Heat the mixture over medium heat, stirring constantly, until the sugar is completely dissolved (do not boil).
- Remove from heat and stir in the vanilla extract. If using a vanilla bean, add it now and let it steep while the syrup cools.
- Allow the syrup to cool completely before transferring it to an airtight container. Store refrigerated for up to 3 weeks.
- To Use: Add 1-2 tablespoons of homemade vanilla syrup to your hot matcha base (before adding milk) for a rich, authentic flavor boost.
Pro-Tip: Making your own syrup guarantees you know the exact sweetness level and avoids the artificial taste often found in bottled commercial syrups. This step is essential for replicating popular cafe flavors like the “Vanilla Sweet Cream” variation.
8. The Electric Frother & Shaker Jar Alternatives
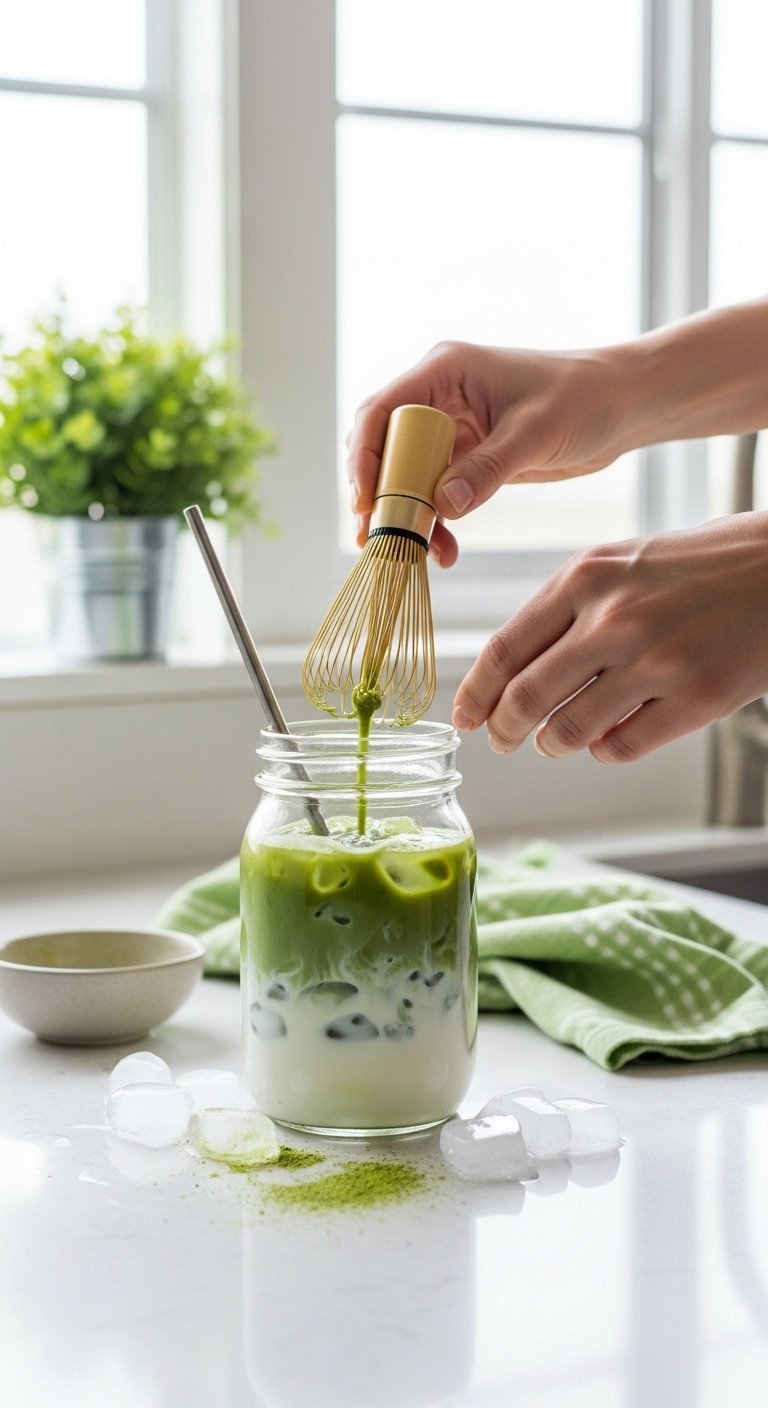
No chasen? Try this simple shaker jar tips!
While a bamboo chasen provides the most traditional and delicate foam, you don’t need one to get started. These two alternatives are perfect for beginners or when you’re on the go.
Materials Needed:
- Matcha Base (1.5 tsp powder, 2 oz 175°F water)
- Tight-Sealing Mason Jar (or protein shaker bottle)
- Alternative: Electric Frother Wand
Step-by-Step Directions:
- For the Shaker Method: Place the sifted matcha powder and 2 oz of 175°F water directly into the jar. Secure the lid tightly.
- Shake the jar vigorously for 20-30 seconds. Use rapid, short movements (like whisking) until a dense foam forms on top.
- For the Electric Frother: Place the sifted matcha and 2 oz of 175°F water into a tall cup.
- Submerge the handheld frother and run it on high speed for 15-20 seconds until the base is perfectly smooth and frothy.
- Pour the resulting base into your final mug or glass, and top with milk as detailed in Step 5 or 6.
Pro-Tip: If using a shaker jar, ensure the water isn’t too hot, as the jar can become pressurized. The resulting texture from these methods is generally smooth, though the micro-foam quality may be slightly coarser than that achieved with a chasen.
9. Storing Matcha Powder for Ultimate Freshness

Protect your expensive matcha! Save our storage secrets!
High-quality matcha is an investment. Proper storage is vital to protect its vibrant color, delicate flavor, and beneficial nutrients from degrading.
Materials Needed:
- Opened Tin of Ceremonial Grade Matcha
- Opaque, Airtight Container (metal or ceramic)
- Freezer Ziploc Bag (optional, for long-term storage)
Step-by-Step Directions:
- Transfer: If the original packaging is not opaque or airtight, immediately transfer the matcha powder to a designated opaque, airtight container.
- Location: Store the container in a cool, dark place—a closed pantry or cupboard is ideal for short-term use.
- Long-Term Storage: For prolonged storage (beyond 6 weeks), place the sealed, opaque container inside a sealed freezer bag and keep it in the freezer.
- Crucial Rule: Always allow the container to come to room temperature for at least 30 minutes before opening it to scoop out powder, as this prevents condensation from introducing moisture.
Pro-Tip: Matcha’s vibrant color and beneficial L-theanine content degrade quickly when exposed to light, heat, moisture, or oxygen. Proper storage is vital—a dull, yellowish color indicates oxidation and loss of quality.
Key Takeaways: Your Quick Guide to Clump-Free Success
To guarantee a perfect homemade matcha latte every time, focus on these five essential rules. This checklist summarizes the most important techniques covered in this guide.
- Sift First: Never skip sifting ceremonial grade matcha through a fine mesh sieve to eliminate microscopic clumps before adding any liquid.
- Temperature Control: Use water at EXACTLY 175°F (80°C). Anything higher will scorch the tea’s chlorophyll, resulting in a distinctly bitter flavor.
- Master the Whisk: Use a chasen whisk or electric frother in a rapid “W” or “M” zig-zag motion for 20 seconds to achieve optimal aeration and a smooth, thick foam base.
- Choose Creaminess: For cafe-quality texture, use a high-fat, barista-style milk (like oat milk) due to its superior frothing ability.
- Iced Base Rule: Always dissolve the matcha in a small amount of hot (175°F) water first, even if making an iced latte, before pouring over cold milk and ice.
People Also Ask About Matcha Latte Preparation
What is the best type of milk for a creamy matcha latte?
Barista-blend oat milk is consistently the best choice for achieving a creamy, frothy, cafe-quality matcha latte. Its higher fat and protein content allows it to froth into a dense, stable micro-foam that complements the earthy flavor of the matcha base perfectly, achieving the desired texture and mouthfeel.
Can I make a matcha latte without a bamboo whisk (chasen)?
Yes, you can use an electric handheld frother or a tight-sealing shaker jar as effective alternatives to the traditional chasen. While the chasen offers the most delicate, traditional micro-foam, these alternatives provide sufficient agitation (especially when combined with 175°F water) to successfully dissolve the powder and prevent clumping.
Is the water temperature still important if I’m making an iced matcha latte?
Absolutely, the water temperature is critical regardless of the final serving temperature. You must dissolve the matcha powder in 2 ounces of hot (175°F) water first. If you use cold water or ice to dissolve the powder, the particles will resist dissolution and result in a gritty, clumpy sediment at the bottom of your drink.
Final Thoughts
Mastering the art of the matcha latte is fundamentally about understanding two things: precision and quality. By following the non-negotiable rules—using ceremonial grade powder, ensuring your water is exactly 175°F, and mastering the simple “W” whisking motion—you unlock the door to cafe-quality smoothness and vibrancy every single time. This refined technique transforms your matcha from a bitter disappointment into a treasured, energizing daily ritual.
Now that you’ve discovered the secret to achieving clump-free perfection, which milk alternative will you be testing first: the frothy oat milk or the classic almond? Let us know in the comments below
Last update on 2026-01-19 / Affiliate links / Images from Amazon Product Advertising API

