As an Amazon Associate CoffeeXplore.com earns from qualifying purchases.
Rich Vanilla Iced Coffee That’s Never Watered Down
Tired of paying for expensive coffee shop drinks that you know you could make at home? You try to replicate that perfect vanilla iced coffee, but it always ends up tasting weak and watery. It’s a frustrating cycle of disappointment that leaves you reaching for your wallet again.
A Vanilla Iced Coffee is a simple beverage made from brewed coffee, ice, vanilla syrup, and milk. The main problem with homemade versions is dilution; regular-strength coffee just can’t stand up to melting ice. You’re not doing anything wrong; you’re just missing one key technique.
The secret to rich, non-watery vanilla iced coffee is brewing a double-strength coffee concentrate. By starting with a bolder coffee flavor, your drink stays delicious and robust, even as the ice melts. This guide will show you the simple, step-by-step process to finally master that cafe-quality taste at home.
Why Is My Homemade Iced Coffee Always Watery and Disappointing?
If you’ve ever poured your morning’s leftover hot coffee over ice, you know the feeling. That first sip is okay, but within minutes, you’re left with a sad, beige-colored water that barely tastes like coffee. I’ve been there, and it’s why so many people give up and head back to the coffee shop. The problem isn’t your coffee beans or your machine; it’s the science of dilution.
The secret to rich, non-watery iced coffee is brewing a double-strength coffee concentrate. This strong base is essential because the melting ice will dilute the drink. By starting with a more intense coffee flavor, the final beverage remains bold and delicious to the last sip. Think of it as flavor insurance. Instead of fighting against melting ice, this foolproof method uses a strong brew to ensure your drink is perfect from start to finish, saving you from disappointment and the expense of a daily Starbucks run.
7 Simple Steps for Rich Vanilla Iced Coffee at Home (Never Watery!)
Forget complicated techniques and fancy equipment. This tried-and-tested 7-step process is your complete guide to mastering the perfect homemade vanilla iced coffee. By following these specific instructions, you’ll learn everything from creating the essential strong coffee base to adding a final professional touch. Say goodbye to weak, watery coffee for good.
1. Brew a Double-Strength Coffee Base (The Foundation)
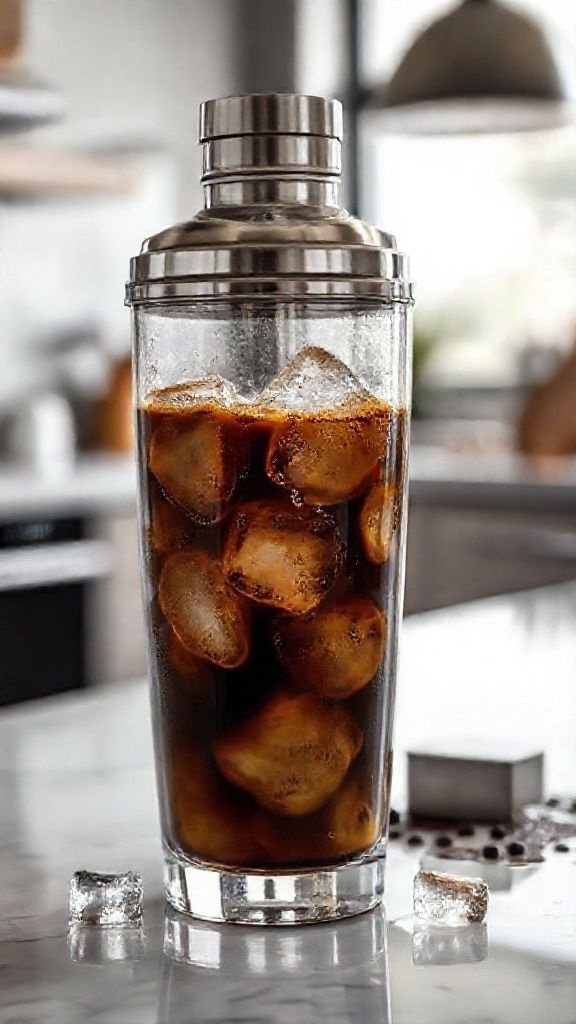
Pin this essential first step to your ‘Coffee Recipes’ board!
This is the most important step. Without a strong coffee concentrate, your drink is doomed from the start. Don’t just pour more regular coffee; change the ratio to make a truly robust foundation.
What You Need:
- ½ cup medium-roast coffee grounds (a quality medium roast provides balance without excessive bitterness)
- 2 cups filtered water
- Your preferred coffee maker (drip machine, French press, or pour-over)
Step-by-Step Directions:
- Measure Your Coffee: The secret to double-strength is changing the ratio. Instead of the typical 1 tablespoon of coffee per cup of water, use 2 tablespoons. For this recipe, that’s ½ cup of grounds for 2 cups of water.
- Choose Your Grind: Use a grind appropriate for your brewer (e.g., coarse for French press, medium for drip).
- Brew Your Coffee: Brew the coffee using your standard method. You’ll end up with 2 cups of a very strong, concentrated coffee base.
- Cool Slightly: Let the freshly brewed coffee sit on the counter for 10-15 minutes to cool down slightly before moving to the next step.
Don’t just use more of your regular coffee. Actually brewing a concentrated batch is the key. Simply pouring more weak coffee into your glass won’t give you that rich flavor.
2. Create a Rich Homemade Vanilla Syrup (The Flavor Secret)

Save this easy homemade syrup recipe!
Granulated sugar won’t dissolve in cold coffee. A simple vanilla syrup is the secret to perfectly sweetened, flavorful coffee. It’s incredibly easy to make and tastes so much better than store-bought versions.
Ingredients Needed:
- 1 cup granulated white sugar
- 1 cup filtered water
- 1 tbsp pure vanilla extract (a high-quality extract makes all the difference)
- Optional: 1 vanilla bean, split lengthwise
Step-by-Step Directions:
- Combine Sugar and Water: In a small saucepan, combine the sugar and water. If using a vanilla bean, add it now.
- Dissolve Gently: Heat over medium heat, stirring constantly until the sugar has completely dissolved. Do not let it boil rapidly.
- Simmer (Optional): Once sugar is dissolved, let it simmer gently for 2-3 minutes to thicken slightly.
- Cool and Flavor: Remove from the heat. If you didn’t use a vanilla bean, stir in the pure vanilla extract now. Let the syrup cool completely.
- Store: Pour the cooled syrup into an airtight glass bottle or jar. It will keep in the refrigerator for up to 2-3 weeks.
Stirring the vanilla extract in after the syrup has cooled preserves its delicate flavor, which can be diminished by high heat.
3. Master the Art of Rapid Chilling (No Patience Required)

Pin this genius coffee hack!
Don’t have time to wait for your coffee to cool? This “snap-chilling” hack, borrowed from professional bartenders, chills your coffee in seconds without significant dilution.
Tools Needed:
- Freshly brewed hot coffee concentrate
- A cocktail shaker or a mason jar with a tight-fitting lid
- A handful of regular ice cubes
Step-by-Step Directions:
- Fill Your Shaker: Fill the cocktail shaker or mason jar halfway with regular ice cubes.
- Add Hot Coffee: Pour your desired amount of hot, strong-brewed coffee directly over the ice in the shaker (about 6-8 oz per serving).
- Shake Vigorously: Secure the lid tightly and shake vigorously for 15-20 seconds. You’ll feel the outside of the shaker become ice-cold.
- Strain and Serve: Immediately strain the now-chilled coffee into your serving glass filled with fresh ice. Discard the melted ice left in the shaker.
This “snap-chilling” method cools the coffee in seconds, locking in flavor without the prolonged dilution that occurs when you pour hot coffee directly into a drinking glass.
4. Assemble Your Iced Coffee Like a Pro (The Perfect Ratio)
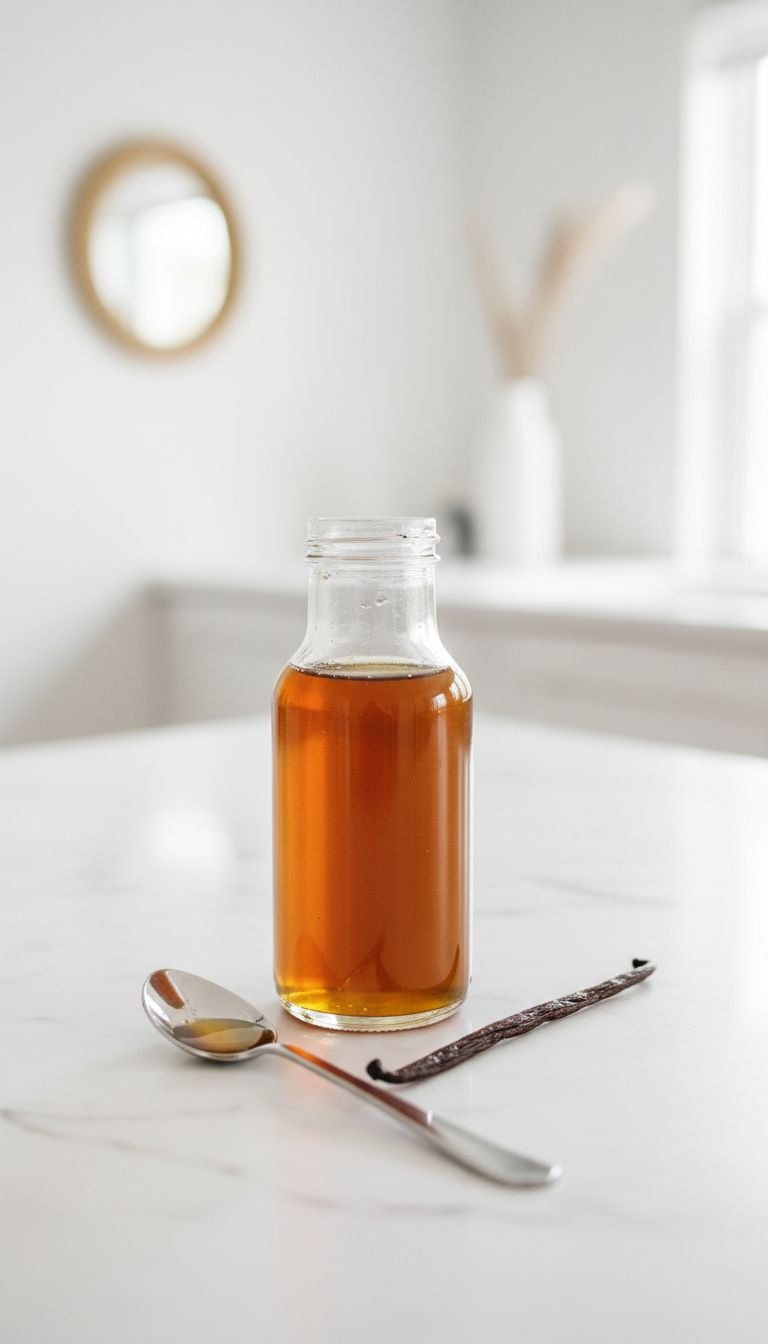
Save this perfect iced coffee ratio!
Now it’s time to bring it all together. The order you add ingredients matters for both visual appeal and proper mixing. This ratio is a perfect starting point, but feel free to adjust to your taste.
Ingredients Needed:
- Ice (preferably coffee ice cubes, see next step!)
- 1-2 tbsp Homemade Vanilla Syrup (adjust to your sweetness preference)
- 6-8 oz chilled, double-strength coffee
- 2-3 oz milk or creamer of choice
Step-by-Step Directions:
- Fill Your Glass with Ice: Fill a tall 16 oz glass completely to the top with ice. More ice means less room for dilution.
- Add Vanilla Syrup: Pour your homemade vanilla syrup directly over the ice at the bottom of the glass.
- Pour the Coffee: Slowly pour the chilled, double-strength coffee over the syrup and ice, filling the glass about ¾ of the way full.
- Top with Creamer: Top off the drink with your milk or creamer of choice. This creates a beautiful layered effect before stirring.
- Stir and Enjoy: Use a long spoon to stir from the bottom up until everything is well combined.
Don’t just dump everything in at once. Adding ingredients in this order (Syrup -> Coffee -> Creamer) allows for better mixing and a visually appealing drink.
5. Choose the Right Creamer for a Silky Finish (Texture Matters)

Pin this guide to the best iced coffee creamers!
The creamer you choose dramatically affects the final texture and richness of your drink. Whether you want classic creaminess or a dairy-free alternative, there’s a perfect option for you.
Creamer Options (What You Need):
- For Classic Creaminess: Whole milk or Half-and-Half.
- For a Rich, Decadent Treat: A splash of Heavy Cream.
- For the Best Non-Dairy Option: Oat Milk (its natural creaminess is a perfect match for coffee).
- For a Lighter Choice: Almond milk or 2% milk.
Step-by-Step Directions:
- Select Your Creamer: Choose your creamer based on the desired richness. My personal favorite for the perfect balance is half-and-half.
- Measure and Pour: Start by adding about 2-3 ounces (or ¼ cup) of your chosen creamer to the top of your coffee.
- Create Cold Foam (Optional Upgrade): For a true coffee shop experience, use a handheld milk frother to whip ¼ cup of your creamer into a thick, fluffy cold foam before spooning it on top.
- Adjust to Taste: Stir your drink, take a sip, and add more creamer if you prefer a lighter, creamier coffee.
For the creamiest results with non-dairy milk, look for a “barista blend” oat milk. It’s formulated to be richer and resist separating in coffee.
6. The Ultimate Hack: Use Coffee Ice Cubes (Goodbye, Dilution!)

This coffee ice cube hack is a game-changer! Pin it now!
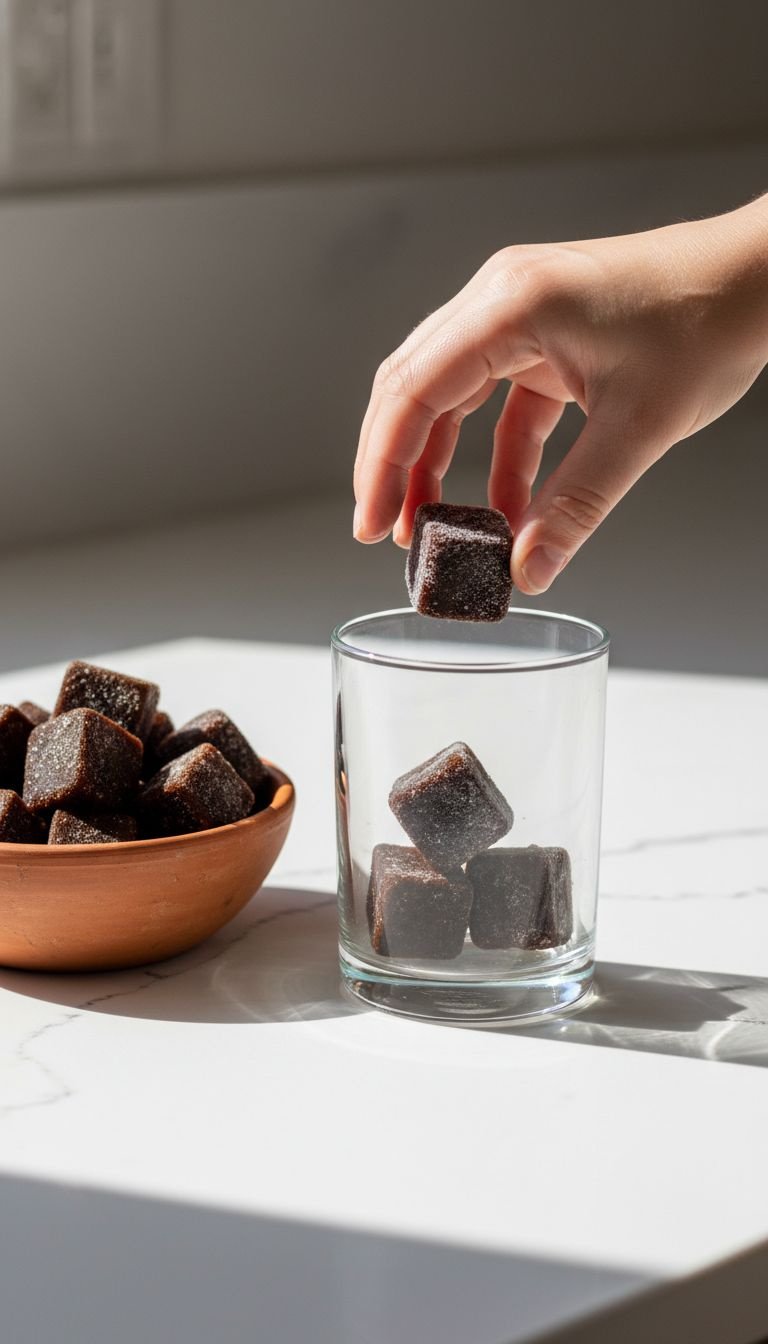
This is the ultimate solution to the watery coffee problem. As these ice cubes melt, they release more coffee flavor instead of water, ensuring your drink stays strong to the very last sip.
Materials Needed:
- Leftover brewed coffee (regular or double-strength)
- A silicone ice cube tray (flexible trays make removing the cubes much easier)
Step-by-Step Directions:
- Brew and Cool: Brew a pot of coffee as you normally would. It doesn’t have to be double-strength for this. Let it cool completely to room temperature.
- Fill the Tray: Carefully pour the cooled coffee into your ice cube tray, just as you would with water.
- Freeze Solid: Place the tray in the freezer and let the cubes freeze solid, which usually takes about 4-6 hours.
- Store and Use: Once frozen, you can pop the coffee cubes out and store them in a freezer bag for easy access. Use them in place of regular ice every time you make an iced coffee.
Make a batch of coffee ice cubes every weekend. That way, you’ll always have them on hand for a perfectly strong iced coffee all week long.
7. Garnish and Customize (Make It Yours)
Save this idea for your next coffee treat!
The best part of making coffee at home is that you are the barista. Elevate your drink from a simple daily coffee to an indulgent treat with a few simple additions.
Topping Ideas:
- Whipped cream
- A drizzle of caramel or chocolate sauce
- A sprinkle of ground cinnamon or cocoa powder
- Homemade vanilla sweet cream cold foam
Step-by-Step Directions:
- Add a Drizzle: Before adding ice, drizzle caramel or chocolate syrup around the inside of your glass for a beautiful look and extra flavor.
- Top It Off: After you’ve assembled your drink, add a generous dollop of whipped cream or a thick layer of cold foam.
- Sprinkle on Flavor: Finish with a light dusting of cinnamon, nutmeg, or cocoa powder for an aromatic touch.
- Add a Flavor Twist: Try adding ¼ teaspoon of cinnamon to your coffee grounds before brewing or a splash of caramel syrup along with your vanilla syrup for a vanilla-caramel duo.
To make quick vanilla sweet cream cold foam, froth together 3 tbsp heavy cream, 1 tbsp 2% milk, and 1 tsp of your homemade vanilla syrup until thick.
Key Takeaways: Your Quick Guide to Perfect Vanilla Iced Coffee
- Brew it Strong: Always start with a double-strength coffee base to combat dilution.
- Syrup is Essential: Use a liquid vanilla syrup (homemade is best!) as granulated sugar won’t dissolve in cold liquid.
- Chill it Fast: Use a cocktail shaker with ice to “snap-chill” hot coffee in seconds without making it watery.
- Coffee Ice Cubes are King: For a truly foolproof method, freeze leftover coffee in ice cube trays. Your last sip will be as strong as the first.
FAQs About how to make vanilla iced coffee at home
Can I use vanilla extract instead of vanilla syrup?
Yes, but you must also add a separate sweetener. Vanilla extract provides flavor but no sweetness. For one glass of iced coffee, use ½ teaspoon of vanilla extract combined with 1-2 tablespoons of a simple syrup, maple syrup, or agave to get the right balance of flavor and sweetness.
How can I make a sugar-free vanilla iced coffee?
Create a sugar-free simple syrup. Gently heat 1 cup of water with 1 cup of a 1:1 sugar substitute like monk fruit or erythritol until dissolved. Let it cool completely, then stir in 1 tablespoon of pure vanilla extract. Use this syrup in the recipe as directed for a delicious sugar-free version.
Can I make this with instant coffee?
Absolutely, it’s a great shortcut. To create a strong concentrate, dissolve 1 to 2 heaping teaspoons of instant coffee granules in 2 tablespoons of hot water. Then, add 6 ounces of cold water or milk and proceed with the recipe by pouring this mixture over your ice and syrup.
How long does brewed coffee last in the fridge for iced coffee?
You can store brewed coffee in an airtight container in the fridge for up to 4 days. This makes it perfect for meal prepping your coffee. Simply brew a large, double-strength batch and keep it chilled for quick and easy iced coffees all week long.
Final Thoughts
Making a rich, flavorful vanilla iced coffee at home that’s better than the coffee shop version isn’t just possible—it’s incredibly simple. By focusing on a strong coffee base and using a quality vanilla syrup, you can put an end to watery, disappointing drinks forever. These tips empower you to become your own home barista, saving you money and letting you craft the perfect drink every single time.
What’s your favorite way to customize your homemade iced coffee? Let me know your creative ideas in the comments below
Last update on 2025-12-15 / Affiliate links / Images from Amazon Product Advertising API

