As an Amazon Associate CoffeeXplore.com earns from qualifying purchases.
How To Make Mocha At Home Like A Barista No Machine
Struggling to make a homemade mocha that actually tastes good? You follow the steps, but it ends up weak, gritty, or just… disappointing.
A Caffe Mocha is an espresso-based drink defined by its rich chocolate flavor and creamy steamed milk. The problem is that most home attempts fail to combine these key elements correctly, leading to a lackluster beverage. You’re not alone in this frustration.
The secret to a perfect homemade mocha is not a fancy machine, but mastering the simple techniques for creating a strong coffee base, a silky smooth chocolate sauce, and properly textured milk. In this guide, I’ll show you exactly how to do it.
Why Does My Homemade Mocha Never Taste Like a Coffee Shop’s?
I’ve been there—ending up with what tastes more like weak hot chocolate than a rich, satisfying mocha. But after countless tests in my own kitchen, I’ve cracked the code. The reason your homemade mocha falls flat isn’t about lacking a thousand-dollar espresso machine. It’s about missing the fundamental techniques that baristas know by heart.
A perfect homemade mocha combines three key elements: a strong coffee base, a fully dissolved and smooth chocolate sauce, and properly textured milk. The secret isn’t a fancy machine; it’s mastering the simple techniques for combining these components in the right order. This guide will walk you through the barista secrets that solve the gritty texture, weak flavor, and flat milk for good, using tools you already have in your kitchen.
7 Barista Secrets To Make The Perfect Mocha At Home (No Machine Needed)
These aren’t just steps; they are the fundamental principles that separate a mediocre mocha from a spectacular one. Each has been tested to work perfectly with standard kitchen tools. We’ll cover everything from creating a velvety chocolate base to frothing milk with a simple jar, ensuring you can craft a coffee shop-quality Caffe Mocha anytime.
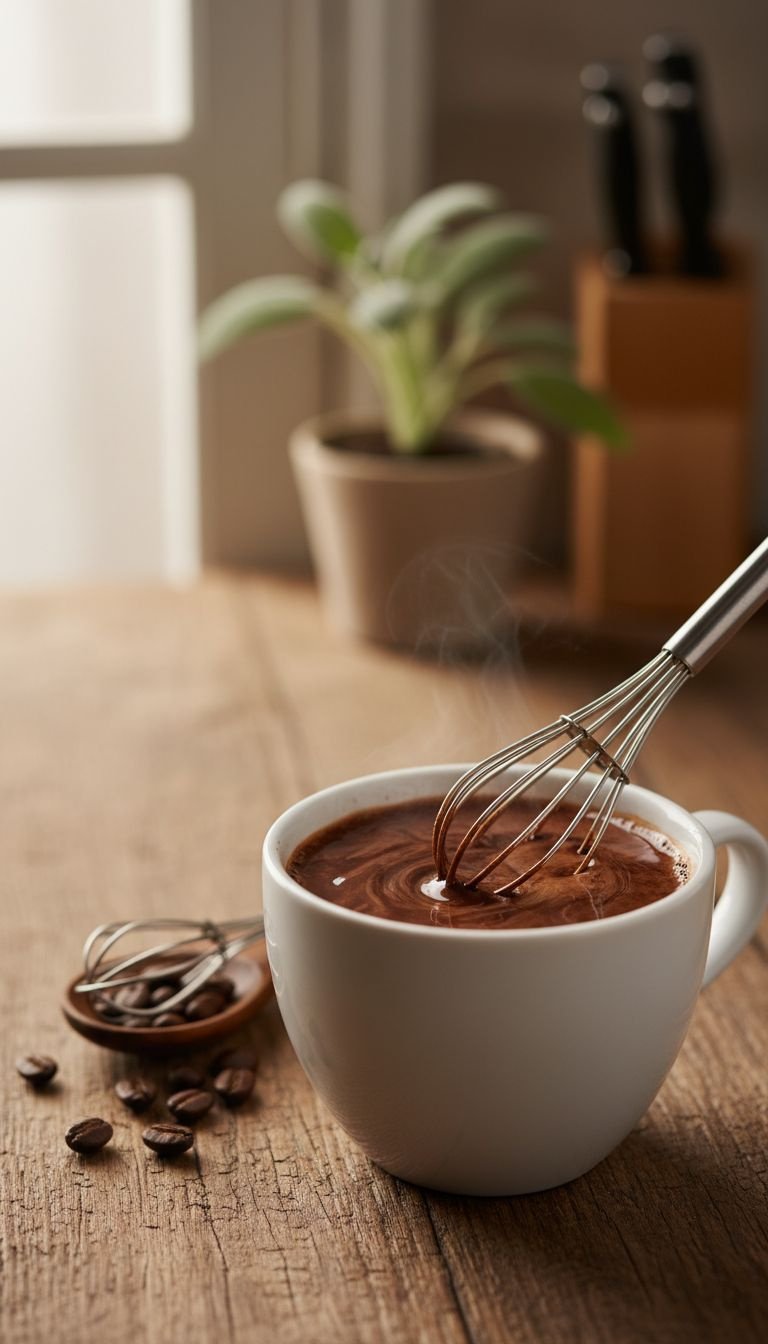
1. The Secret to a Silky Smooth Chocolate Base (No Clumps!)
Pin this essential mocha tip to your ‘Coffee Recipes’ board!
The number one mistake in making a mocha at home is adding cocoa powder to a full mug of milk. It will never fully dissolve and results in a gritty texture. The solution is to create a concentrated chocolate base first.
Materials Needed:
- 2 tablespoons unsweetened, high-quality cocoa powder
- 2 tablespoons granulated sugar (or to taste)
- 2 ounces (1/4 cup) very hot, strongly brewed coffee or espresso
- A small whisk or spoon
- Your serving mug
Step-by-Step Directions:
- Combine Dry Ingredients: In the bottom of your serving mug, add the cocoa powder and sugar.
- Create the Paste: Pour the 2 ounces of hot coffee or espresso directly over the dry ingredients.
- Whisk Vigorously: Immediately whisk the mixture for 30-45 seconds. The goal is to create a smooth, thick, and glossy chocolate syrup-like base with no visible clumps.
- Scrape the Sides: Use your spoon to scrape the sides and bottom of the mug to ensure everything is fully incorporated.
Don’t ever dump cocoa powder into a full mug of milk and expect it to dissolve. Mixing it with a small amount of hot liquid first is the single most important step for a perfect texture.
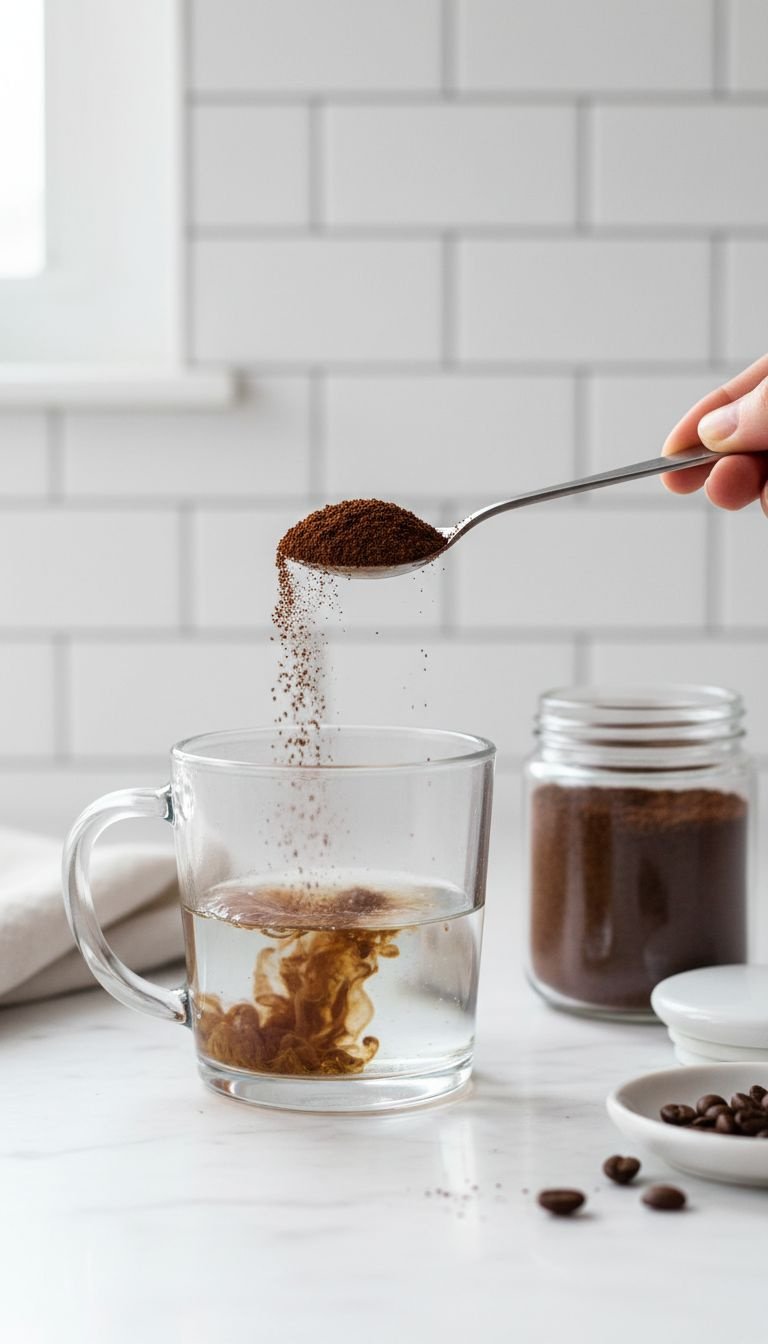
2. Brew a Bold Coffee Base (No Espresso Machine Required)
Save this no-machine coffee hack!
A mocha needs a strong coffee flavor to cut through the richness of the chocolate and milk. Regular drip coffee is often too weak and results in a drink that tastes more like hot chocolate. You need a concentrated, bold coffee base.
Methods & Ratios:
- Method A: Instant Espresso Powder: This is the fastest, most reliable option. It’s designed to dissolve completely and provide a robust flavor.
- Method B: Strong Drip Coffee/French Press: Use twice the amount of coffee grounds for the amount of water you’d normally use.
- Method C: Moka Pot: A stovetop moka pot produces a concentrated, espresso-like coffee that is perfect for mochas.
Step-by-Step Directions (for Instant Espresso):
- Measure Powder: Add 2 teaspoons of instant espresso powder to your mug (this will be part of your chocolate base from Secret #1).
- Add Hot Water: Pour 2 ounces (1/4 cup) of hot, not boiling, water over the powder.
- Stir to Dissolve: Stir until the powder is completely dissolved, creating your espresso “shot.”
- Proceed with Recipe: Use this as the hot liquid for your chocolate base in Secret #1.
If using brewed coffee, choose a dark roast. The smoky, chocolatey notes of a dark roast bean are a natural complement to the cocoa in a mocha.
3. The 60-Second Jar-Shake Milk Frothing Trick
Pin this genius milk frothing hack for later!
You don’t need a steam wand to get that lovely layer of milk foam. This simple trick uses two things you definitely have: a jar and a microwave.
Supplies Needed:
- 6-8 ounces of cold milk (whole milk works best due to higher fat content)
- A clean glass jar with a secure, tight-fitting lid (like a mason jar)
- A microwave
Step-by-Step Directions:
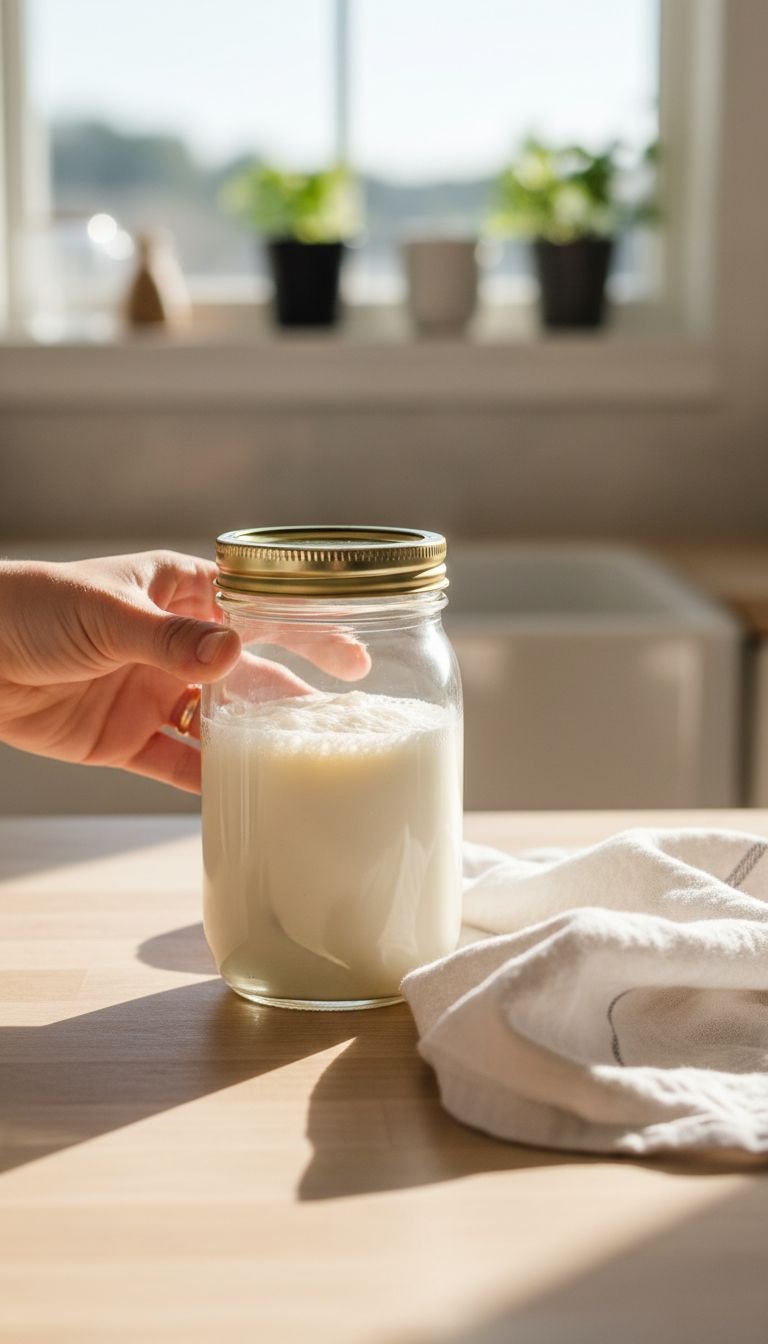
- Fill the Jar: Pour the cold milk into the jar. Do not fill it more than halfway, as the milk needs room to expand and foam.
- Shake Vigorously: Screw the lid on TIGHTLY. Shake the jar as hard as you can for 45-60 seconds. You will see the volume of the milk double as it becomes frothy.
- Heat the Milk: Remove the metal lid. Place the open jar in the microwave and heat for 30-45 seconds, or until the milk is hot and the foam has stabilized on top.
- Pour Like a Pro: Pour the hot milk into your mocha base, using a spoon to hold back the foam. Then, spoon the desired amount of foam on top.
For an even richer foam, use a handheld electric milk frother after heating the milk. They are inexpensive and create amazing results in just 20 seconds.
4. The Warm Mug Principle for a Hotter Mocha
Save this simple tip that makes a huge difference!
Ever notice how quickly your homemade mocha gets cold? Pouring hot liquid into a room-temperature ceramic mug instantly zaps a significant amount of heat. Baristas always pre-warm their mugs, and so should you.
Tools Needed:
- Your favorite large coffee mug
- A source of hot water (kettle, tap, or microwave)
Step-by-Step Directions:
- Get Ready: Before you start brewing your coffee or mixing your chocolate base, grab the mug you plan to use.
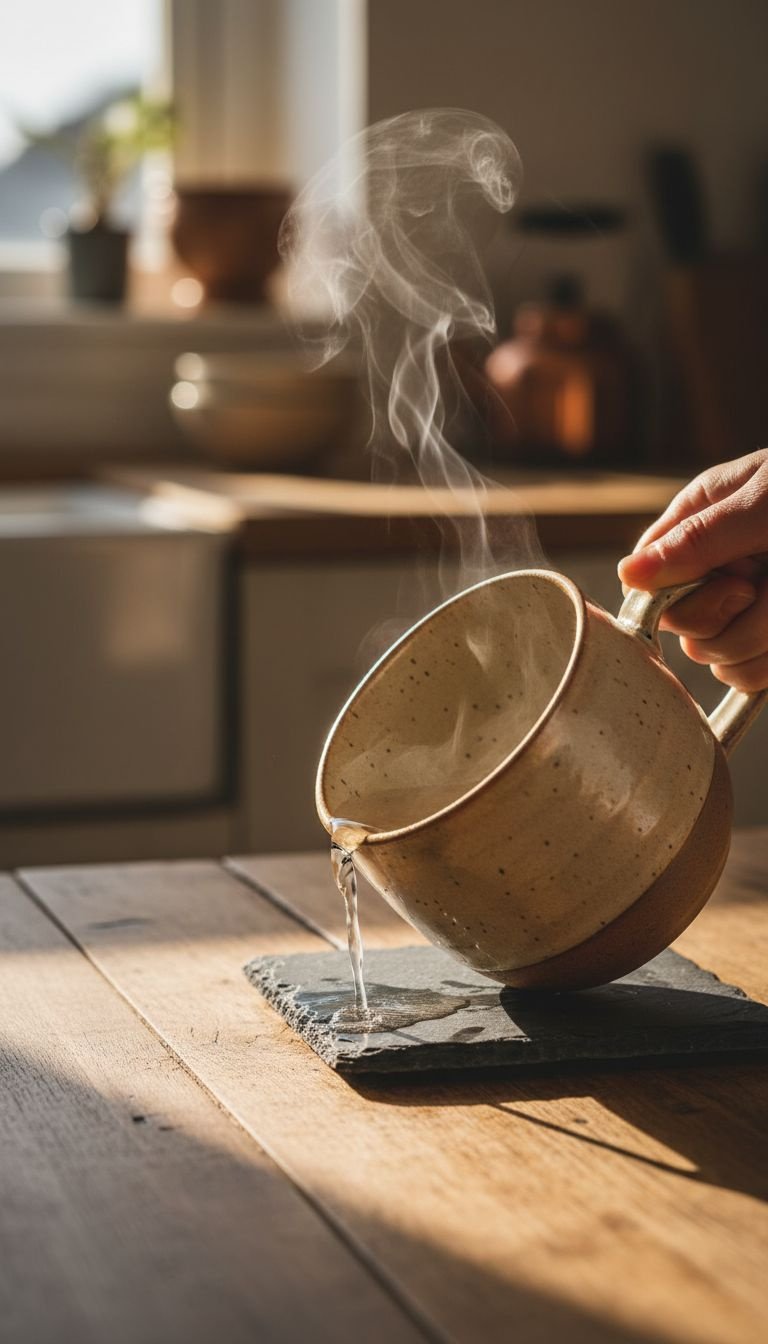
- Fill with Hot Water: Fill the mug about three-quarters full with the hottest water you can get from your tap or from a kettle.
- Let it Sit: Allow the hot water to sit in the mug for at least one minute. This transfers the heat to the ceramic, warming it thoroughly.
- Empty and Dry: Just before you’re ready to build your mocha, carefully pour out the hot water. Give the inside a quick wipe if needed. The mug will now be perfectly pre-heated.
This trick works for any hot beverage, from lattes to tea. A cold mug is like a heat magnet, instantly cooling down your perfectly crafted drink. This one small step ensures the last sip is as warm and comforting as the first.
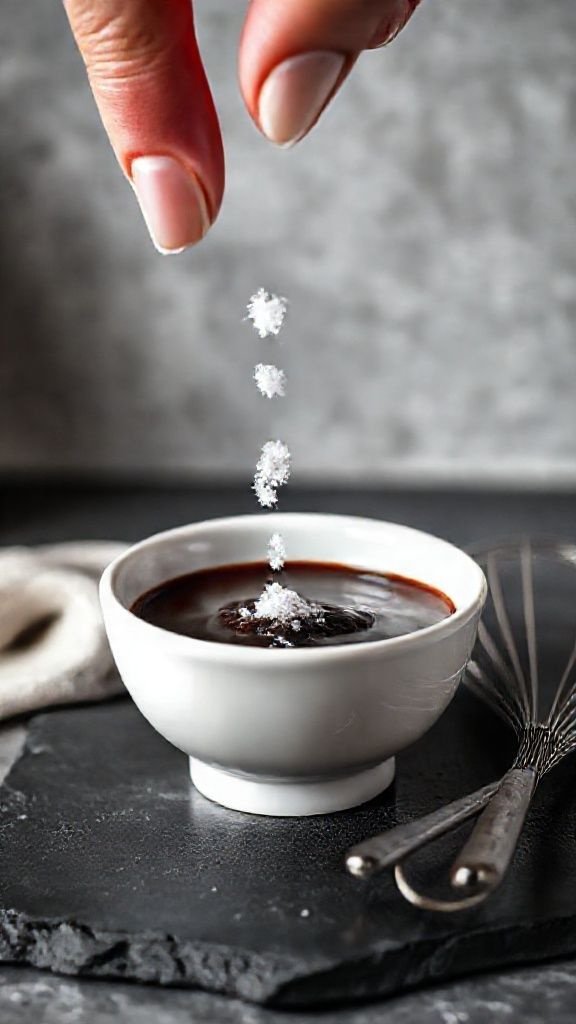
5. Why a Pinch of Salt Makes Chocolate Taste More… Chocolatey
Pin this flavor-boosting secret for all your chocolate recipes!
This is the secret weapon of pastry chefs everywhere. A tiny amount of salt won’t make your mocha taste salty; it will make the chocolate flavor deeper, richer, and more complex.
Ingredient Needed:
- A tiny pinch of fine sea salt or regular table salt (less than 1/8 of a teaspoon)
Step-by-Step Directions:
- Prepare Your Base: Follow the steps in Secret #1 to create your smooth chocolate base with cocoa powder, sugar, and hot coffee.
- Add the Salt: Before you whisk the base, add a very small pinch of salt directly into the mug with the cocoa and sugar.
- Whisk as Usual: Whisk everything together vigorously as instructed. The salt will dissolve along with the sugar and cocoa.
- Build Your Mocha: Continue with the rest of your mocha-making process. The salt is now perfectly integrated.
Salt is a flavor enhancer. In sweet recipes, it actually suppresses bitterness and enhances the other flavors, making the chocolate taste richer and the sweetness more balanced.
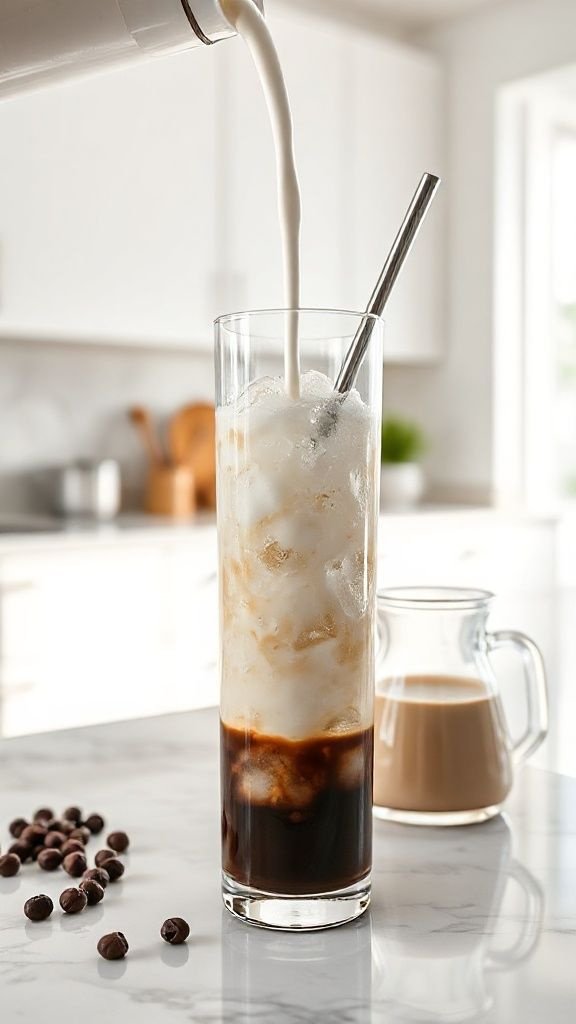
6. Build Your Iced Mocha Correctly for Perfect Flavor
Save this perfect iced mocha method for summer!
Making an iced mocha isn’t as simple as pouring a hot mocha over ice. The order of operations is crucial to prevent a watery, poorly mixed drink.
Materials Needed:
- A tall glass
- Ice cubes
- 2 ounces hot, strong coffee or espresso
- 2 tablespoons chocolate syrup or your homemade chocolate base from Secret #1
- 6 ounces cold milk of your choice
Step-by-Step Directions:
- Mix When Hot: In a separate small cup or directly in the bottom of your serving glass, combine the HOT coffee/espresso and the chocolate. Stir until completely smooth. This is crucial for dissolving the chocolate properly.
- Cool the Base: Let the chocolate coffee mixture cool for a minute or two.
- Add Milk Next: Pour the cold milk into the glass over the chocolate base. Stir well to combine.
- Add Ice Last: Fill the rest of the glass with ice cubes. Adding ice last prevents it from melting too quickly and watering down your drink.
For an even stronger coffee flavor that never gets watery, make coffee ice cubes by freezing leftover strong coffee in an ice cube tray. Use them in place of regular ice.
7. Garnish Like a Barista for the Full Experience
Pin this idea for a picture-perfect coffee moment!
Part of the coffee shop magic is the presentation. A simple garnish elevates your homemade mocha from a simple drink to a special treat.
Toppings Needed:
- Whipped cream (canned or homemade)
- Chocolate syrup or sauce in a squeeze bottle for control
- Unsweetened cocoa powder in a small shaker or fine-mesh sieve
- Dark chocolate shavings (optional, made by scraping a chocolate bar with a vegetable peeler)
Step-by-Step Directions:
- The Foundation: After pouring your hot mocha, leave about an inch of space at the top of the mug.
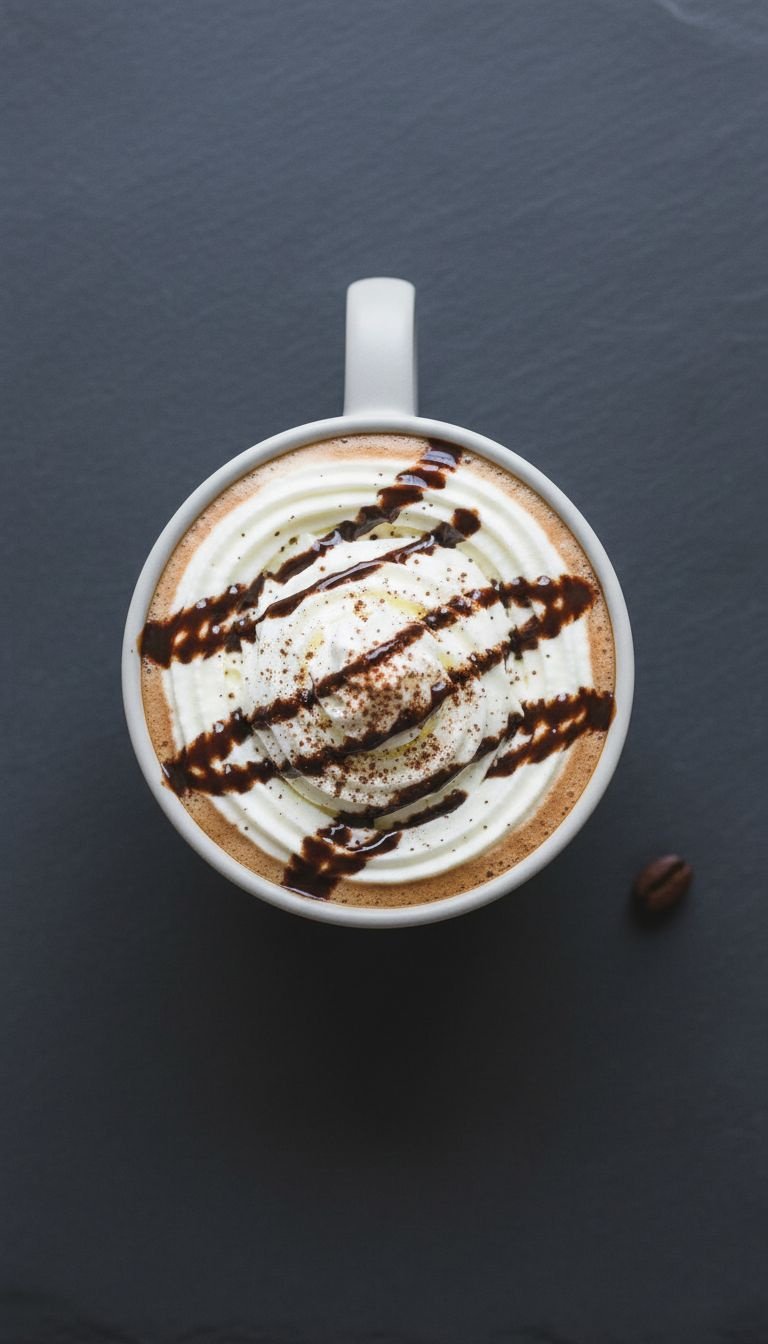
- Add the Cloud: Top with a generous swirl of whipped cream.
- The Drizzle: Gently drizzle chocolate sauce back and forth over the whipped cream.
- The Dusting: For a final professional touch, give a very light dusting of cocoa powder over the entire top. The drink is now ready to serve.
The visual presentation is a huge part of the coffee shop experience. Taking an extra 30 seconds to add a garnish tricks your brain into thinking the drink tastes even more decadent and special.
Key Takeaways: Your Quick Guide to a Perfect No-Machine Mocha
Feeling empowered? Here’s a quick cheat sheet of the most important secrets to remember for making the perfect mocha at home.
- Always Dissolve First: Mix cocoa powder and sugar with a small amount of hot espresso/coffee before adding any milk to guarantee a smooth, clump-free texture.
- Go Bold on Coffee: Use instant espresso powder or double-strength brewed coffee. A weak coffee base will get lost and taste like hot chocolate.
- Shake Your Milk: The easiest way to froth milk without a frother is to shake cold milk in a sealed jar, then microwave it for 30 seconds to stabilize the foam.
- Pre-Heat Your Mug: Fill your mug with hot water for one minute before you start. A warm mug keeps your mocha hot from the first sip to the last.
- A Pinch of Salt: Add a tiny pinch of salt to your chocolate base. It won’t taste salty—it will just make the chocolate flavor richer and more intense.
People Also Ask About Making Mochas at Home
What is the difference between a mocha and a latte?
A mocha is a latte with chocolate added. Both drinks are made with the same foundation: espresso and steamed milk. A latte is simply espresso and milk, while a mocha includes chocolate syrup or a cocoa-sugar mixture, making it a distinctly chocolate-flavored coffee drink.
Can I use regular brewed coffee to make a mocha?
Yes, you absolutely can, but you must brew it very strong. To prevent your mocha from tasting weak and milky, use double the amount of coffee grounds for the same amount of water. This creates a bold coffee concentrate that can stand up to the chocolate and milk flavors.
Why is my homemade mocha gritty?
A gritty mocha is almost always caused by undissolved cocoa powder. This happens when you add cocoa powder directly to a large volume of milk. To fix this, always mix your cocoa powder with a small amount of hot espresso or coffee first, whisking it into a smooth paste before adding the rest of your hot milk.
Is a mocha just hot chocolate with coffee?
Essentially, yes, that’s a great way to think about it. A traditional mocha is more specifically hot chocolate mixed with a shot of espresso and topped with steamed milk instead of just hot water or plain milk. This gives it the rich coffee flavor and caffeine kick that hot chocolate doesn’t have.
Final Thoughts
Now you’re not just a coffee drinker; you’re a home barista. You have the secrets to transform simple ingredients into a rich, creamy, and perfectly customized mocha anytime a craving strikes. Forget the long lines and high prices—your kitchen is now your favorite cafe.
What’s your favorite way to top your homemade mocha? Let me know in the comments below.
Last update on 2025-12-15 / Affiliate links / Images from Amazon Product Advertising API

