As an Amazon Associate CoffeeXplore.com earns from qualifying purchases.
Unlock The Secret To Perfectly Creamy Coffee Ice Cream
Have you ever spent hours making homemade ice cream, only to end up with a disappointing, icy brick? It’s a common frustration that can make you want to just go back to the store-bought stuff.
You’re not alone in this struggle. The key to a great homemade coffee ice cream recipe is creating an ultra-creamy, smooth texture, but it’s easy to get a crunchy, icy result instead. The difference between failure and success lies in understanding a few simple secrets.
The secret to creamy coffee ice cream is managing water and ice crystal formation. This is achieved by using high-fat dairy, properly dissolving sugar, creating a stable emulsion with egg yolks (in custard bases), and chilling the mixture rapidly before freezing. This guide will walk you through the seven foolproof secrets to unlock that perfect, scoopable, artisan-quality texture every single time.
Why Is Your Homemade Ice Cream Always Icy (And How to Fix It for Good)?
That disappointing, crunchy texture in homemade ice cream comes down to one thing: large ice crystals. When the water in your milk and cream freezes slowly, it forms big, jagged crystals that ruin the mouthfeel. You want tiny, microscopic crystals that feel smooth and creamy on your tongue.
The goal of any great homemade coffee ice cream recipe is to control this freezing process. After countless test batches, I’ve pinpointed the exact reasons homemade ice cream fails and developed foolproof methods to guarantee success. This guide provides the specific, science-backed solutions to achieve that rich coffee ice cream with a premium, creamy texture. We’ll show you how to limit the water, get in the way of crystal growth, and freeze the base quickly for a perfect scoop, whether you’re using an ice cream maker or not.
7 Secrets to Perfectly Creamy Coffee Ice Cream (The “Why” Behind the Perfect Scoop)
Making truly creamy coffee ice cream isn’t about having a fancy machine; it’s about understanding the “why” behind each step. These seven secrets are the foundation of any great recipe. By mastering these simple food science principles, you’ll move from making just okay ice cream to crafting an intensely flavored, decadent coffee dessert that’s better than anything you can buy.
1. The Foundation: Why Full-Fat Dairy is Non-Negotiable

Pin this essential tip for the creamiest ice cream ever!
What You Need:
- Heavy whipping cream (minimum 36% milkfat)
- Whole milk (do not use skim or 2%)
The Scientific Reason (What To Do):
- Understand the Enemy: Ice cream’s enemy is large ice crystals, which create a crunchy, icy texture.
- Embrace the Hero: Fat molecules are the heroes. They physically get in the way, preventing water molecules from grouping together into large, crunchy crystals.
- Follow the Rule: Always use the full-fat dairy called for in the recipe. Higher fat content means a richer taste and, more importantly, a much smoother, creamier texture.
The difference between “whipping cream” and “heavy cream” is minimal, but always opt for the one with the higher fat percentage listed on the label for the best possible texture.
2. The Flavor Core: How to Achieve the Deepest Coffee Infusion
Save this flavor-boosting technique to your dessert recipes board!
Flavor Options (What You Need):
- Option A (Best Flavor): 1/2 cup whole, dark-roast coffee beans
- Option B (Easiest Method): 2-3 tablespoons high-quality instant espresso powder
- Option C (Good Alternative): 3-4 tablespoons strong instant coffee granules
Step-by-Step Flavor Infusion:
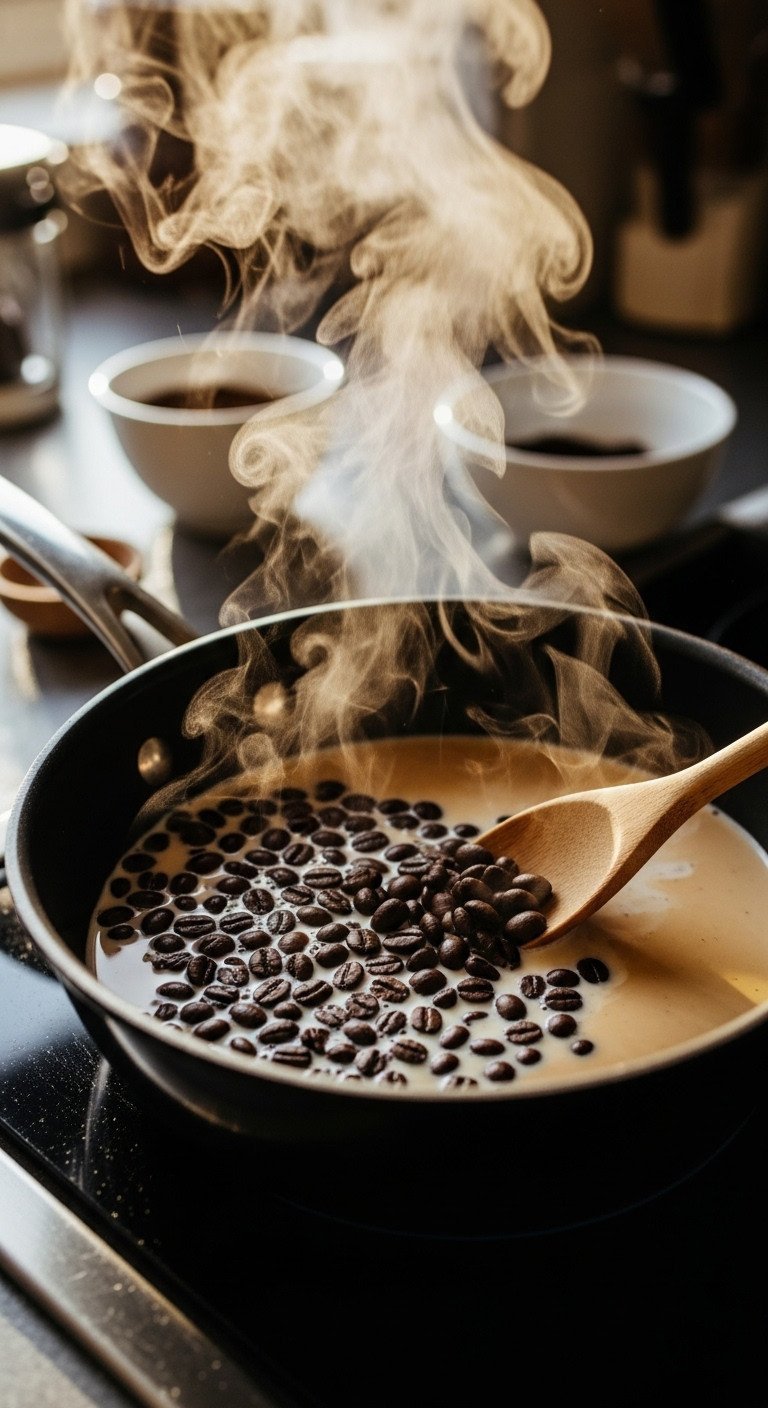
- For Steeped Beans (Best): Gently heat your milk and cream in a saucepan. Once warm and steamy (not boiling), remove from heat, add the whole coffee beans, cover, and let steep for 30-60 minutes. Strain the beans out before proceeding with your recipe. This flavor infusion method gives the most nuanced taste.
- For Powders (Easiest): In a small bowl, whisk your espresso or instant coffee powder with 2 tablespoons of the hot milk from your recipe until a smooth, thick paste forms. This “blooming” ensures it dissolves fully. Whisk this paste into your main ice cream base for a bold coffee flavor.
- Avoid This Mistake: Do not use liquid brewed coffee. It adds too much water, which is the #1 cause of an icy texture.
For the ultimate flavor, combine methods! Steep whole beans for aromatic complexity, then add a teaspoon of espresso powder at the end for a roasty, bitter backbone.
3. The Creaminess Engine: Mastering the Egg Yolk Custard
Pin this foolproof guide to making perfect ice cream custard!
What You Need:
- 4-6 large egg yolks
- A whisk
- A heavy-bottomed saucepan
- An instant-read thermometer (highly recommended)
Step-by-Step Tempering:
- Whisk Eggs & Sugar: In a medium bowl, whisk the egg yolks and sugar together until pale and slightly thickened.
- Heat Dairy: In your saucepan, heat the milk/cream mixture until it’s steaming and small bubbles form around the edge (about 170°F / 77°C). Do not boil.
- Temper Slowly: While whisking the eggs constantly, pour a very thin stream (just a trickle) of the hot milk into the egg mixture. This technique, called tempering, gently raises the egg temperature. Continue adding the first cup of milk very slowly.
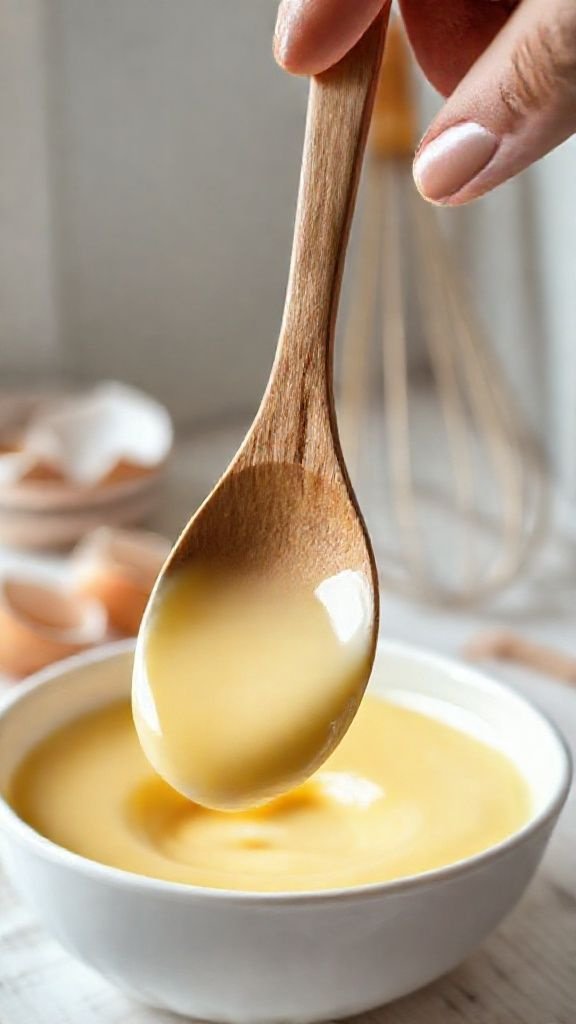
- Combine and Cook: Once the first cup is incorporated, you can pour the egg mixture back into the saucepan with the remaining milk. Cook over medium-low heat, stirring constantly with a wooden spoon, until the custard base thickens enough to coat the back of the spoon (165-175°F / 74-79°C).
- Strain for Insurance: Always pour the finished custard through a fine-mesh sieve into a clean bowl. This catches any tiny bits of cooked egg and guarantees a silky-smooth base.
My first few custards were scrambled messes because I rushed the tempering. Go slower than you think you need to—a slow, steady stream is the key to success.
4. The Texture Secret: Understanding Sugar’s Role Beyond Sweetness
Save this food science secret to your baking tips board!
What You Need:
- Granulated sugar (as called for in the recipe)
- Optional: 1-2 tablespoons corn syrup or glucose (for advanced creaminess)
The Scientific Reason (What To Do):
- Think Function, Not Just Flavor: Sugar does more than sweeten. Its primary role in ice cream is to lower the freezing point of the water in the dairy. This is a scientific principle called freezing point depression.
- Visualize the Impact: Without enough sugar, the water freezes into a solid, rock-hard block of ice. With the right amount of sugar, a portion of the water remains liquid even at freezing temperatures, resulting in a soft, scoopable texture.
- Follow the Recipe: Don’t be tempted to drastically reduce the sugar in a tested ice cream recipe. This will make your ice cream hard and icy. If you must reduce sweetness, look for recipes specifically developed to be lower in sugar that compensate with other ingredients.
For an even smoother texture that resists crystallization over time, try replacing 2 tablespoons of the granulated sugar with corn syrup or glucose. These “invert sugars” are pros at controlling ice crystals.
5. The Scoopability Hack: Using a Touch of Alcohol for Softer Scoops
Pin this genius kitchen hack for perfect homemade ice cream!
What You Need:
- 1 to 2 tablespoons of alcohol (80-proof or lower)
- Good choices: Vodka (neutral flavor), Kahlua or other coffee liqueur (adds flavor), bourbon, or dark rum.
Step-by-Step Directions:
- Understand the Science: Alcohol has a much lower freezing point than water. Adding a small amount to your ice cream base acts as a natural “antifreeze.”
- Add at the End: Whisk your chosen alcohol into the ice cream base after it has been completely chilled, right before you churn it or do the final freeze for a no-churn version.
- Don’t Overdo It: A little goes a long way. Too much alcohol will prevent your ice cream from freezing properly at all. Stick to a maximum of 2 tablespoons per quart of ice cream base.
This is the single best trick for scoopable ice cream straight from the freezer. For coffee ice cream, 1 tablespoon of Kahlua is perfect as it enhances the coffee flavor while also softening the texture.
6. The Crystal Killer: Why a Deep Chill is Your Best Friend
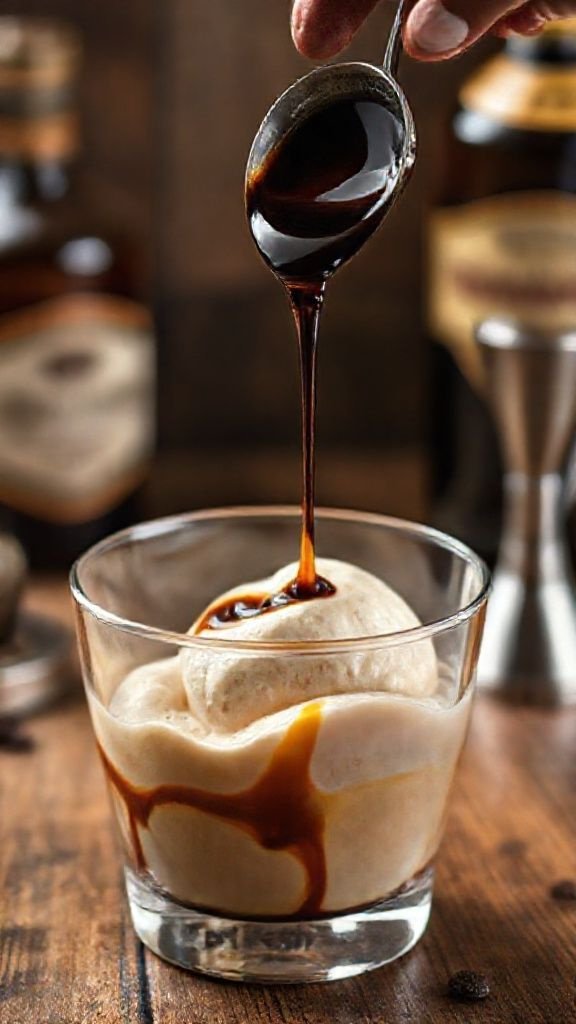
Save this crucial step for foolproof homemade ice cream!
What You Need:
- Your prepared ice cream base (custard or no-churn)
- An airtight container or bowl
- Plastic wrap
- At least 4 hours of refrigerator time
Step-by-Step Directions:
- The Golden Rule: The colder your base is before it hits the ice cream maker (or the freezer for no-churn), the faster it will freeze. Faster freezing = smaller ice crystals = creamier ice cream.
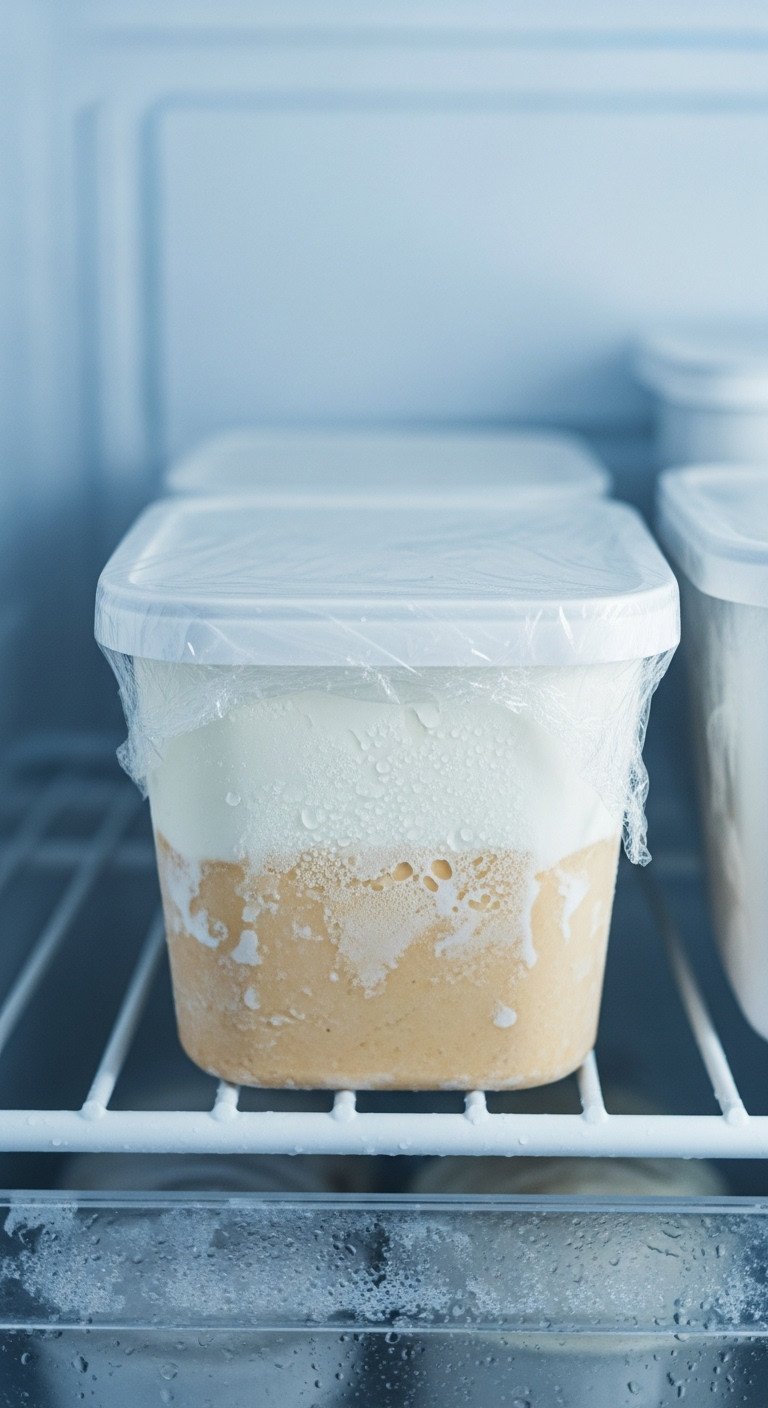
- Chill for Hours: After preparing your base, transfer it to an airtight container. Press a layer of plastic wrap directly onto the surface to prevent a skin from forming.
- Be Patient: Refrigerate for a minimum of 4 hours, but for the absolute best results, chill it overnight. The goal is to get it to 40°F (4°C) or colder.
- Pre-Chill Your Tools: For churned ice cream, make sure your freezer bowl has been frozen solid for at least 24 hours. For both methods, pre-chill the final storage container in the freezer for 30 minutes before filling it.
Skipping the long chill is the most common mistake. I tested a 2-hour chill vs. an overnight chill, and the overnight version was noticeably creamier every single time. It’s a passive step that pays off big.
7. The Easy Win: Perfecting the No-Churn Foundation
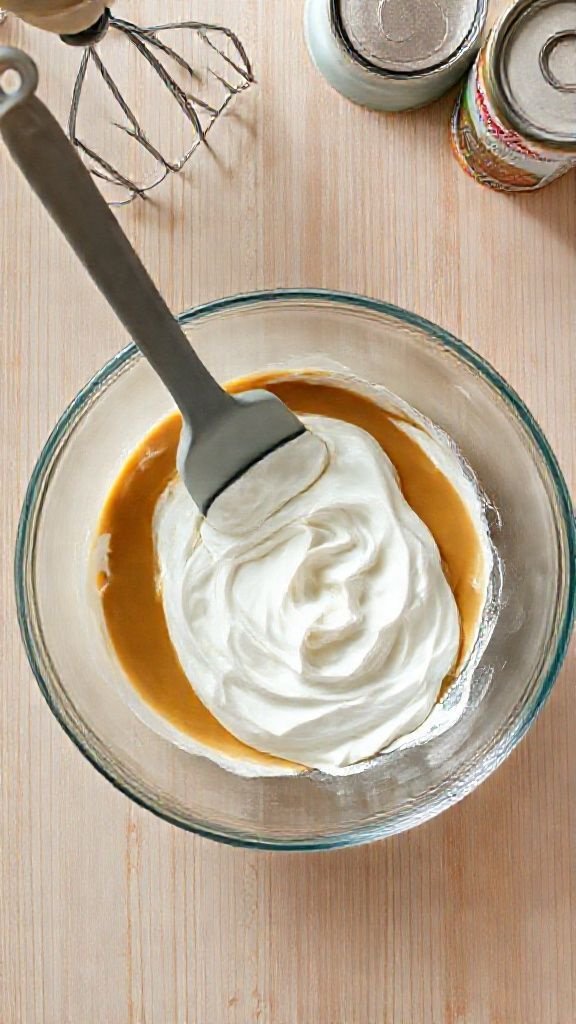
Pin this simple guide to amazing no-churn ice cream!
What You Need:
- 1 can (14 oz) sweetened condensed milk, chilled
- 2 cups heavy whipping cream, very cold
- Your coffee flavor infusion (e.g., espresso powder paste)
- An electric mixer (hand or stand)
Step-by-Step Directions:
- Combine Base Flavors: In a large bowl, whisk together the chilled sweetened condensed milk and your coffee flavor paste until smooth.
- Whip the Cream: In a separate, chilled bowl, use an electric mixer to whip the very cold heavy cream. Start on low and gradually increase to high speed. Whip until stiff peaks form—this means when you lift the beaters, the peak holds its shape and doesn’t flop over. This step incorporates the air that makes the ice cream light.
- Fold, Don’t Stir: Add about one-third of the whipped cream to the condensed milk mixture and stir to lighten it. Then, gently fold in the remaining whipped cream in two batches with a spatula until just combined. Be careful not to deflate all the air you just whipped in.
- Freeze: Pour the mixture into a chilled loaf pan or container, cover, and freeze for at least 6 hours, or until firm.
Chill everything! Your bowl, your beaters, your cream, and your condensed milk. Cold cream whips up faster and creates a more stable foam, which is the secret to a great no-churn coffee ice cream texture.
Key Takeaways: Your Quick Guide to Perfectly Creamy Ice Cream
- High Fat is Your Friend: Always use full-fat heavy cream and whole milk. Fat obstructs ice crystals, guaranteeing a smoother texture.
- Chill, Chill, Chill: A deeply chilled base (4+ hours) freezes faster, resulting in smaller ice crystals and ultimate creaminess.
- Sugar is for Texture: Don’t reduce sugar in a recipe; it’s essential for keeping the ice cream soft and scoopable by lowering the freezing point.
- Master the Method: For churned ice cream, learn to temper eggs slowly for a rich custard. For no-churn, whip cream to stiff peaks and fold gently to keep it airy.
- The Alcohol Hack: Add 1 tablespoon of vodka or Kahlua to your base for ice cream that stays scoopable right out of the freezer.
People Also Ask About Homemade Coffee Ice Cream
Why did my egg custard curdle or look like scrambled eggs?
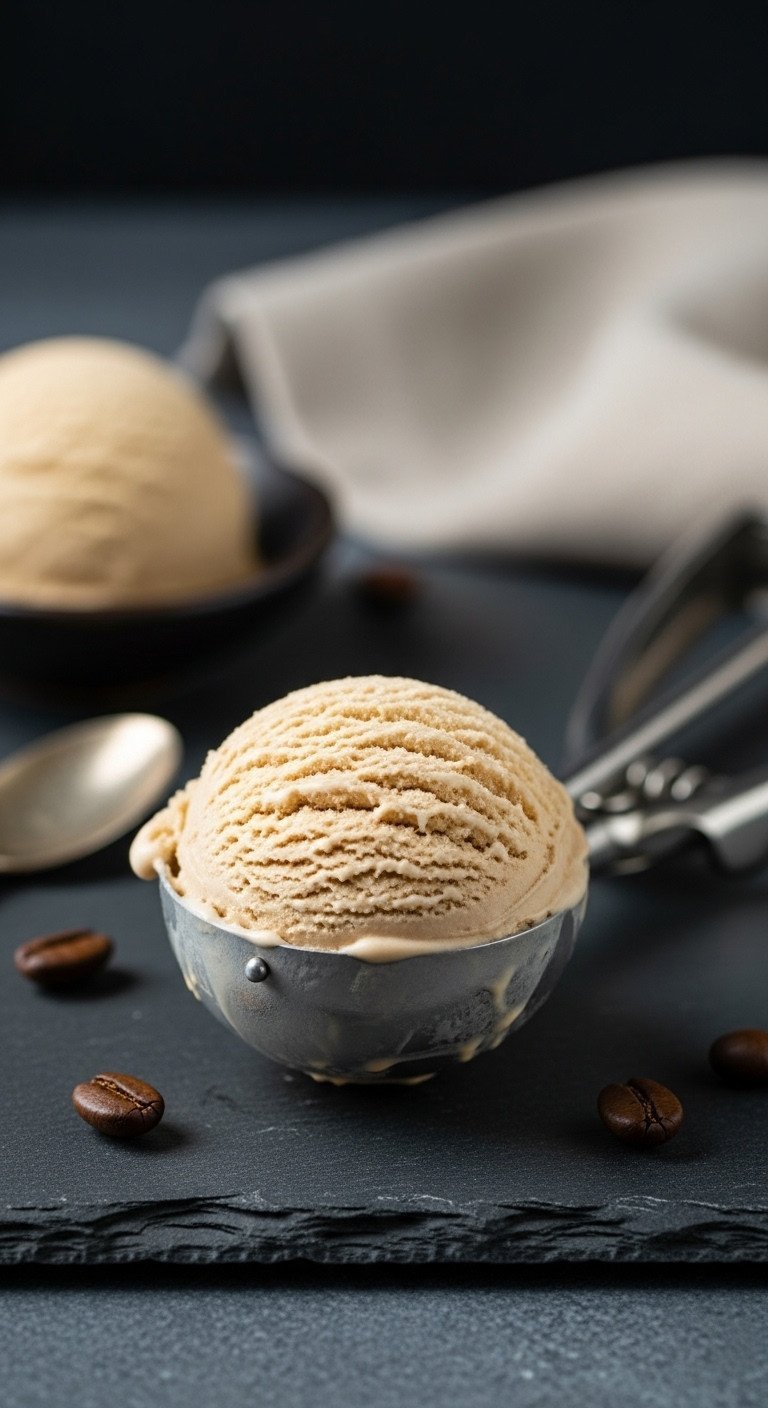
This happens when the hot liquid is added to the egg yolks too quickly, causing them to cook instantly. The solution is proper “tempering.” You must whisk the egg yolks constantly while pouring the hot liquid in a very slow, thin stream. This gently raises their temperature without scrambling them. Always strain your custard as a final safety step.
Can I make coffee ice cream with regular brewed coffee?
It’s not recommended to use regular brewed coffee. It adds too much water to the base, which is the primary cause of an icy, unpleasant texture. For the best flavor without compromising creaminess, use instant espresso powder, strong instant coffee, or steep whole coffee beans in the warm milk.
My homemade ice cream is rock-hard. How can I make it softer?
Rock-hard ice cream is usually caused by freezing too solidly. There are two main fixes. First, ensure your recipe has enough sugar, as sugar lowers the freezing point. Second, add 1-2 tablespoons of a neutral spirit like vodka or a complementary liqueur like Kahlua to the base before churning. The alcohol will prevent it from freezing completely solid.
Do I absolutely need an ice cream maker?
No, you don’t! You can make excellent ‘no-churn’ coffee ice cream without a machine. The method uses a base of sweetened condensed milk and whipped heavy cream. The whipped cream incorporates air, and the high sugar content of the condensed milk keeps the texture soft and scoopable without any churning required.
Final Thoughts
You’ve now unlocked the secrets to perfectly creamy coffee ice cream. It’s not about magic; it’s about understanding the simple science behind the scoop. By using high-fat dairy, respecting the role of sugar, and chilling everything properly, you have the power to create a decadent frozen dessert that rivals any artisanal shop. Go ahead and create something amazing—you’ve got this!
What’s the first mix-in you’re going to try with your homemade coffee ice cream? Let me know in the comments below
Last update on 2025-12-15 / Affiliate links / Images from Amazon Product Advertising API

