As an Amazon Associate CoffeeXplore.com earns from qualifying purchases.
Brown Sugar Coffee: Easy Homemade Shaken Espresso Recipe
Tired of that daily café expense for your favorite drink? You know the one. That perfectly sweet, rich, and creamy brown sugar coffee that costs a small fortune.
You’ve tried making it at home, but it never quite works. The brown sugar coffee always ends up gritty or watery. This guide fixes that.
The secret to a perfect homemade brown sugar coffee is using a 2:1 rich simple syrup, not just raw sugar. This tested recipe ensures a smooth, decadent texture every single time. Get ready to master the Starbucks copycat that’s even better than the original.
Are You Making the Viral Brown Sugar Coffee Syrup Wrong? The Secret to Zero Grittiness
If you’ve ever dumped brown sugar into your coffee hoping for the best, you’ve likely met its gritty, disappointing result. The problem isn’t the ingredients; it’s the chemistry. Sugar needs to be fully dissolved in water before it can blend seamlessly into a cold drink, a process that simple stirring can’t achieve.
After testing various sugar-to-water ratios, the expert consensus is clear: a standard 1:1 simple syrup is too thin for iced coffee, leading to a watery flavor. The optimal ratio for brown sugar syrup is 2 parts brown sugar to 1 part water, simmered slowly until the sugar is fully dissolved. This method prevents crystallization and achieves a rich, viscous consistency that’s perfect for any brown sugar specialty coffee. This rich syrup is the non-negotiable foundation for that decadent, caramelized flavor you love.
7 Simple Steps to Master the Homemade Iced Brown Sugar Shaken Espresso
Ready to create that signature velvet texture at home? These seven simple steps are based on specialty coffee preparation methodologies, focusing on the science behind aeration and temperature control. You’ll learn exactly how to combine the rich syrup, strong coffee base, and creamy oatmilk to achieve flavor accuracy that rivals any café.
1. Perfecting the Brown Sugar Syrup Foundation

Pin this genius tips to your ‘Coffee Recipes’ board!
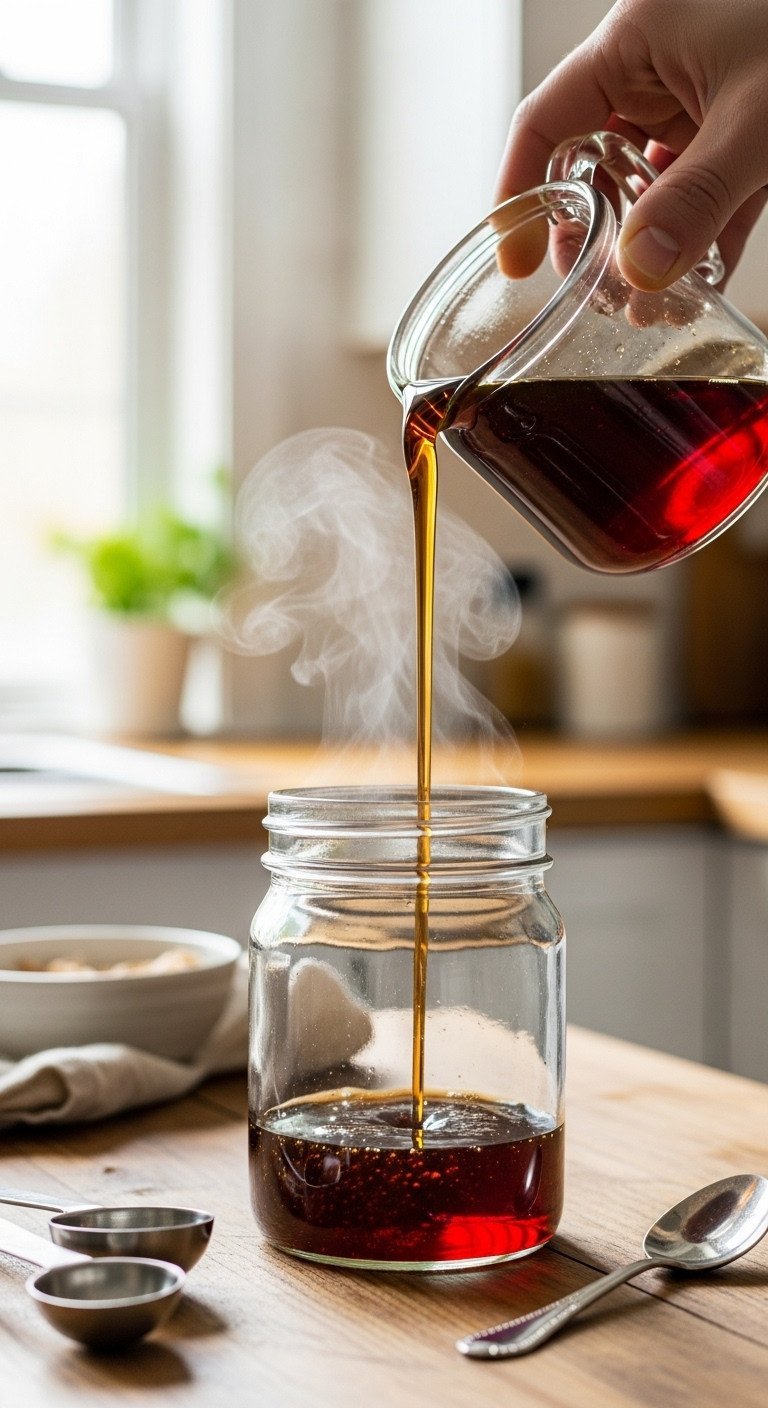
This rich, viscous syrup is the heart of your brown sugar espresso drink. Using dark brown sugar provides a more intense molasses and buttery caramel flavor that stands up to the coffee.
Materials Needed:
- 1 cup Dark Brown Sugar (for rich, buttery caramel flavor)
- ½ cup Filtered Water
- Pinch of Salt (enhances caramel notes)
- Small Heavy-Bottom Saucepan (prevents scorching)
Step-by-Step Directions:
- Combine: Add brown sugar, water, and salt to the small saucepan.
- Dissolve Slowly: Place the pan over medium-low heat. Stir constantly until the sugar granules are completely dissolved into the water. This is the crucial step to prevent crystallization. Do not let it boil yet.
- Simmer: Once dissolved, increase the heat slightly and bring the mixture to a gentle simmer for 3-5 minutes. This allows it to thicken into a syrupy texture. Avoid temperatures over 185°F (85°C).
- Cool: Remove the pan immediately from the heat. Let the syrup cool completely to room temperature before moving it to a storage container.
- Store: Pour the cooled syrup into a sterilized glass jar and store it in the refrigerator for up to one January.
Pro-Tip: If you see any sugar crystals clinging to the sides of the pan, use a wet pastry brush to gently wash them down into the liquid. This simple action stops those stray granules from seeding crystallization later.
2. Selecting Your Coffee Base and Brewing Essentials

Save this tip for perfect espresso extraction!
A strong coffee base is required for this recipe. A weak, watery brew will be completely overpowered by the syrup and milk.
Equipment & Coffee Needed:
- 2 shots (approx. 2oz) Blonde Espresso (recommended for lighter, sweeter flavor)
- OR 4oz highly concentrated Cold Brew Concentrate
- Quality Espresso Machine OR Moka Pot (for best concentration)
Preparation Guidance:
- Calibrate: If using an espresso machine, professional baristas recommend a 1:2 brew ratio. This means 1 gram of coffee grounds should yield 2 grams of liquid espresso in about 20–30 seconds.
- The Blonde Advantage: Use a light roast (Blonde) coffee if you can. Its subtle acidity provides a perfect flavor synergy, balancing the heavy sweetness of the brown sugar syrup without adding bitterness.
- Substitute Strategy: Don’t have an espresso machine? No problem. A Moka pot is an excellent alternative. Just be sure to brew your coffee at double the normal concentration to create a strong coffee base.
- Timing: Brew your espresso shots immediately before you start shaking. Using hot espresso is key to creating the best texture.
Expert Insight: Using hot espresso in the shaker creates a rapid thermal shock when it hits the ice. According to professional standards, this helps release essential aromatic compounds and creates superior foam stability for that signature airy texture.
3. The Shaking Technique: Aerating for Creamy Microfoam

Save this clever organization idea!
This is where the magic happens. Shaking isn’t just for mixing; it’s an aeration technique that chills the espresso and creates a light, creamy microfoam that defines the drink.
Tools & Ingredients for Shaking:
- 2oz Freshly Brewed Espresso (hot)
- 2-3 Tbsp Brown Sugar Syrup (adjust to preferred sweetness)
- 1/4 tsp Ground Cinnamon (optional but highly recommended for flavor balance)
- 1 cup Ice Cubes
- Boston Cocktail Shaker or Mason Jar with Tight Lid
Step-by-Step Directions:
- Combine Hot Espresso & Syrup: Pour the hot espresso shots, brown sugar syrup, and a dash of cinnamon directly into your shaker cup.
- Add Ice: Fill the shaker about halfway with standard ice cubes.
- Seal and Shake: Seal the shaker tightly. Hold it firmly with both hands and shake vigorously over your shoulder for exactly 15-20 seconds.
- Listen and Stop: The process is complete when the outside of the shaker is frosted and intensely cold. You’ll also hear the sound of the ice cubes become quieter, signaling the thermal transfer and aeration are done.
Lesson Learned: Shaking for longer than 20 seconds is a common mistake that will over-dilute your drink, resulting in a watery latte. The goal is rapid cooling and aeration, not maximum ice melt.
4. Building the Iced Espresso: Layering and Milk Integration

Pin this perfect layered coffee look!
Proper assembly creates the beautiful layered look and ensures a smooth finish from the first sip to the last.
Ingredients & Tools for Assembly:
- Shaken Espresso Mixture (from H3: 3)
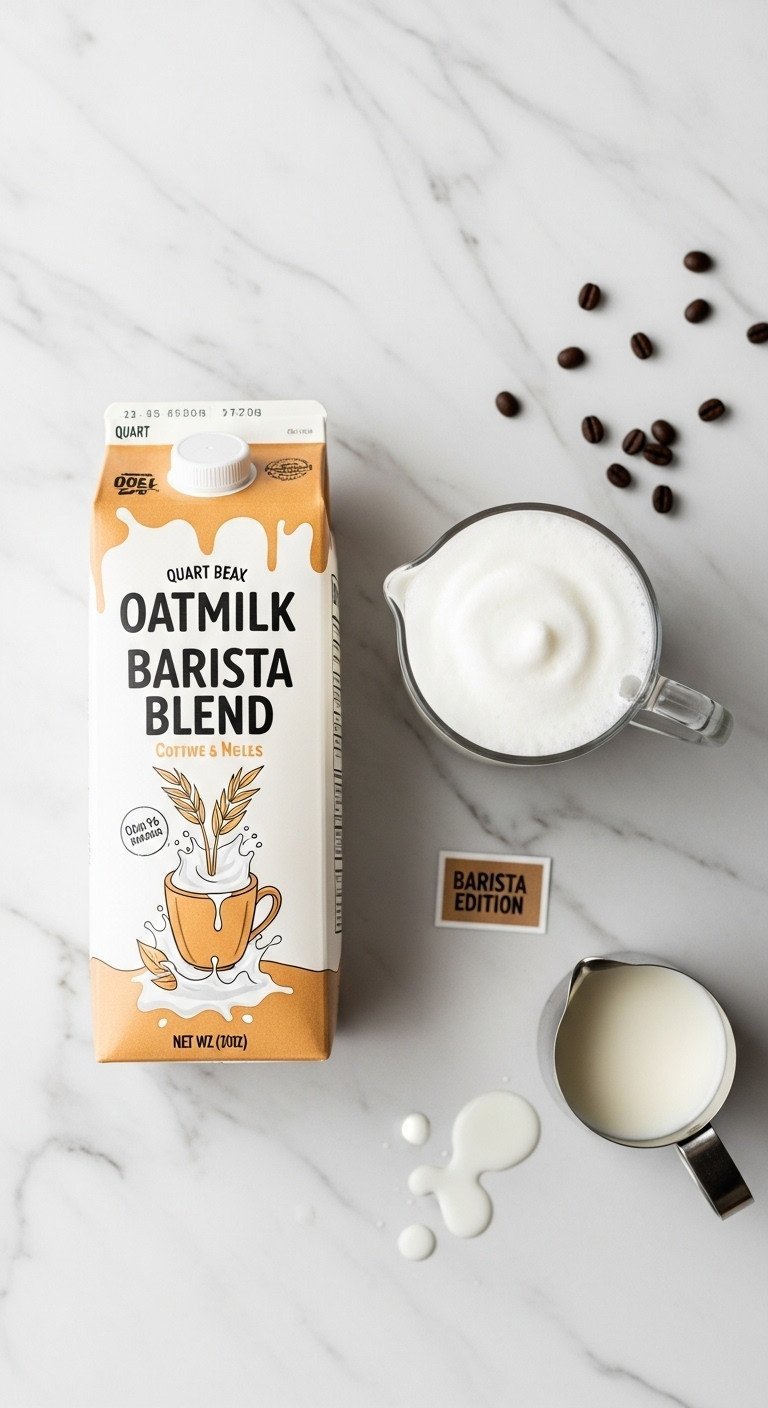
- 6-8 oz chilled Barista Blend Oatmilk (or milk of choice)
- Extra Ice Cubes (if needed)
- Tall Iced Coffee Tumbler
Step-by-Step Directions:
- Ice the Glass: Fill your tall iced coffee tumbler all the way to the top with fresh ice cubes.
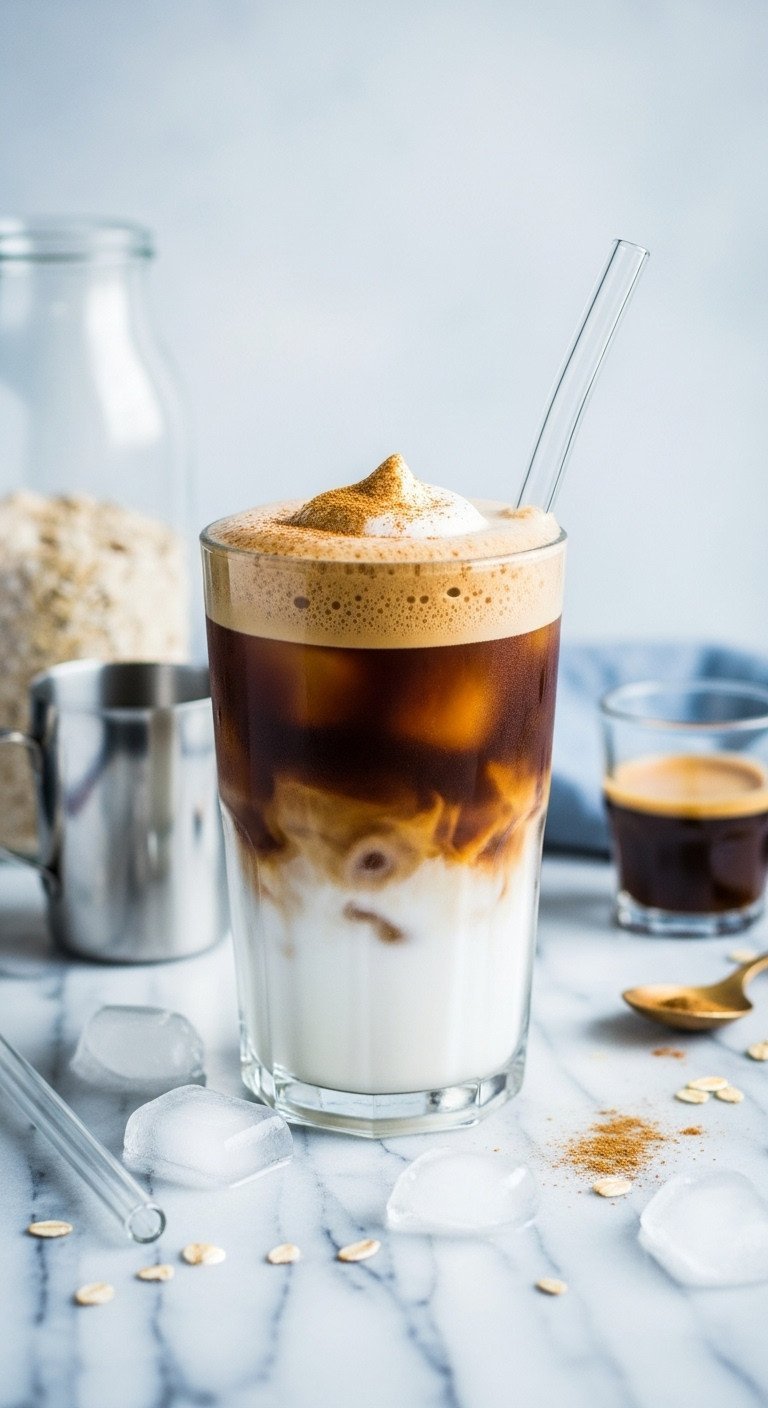
- Pour Shaken Espresso: Pour the entire shaken espresso mixture—including the foam and any remaining ice—over the fresh ice in your glass. The dark, rich coffee should fill about the bottom third of the glass.
- Add Milk: Slowly pour the chilled oatmilk over the espresso. This layering technique creates that beautiful visual effect and allows you to mix the flavors as you drink.
- Garnish: Finish your DIY brown sugar coffee with a light dusting of cinnamon on top of the milk foam. Stir gently before your first sip and enjoy.
Pro-Tip: If you pour the milk too quickly, the layers will instantly combine. To maintain the distinct layers for that café-quality presentation, pour the milk slowly over a large ice cube or the back of a spoon.
5. Why Oatmilk Reigns Supreme in Shaken Espresso Recipes

Pin this comparison to your ‘Healthy Swaps’ board!
While you can use any milk, there’s a reason why oatmilk is the star of this particular show. Its composition makes it the best milk substitute for creating a rich, dairy-free coffee.
Best Alternatives & Comparisons:
- Oatmilk (Barista Blend): The superior choice. Its high-fat content and protein structure deliver a uniquely rich, creamy texture and stable microfoam that other non-dairy milks can’t match.
- Whole Milk: The best traditional dairy option. Its protein structure creates a thick, sweet foam, making it ideal for the hot latte variation.
- Almond/Soy Milk: A thinner alternative. These can sometimes curdle when they interact with the acidity of hot espresso, so use them with caution.
How to Maximize Milk Texture:
- Go Barista: Always choose the “Barista Blend” or “Barista Edition” of plant-based milks. They are formulated with stabilizers and a higher fat content specifically for coffee applications.
- Keep It Cold: For any iced drink, make sure your milk is thoroughly chilled. Storing it at the back of the fridge ensures it’s as cold as possible, which helps minimize dilution when you pour it over ice.
- Taste Test: If you’re trying a new milk substitute, mix a small amount with a little espresso first to check for any curdling before you commit to making the full drink.
Expert Insight: The natural sweetness inherent in oatmilk perfectly complements the deep caramel notes of the brown sugar. This creates a flavor synergy that isn’t found in the more neutral profiles of unsweetened almond or soy milks.
6. Classic Comfort: The Hot Brown Sugar Latte Variation

Save this cozy winter warmer recipe!
For a cozy winter warmer, the brown sugar flavor profile easily adapts into a traditional hot latte. The key here is to properly steam and froth your milk for that velvety texture.
Equipment & Ingredients for Hot Prep:
- 2 shots (approx. 2oz) Espresso
- 2-3 Tbsp Brown Sugar Syrup
- 8-10 oz Whole Milk or Barista Oatmilk
- Milk Frother or Steaming Wand
- Porcelain Mug
Step-by-Step Directions:
- Brew & Syrup: Brew two shots of espresso directly into your favorite mug. Add the brown sugar syrup and stir well to combine.
- Steam Milk: Using a steaming wand or an electric milk frother, steam your milk. According to professional standards, you should target a temperature between 140°F (60°C) and 150°F (65°C). Going above 160°F will burn the milk proteins and ruin the natural sweetness.
- Pour & Combine: Gently pour the steamed milk into the espresso mixture. Use a spoon to hold back the thickest foam until the mug is about three-quarters full.
- Spoon Foam: Spoon the remaining velvety microfoam on top of the drink.
- Garnish: Finish with a dusting of cinnamon or nutmeg for a warming spice finish.
Pro-Tip: If using a steaming wand, the process has two phases. First, introduce air for just a few seconds by keeping the tip near the surface (the ‘stretching’ phase). Then, lower the wand slightly to create a vortex that incorporates the air into tight, velvety microfoam (the ‘texturing’ phase).
7. Troubleshooting Common Recipe Fails: Gritty Syrup and Dilution

Save this clever organization idea!
Even with the best instructions, things can go wrong. Here are expert solutions to the most common preparation errors so you can get a perfect result every time.
Common Problems & Immediate Solutions:
- Problem 1: Syrup Crystallization: The sugar starts to solidify and form crystals as it cools, leading to a gritty texture.
- Solution: This happens when the sugar isn’t fully dissolved. To fix it, gently reheat the syrup with 1 tablespoon of water. To prevent it, add 1/4 teaspoon of lemon juice or cream of tartar during the initial simmer. The acid helps invert the sugar, which stops crystals from forming.
-
Problem 2: Watery, Diluted Iced Coffee: Your drink tastes weak and thin, especially after a few minutes.
-
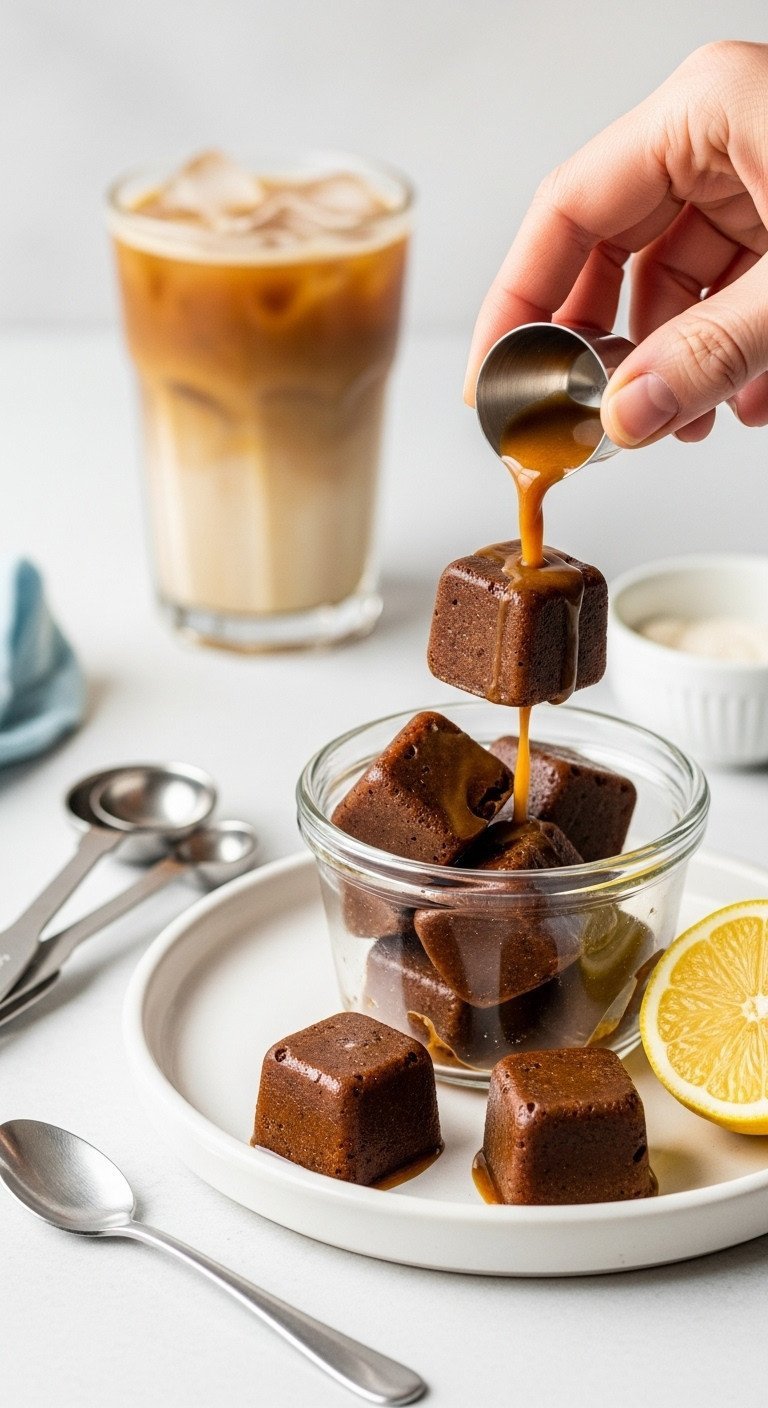
Solution: Use coffee ice cubes. Simply freeze leftover brewed coffee in an ice tray and use these instead of regular ice. Also, make sure your coffee base is a strong concentration and you don’t shake the espresso for longer than 20 seconds.
-
Problem 3: Espresso is Too Bitter: The coffee flavor is harsh and overpowers the sweet syrup.
- Solution: This is almost always a sign of over-extraction. Your espresso shot is likely running for too long (over 30 seconds). Adjust your coffee grinder to a slightly coarser setting to speed up the extraction for a sweeter, more balanced shot.
Lesson Learned: Always sterilize your glass jar before storing the syrup. You can do this by boiling it in water or running it through a dishwasher cycle. Mold is often caused by bacteria on the container, not a problem with the syrup itself.
Key Takeaways: Your Quick Guide to Brown Sugar Coffee Success
Here are the most critical points to remember for making the perfect café-style brown sugar coffee at home.
- Top 4 Keys to Success:
- Syrup Ratio is Critical: Use a 2:1 Brown Sugar-to-Water ratio to create a rich, viscous syrup base that prevents grittiness and maximizes flavor concentration.
- Don’t Stir, SHAKE: The signature microfoam texture is achieved by vigorously shaking the hot espresso, syrup, and ice together for 15-20 seconds. This aeration technique is non-negotiable.
- Choose Barista Oatmilk: For the creamiest texture and best flavor synergy, Barista Blend Oatmilk offers superior performance and foam stability, closely replicating commercial specialty drinks.
- Blonde Espresso Balances: Use a light or “Blonde” roast espresso base. Its lower acidity and bitterness won’t clash with the caramel richness of the brown sugar.
FAQs About Brown Sugar Coffee
What is the difference between a brown sugar latte and a shaken espresso?
A latte is smooth and homogenous, while a shaken espresso is aerated and foamy. The shaken method involves vigorously shaking the espresso and syrup with ice to introduce air, creating a layer of delicate, creamy microfoam, whereas a latte combines espresso with only steamed or chilled milk.
How much brown sugar syrup should I use in my latte?
Start with 2 tablespoons (1 ounce) of the 2:1 brown sugar simple syrup for a standard 16oz drink, which provides moderate sweetness. Since this homemade syrup is richer than most store-bought versions, you can adjust by adding half-teaspoon increments until you reach your perfect sweetness level.
Can I make brown sugar coffee without an espresso machine?
Yes, you can substitute highly concentrated coffee from a Moka pot, Aeropress, or robust cold brew concentrate. The key is to achieve the necessary concentration. When brewing, use half the amount of water you normally would to ensure the coffee base is strong enough not to taste watery when diluted.
How long does homemade brown sugar syrup last?
When stored properly in a sterilized, airtight container in the refrigerator, homemade brown sugar syrup should last for 2 to 4 weeks. For maximum preservation, ensure the syrup is completely cooled before you seal and store it.
Is the homemade brown sugar coffee cheaper than buying it from a café?
Absolutely. A homemade brown sugar coffee typically costs between $0.60 to $1.20 per serving, depending on the price of your oatmilk and espresso beans. This represents a significant cost savings of 75-85% compared to commercial café prices, which often exceed $5.50 per drink.
Final Thoughts
Now that you have the definitive guide to mastering the Brown Sugar Syrup foundation and the Shaken Espresso technique, you are fully equipped to bring this specialty café favorite into your own kitchen. You now control the flavor, the ingredients, and the cost, making your morning ritual affordable and superior.
What ingredient are you most excited to customize in your first batch of Iced Brown Sugar Shaken Espresso? Share your triumphs and favorite substitutions in the comments below
Last update on 2026-01-14 / Affiliate links / Images from Amazon Product Advertising API

