As an Amazon Associate CoffeeXplore.com earns from qualifying purchases.
Make The Perfect Creamy Latte At Home Without A Machine
Tired of that daily cafe expense? You can get that same creamy, comforting latte experience right in your own kitchen.
A homemade latte is a coffee drink made with strong coffee and frothed milk. The biggest hurdle is often the lack of a fancy espresso machine. But you don’t need one to get a delicious result.
A latte is a coffee drink made with one part strong espresso and three parts steamed, frothed milk. This guide shows you how to make a perfect, creamy latte at home using simple tools you already own, no expensive machine required. You’ll discover how to brew a rich coffee base and create velvety milk foam in minutes.
Craving a Creamy Latte But Not the Cafe Price Tag?
I’ve spent years perfecting this simple method to bring the coffee shop experience home without the cost. This easy, foolproof guide is the result of that experience, designed for anyone who loves a great latte but doesn’t own an espresso machine. We’ll walk through a tested process to get you that creamy, cafe-style drink using everyday kitchen tools.
The 3 Essentials of a True Cafe Latte
Before we start, let’s break down what makes a latte a latte. Understanding these three core components will help you appreciate the process and nail the final result. It’s all about balance and texture.
A classic cafe latte is built on three essentials:
1. Espresso: This is a small, concentrated shot of coffee that provides a rich, powerful flavor base. It’s the soul of the drink.
2. Steamed Milk: Making up the largest part of the drink, the heated milk adds creaminess and natural sweetness that balances the strong espresso.
3. Milk Foam: This is a thin, light layer of airy foam on top. It provides a delightful texture and completes the classic latte look.
The typical latte ratio is about 1 part espresso to 3 parts steamed milk. This balance ensures the coffee flavor comes through without being overpowering, resulting in a smooth, milky, and satisfying drink.
7 Simple Steps to a Perfect Homemade Latte (No Machine!)
Ready to become your own barista? This 7-step process is designed for absolute beginners and uses common household items. I’ve refined these exact steps to ensure you get a delicious, frothy, homemade latte every single time. It’s simpler than you think!
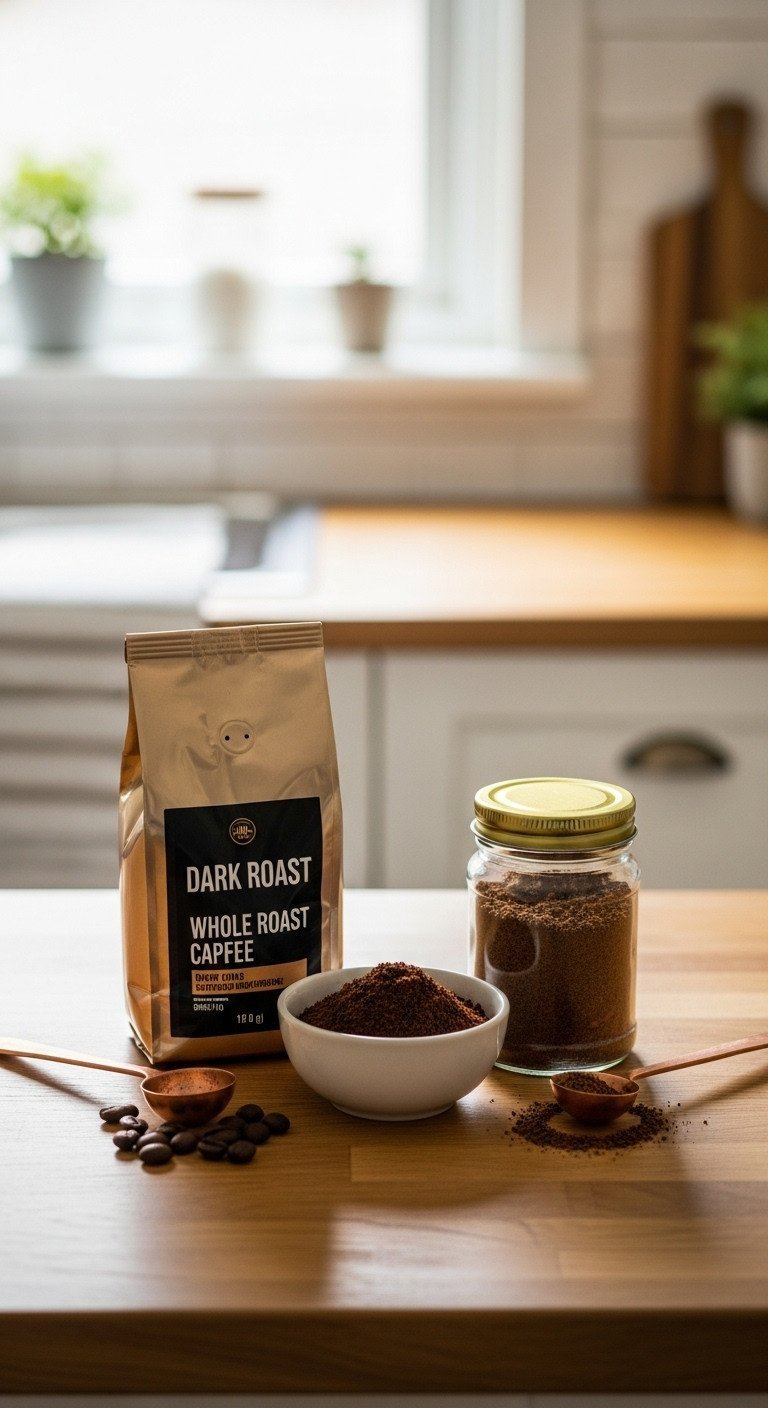
1. Choose Your Coffee Base
Pin this coffee guide to your ‘Morning Brew’ board!
What You Need:
- Option A (Best): Finely ground dark or espresso roast coffee for a Moka pot or AeroPress.
- Option B (Great): Your favorite medium or dark roast coffee for a drip machine or French press.
- Option C (Quickest): High-quality instant espresso powder for a super-fast, concentrated base.
What To Do:
- Select for Flavor: Choose a dark or espresso roast. These blends are designed to have a strong, rich flavor that won’t be overpowered by the milk.
- Consider Your Brewer: If you have a Moka pot, use a fine, espresso-style grind. For a regular coffee maker, a standard medium grind is perfect.
- Embrace Instant: Don’t be afraid of instant! A good quality instant espresso powder is a fantastic shortcut for a strong, flavorful base.
Pro-Tip: Always use freshly ground beans if possible. The flavor difference is significant. If using pre-ground, make sure it’s a fresh bag.
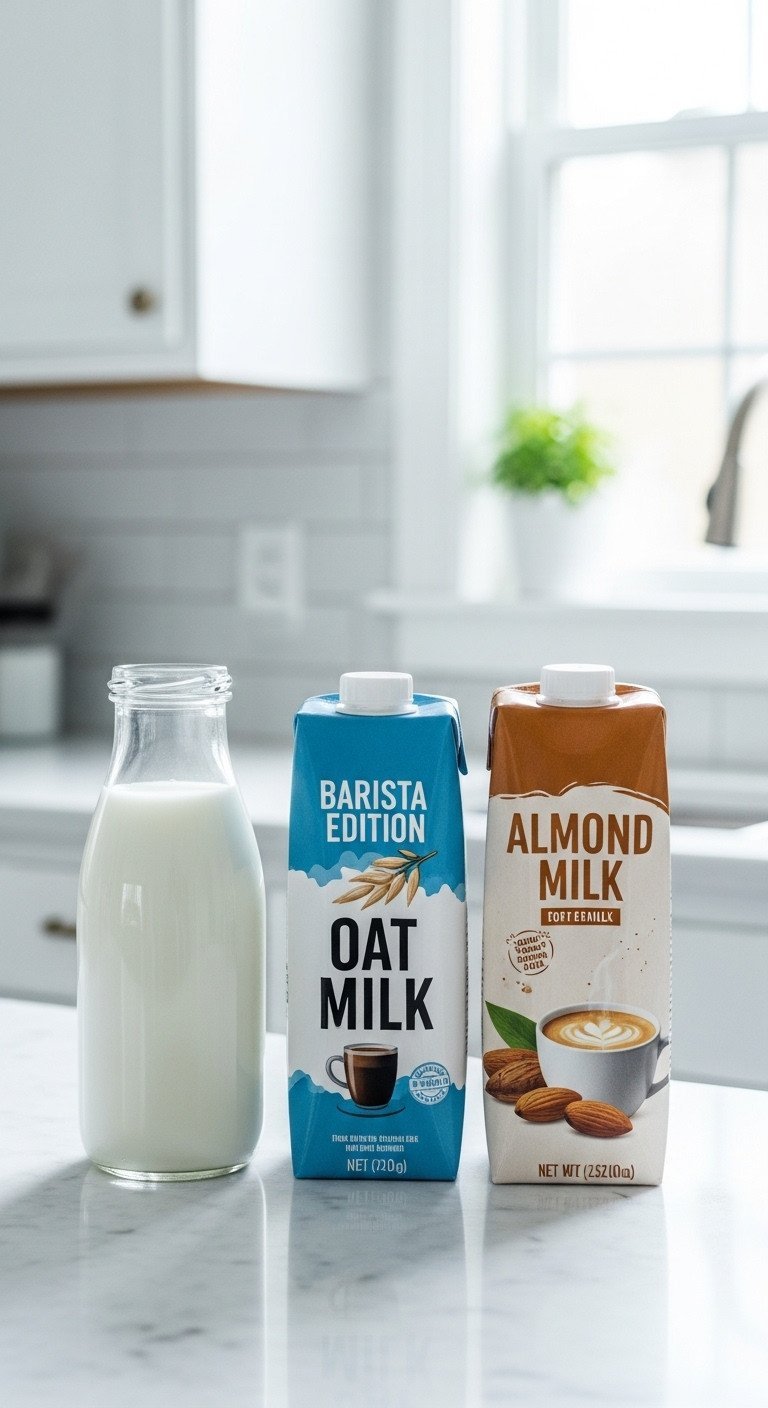
2. Select the Best Milk for Frothing
Save this tip for the creamiest lattes ever!
What You Need:
- For Creamiest Foam (Dairy): Fresh, cold whole milk. The fat and protein content is perfect for velvety foam.
- For Best Non-Dairy Foam: “Barista Edition” oat milk. It’s specifically formulated to steam and froth beautifully.
- Other Options: 2% milk works well. Skim milk creates a lot of stiff, airy foam but lacks creaminess. Regular almond or soy milk can work, but results may vary.
What To Do:
- Prioritize Protein & Fat: For the best results without a steam wand, you need milk with a good balance of protein (for structure) and fat (for creaminess). Whole milk is the winner here.
- Choose ‘Barista’ Blends: If you’re using a dairy alternative, look for a “Barista Edition” or “Barista Series.” These have added stabilizers that help create a much better, more stable foam.
- Always Start Cold: No matter which milk you choose, make sure it’s very cold, straight from the fridge. This gives you more time to get air into it before it gets too hot.
Lesson Learned: I’ve tried frothing regular almond milk many times; it creates large bubbles that disappear quickly. Barista-edition oat milk was a game-changer for my non-dairy lattes.
3. Gather Your Simple Tools

You already have everything you need! Pin this easy latte idea.
What You Need:
- For the Coffee: A coffee brewer (Moka pot, AeroPress, French press, or drip coffee maker).
- For the Milk:
- A small saucepan OR a microwave-safe jar (like a mason jar).
- A tool for frothing: a sealed jar, a French press, OR a small handheld milk frother.
- For Serving: Your favorite mug (pre-warming it is a pro move!).
What To Do:
- Choose Your Coffee Method: Grab your preferred coffee maker. We’ll be making the coffee extra strong.
- Choose Your Frothing Method: Decide how you’ll froth. The jar method is simplest (heat and shake in one vessel). The French press method creates excellent foam. A handheld frother is a great, inexpensive gadget.
- Grab Your Mug: Pick out a large mug that can hold about 10-12 ounces of liquid.
Pro-Tip: If using the jar method, make sure your jar’s lid seals very tightly to avoid any hot milk from splashing out. A canning jar (like a Ball or Mason jar) is perfect.
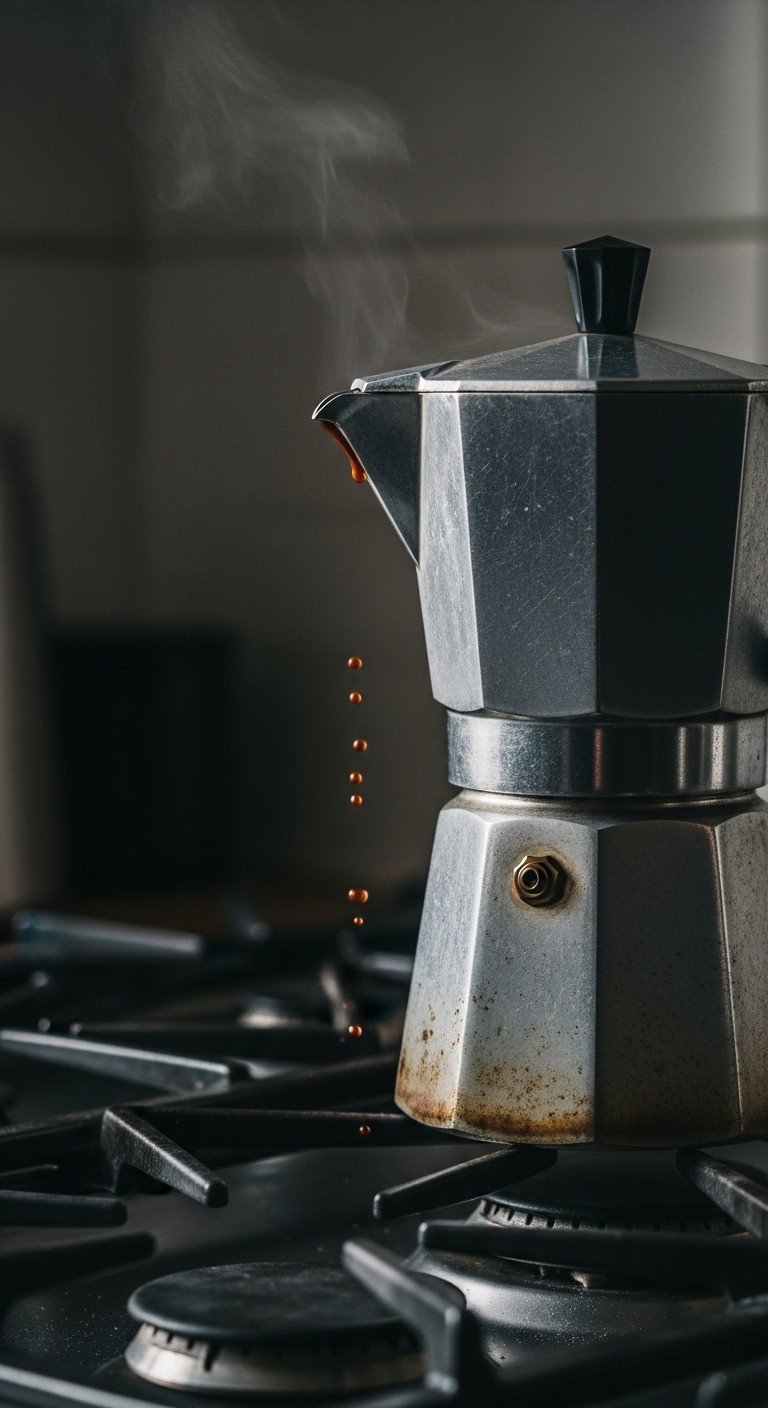
4. Brew a Strong Coffee Base
Save this for a perfect coffee base every time.
What You Need:
- 2-4 tablespoons of your chosen ground coffee.
- 4-6 ounces of hot water.
- Your coffee brewing device.
Step-by-Step Directions:
- The Goal: You need about 2-3 ounces of very strong coffee per latte. This is your “espresso shot.”
- Moka Pot / AeroPress: Prepare as directed. These brewers naturally create a strong, concentrated coffee that’s perfect for lattes.
- Drip Machine / Pour-Over: Use double the amount of coffee grounds you would normally use for the amount of water. For example, use 4 tablespoons of coffee for just 6 ounces of water. Brew as usual.
- French Press: Use a 1:7 ratio of coffee to water (e.g., 30g coffee to 210g water). Let it steep for 4 minutes before plunging.
- Instant Espresso: Mix 2 teaspoons of powder with 3 ounces of hot water and stir until fully dissolved.
Pro-Tip: Brew your coffee right before you assemble the latte so it’s piping hot. Pour it directly into your pre-warmed mug while you froth the milk.
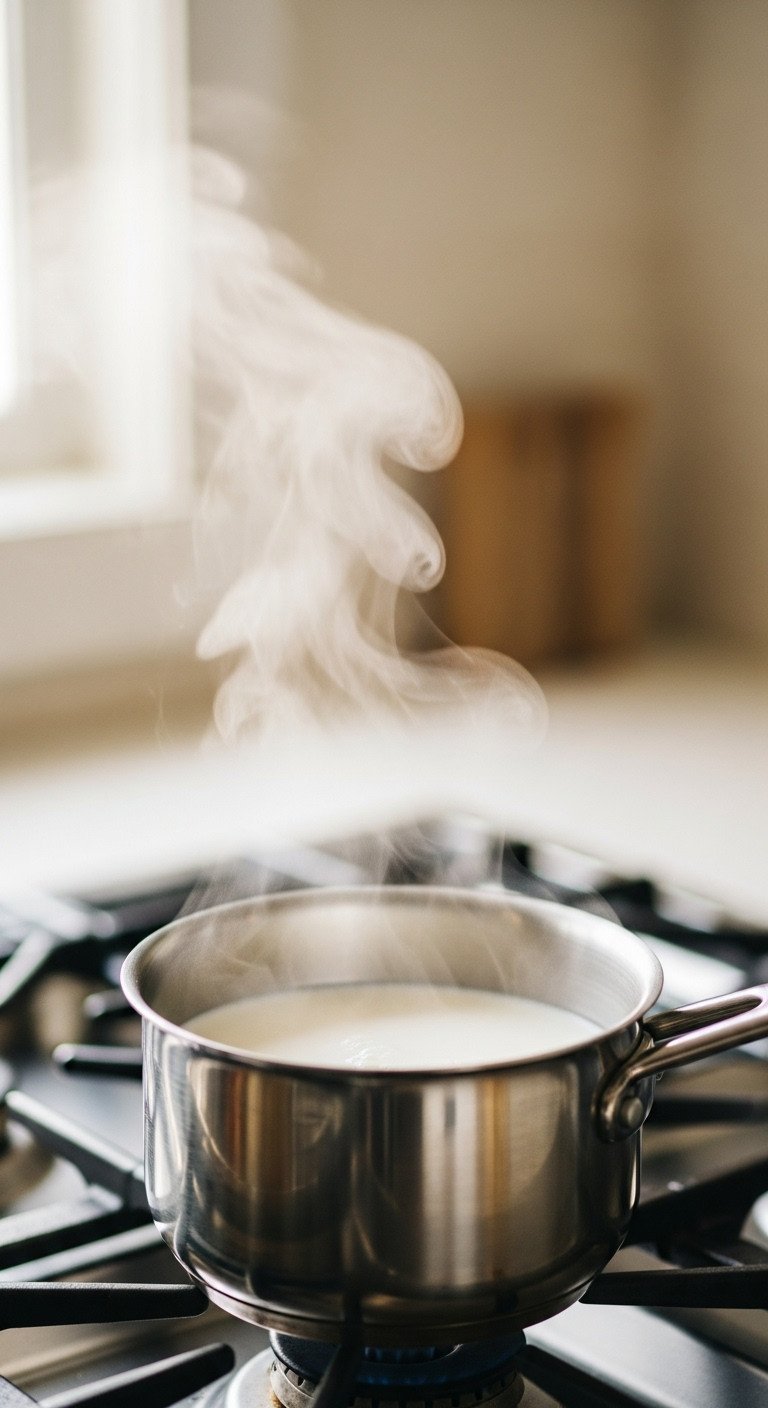
5. Gently Heat the Milk
The secret to sweet, not scalded, milk! Pin this tip.
What You Need:
- 6-8 ounces of your chosen cold milk.
- A small saucepan or a microwave-safe jar.
- An instant-read thermometer (optional, but helpful).
Step-by-Step Directions:
- On the Stovetop: Pour milk into a small saucepan. Heat over medium-low heat, stirring occasionally. Watch it closely! You want it to be hot and steaming, but not boiling. Remove from heat as soon as you see small bubbles forming around the edge.
- In the Microwave: Pour milk into a microwave-safe jar, filling it NO MORE THAN HALFWAY. Microwave on high for 45-60 seconds, or until hot and steaming.
- Check the Temperature: The ideal temperature is around 150°F (65°C). If you don’t have a thermometer, it’s hot enough when it’s too hot to keep your finger in for more than a second. Do not let it boil!
Lesson Learned: Scalded milk tastes burnt and will not froth well. It’s always better to slightly under-heat it than to overheat it. You can always pop it back in the microwave for 10 more seconds.
6. Froth Milk into a Velvety Foam
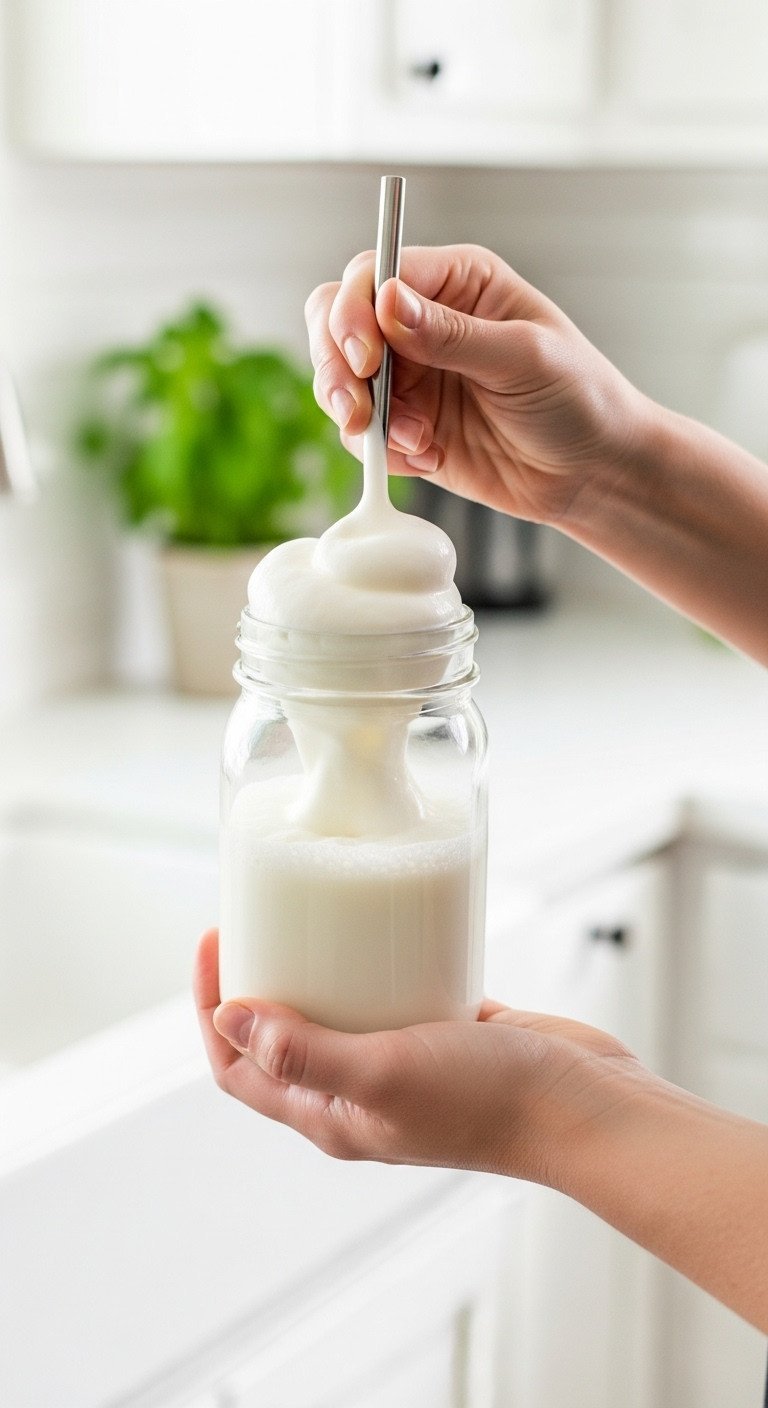
This no-gadget foam hack is a game-changer! Save it now.
What You Need:
- Your heated milk from the previous step.
- A sealed jar, a French press, or a handheld frother.
Step-by-Step Directions:
- Jar Method: If you heated milk in a jar, you’re ready to go. Tightly screw on the lid. Use a towel to hold the hot jar. Shake vigorously for 45-60 seconds. The milk’s volume should nearly double.
- French Press Method: Pour the hot milk into your French press. Pump the plunger up and down rapidly for about 30 seconds, or until the milk has thickened and doubled in volume.
- Handheld Frother Method: Pour the hot milk into a tall cup or pitcher. Insert the whisk head just below the surface and turn it on. Whisk for 20-30 seconds, moving the frother around until the milk is foamy.
- Final Touch: After frothing, gently tap the container on the counter a few times to pop any large bubbles, and give it a swirl to create a silky texture.
Pro-Tip: For the jar method, ensure you leave at least half the jar empty. The milk needs that space to expand and create foam.
7. Assemble Your Perfect Latte
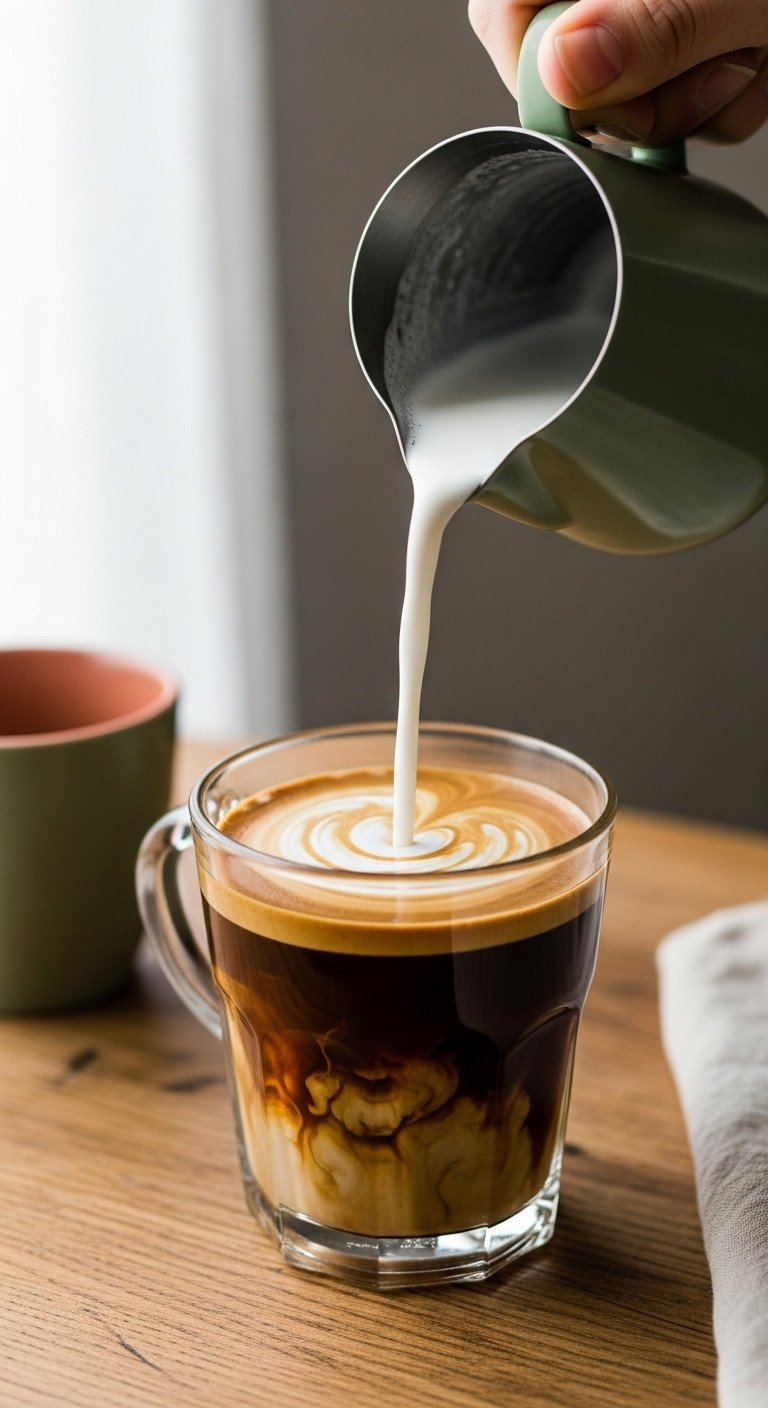
The final pour! Pin this beautiful homemade latte inspiration.
What You Need:
- Your mug with the hot, strong coffee base.
- Your pitcher/jar of frothed milk.
- Optional: Sweetener of choice (vanilla syrup, sugar, etc.).
Step-by-Step Directions:
- Add Sweetener (Optional): If you’re using a syrup or sugar, add it to the coffee base now and stir well to dissolve.
- Tilt the Mug: Hold your coffee mug at a slight angle.
- The Pour: Give your frothed milk one final swirl to incorporate the foam and milk. Start pouring the milk steadily into the center of the coffee. The liquid milk will pour out first, mixing with the coffee.
- Top with Foam: As the mug fills, straighten it out and pour a bit faster to let the remaining foam dollop on top. You can also use a spoon to hold back the foam and then plop it on at the very end for a distinct top layer.
- Serve Immediately: Enjoy your perfect, creamy homemade latte!
Pro-Tip: For a more integrated, cafe-style drink, focus on pouring the liquid milk from under the foam. Swirling the pitcher before you pour is the most important step for achieving that silky texture.
Key Takeaways: Your 60-Second Latte Cheat Sheet
Need a quick refresher? Here are the most important things to remember for a perfect homemade latte every time.
- Strong Base is Key: Always use double-strength coffee or an espresso alternative so the flavor isn’t lost.
- Cold, Whole Milk Wins: For the easiest, creamiest foam, start with cold whole milk (or a barista-edition oat milk).
- Don’t Boil the Milk: Heat it until it’s steaming (around 150°F / 65°C), but never let it boil or it will taste burnt.
- The Jar Method Works: You don’t need a frother. A sealed jar, shaken for 45 seconds, creates fantastic foam.
- Warm Your Mug: A simple step that keeps your latte hot and delicious for much longer.
People Also Ask About Homemade Lattes
Why won’t my milk froth properly?
This is usually caused by temperature or the milk itself. If the milk gets too hot (over 160°F), the proteins break down and can’t create a stable foam. Also, ensure your jar or frother is perfectly clean, as any leftover oils or soap can kill the foam. Lastly, some ultra-pasteurized or alternative milks just don’t froth well; try a fresh carton or a barista-specific brand.
Can you make a latte with regular drip coffee?
Yes, absolutely, but you must brew it extra strong. Use double the amount of coffee grounds for the same amount of water. A traditional latte relies on a concentrated espresso shot, so making your regular coffee twice as potent is the key to preventing a weak, milky drink. A 1:7 coffee-to-water ratio in a French press also works well.
What’s the best way to make an iced latte at home?
An iced latte is even easier because you don’t need to heat or froth the milk. Simply fill a tall glass with ice, brew your strong coffee or espresso and pour it directly over the ice. Then, top it off with your favorite cold milk and add any sweeteners you like. Stir and enjoy!
How can I make my latte sweeter?
Add your sweetener directly to the hot coffee base before adding the milk. This helps it dissolve completely. You can use simple syrup, flavored coffee syrups (like vanilla or caramel), maple syrup, honey, or regular sugar. For a sugar-free option, a few drops of liquid stevia or monk fruit work perfectly.
Your Home Cafe Awaits
You now have the simple, foolproof method to craft a creamy, delicious latte anytime you want, right in your own kitchen—no lines, no high prices, no fancy machine needed. It’s a small, affordable luxury that can make any morning feel special.
What’s your favorite way to enjoy a latte? Do you add any special flavors? Share your creations in the comments below
Last update on 2025-12-15 / Affiliate links / Images from Amazon Product Advertising API

