As an Amazon Associate CoffeeXplore.com earns from qualifying purchases.
The Foolproof Guide To Perfect Dalgona Coffee At Home
Have you seen that amazing fluffy coffee all over TikTok and wondered if you could make it? You want to try the viral trend, but you’re worried it looks too complicated to get right.
That beautiful, creamy drink is called Dalgona Coffee, and it’s a type of whipped coffee. The good news is that it’s surprisingly easy to make at home. You just need to know the secret.
Dalgona coffee is a viral whipped coffee drink made by whipping equal parts instant coffee, sugar, and hot water until it becomes a fluffy foam. In this foolproof guide, you’ll learn the simple steps to create this perfect cafe-style drink yourself. Let’s get whipping!
Ever Wonder How to Make That Viral Fluffy Coffee from TikTok?
If you’ve spent any time on social media, you’ve seen it: a glass of iced milk topped with a glorious cloud of creamy, whipped coffee. This is Dalgona Coffee, the viral sensation that took the world by storm. It’s beautiful, delicious, and looks like it came from a high-end coffee shop.
The best part? It’s a homemade dalgona coffee that anyone can master. After testing this recipe countless times, I’ve perfected a foolproof method that comes down to one magic rule: the 1:1:1 ratio. This simple principle of using equal parts of three basic ingredients is the key to creating that perfect, stable, and fluffy coffee foam every single time. Forget the guesswork; this is the only whipped coffee recipe you’ll ever need.
7 Foolproof Steps to Perfect Dalgona Coffee at Home
Ready to become your own barista? This step-by-step guide breaks down the dalgona coffee steps into a simple, easy-to-follow process. By following these instructions exactly, you’ll transform three simple ingredients into a stunning and delicious whipped coffee. This is the foolproof method for achieving that perfect, meringue-like coffee foam.
1. Combine Your Core Ingredients

Pin this essential first step to your ‘Coffee Recipes’ board!
What You Need:
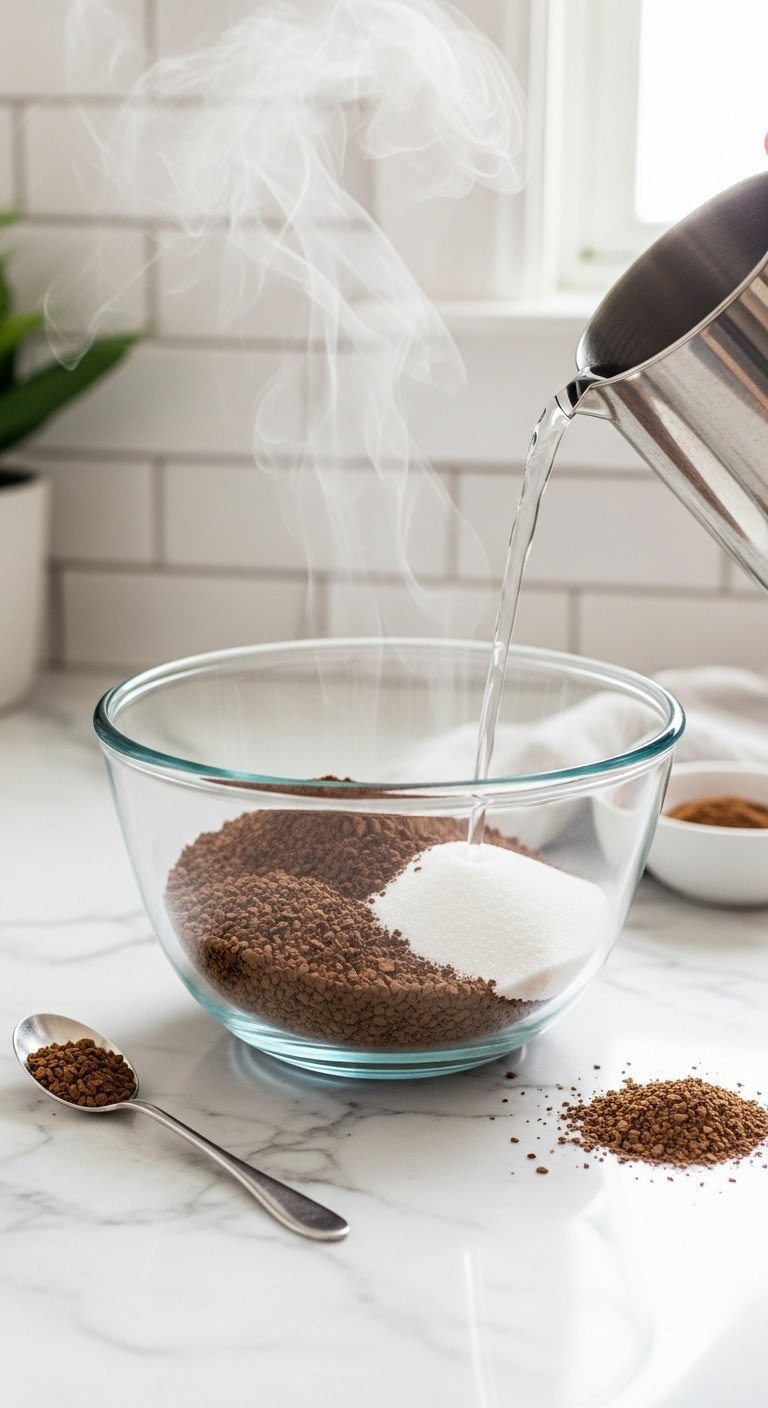
- 2 Tablespoons Instant Coffee Crystals (any brand works!)
- 2 Tablespoons Granulated Sugar
- 2 Tablespoons Boiling Hot Water
- 1 Medium-sized, deep mixing bowl to prevent splatters
What To Do:
- Add the instant coffee, sugar, and boiling water to your mixing bowl.
- Briefly stir with a spoon or your whisk just to make sure the coffee and sugar start dissolving.
Pro-Tip: Using boiling water is non-negotiable! It’s the key to instantly dissolving the solids, which is what allows the mixture to whip into a stable foam.
2. Begin Whipping the Mixture

Save this tip for the easiest way to make whipped coffee!
What You Need:
- The bowl with your coffee mixture
- An electric hand mixer with two beater attachments for the fastest results
What To Do:
- Insert the beaters into the liquid before turning the mixer on.
- Start the mixer on a low speed for about 30 seconds to combine everything without splashing.
- Increase the speed to medium-high and continue to whip.
Lesson Learned: My first time, I started the mixer on high and sprayed coffee syrup all over my kitchen. Start low and then ramp up the speed once the liquid gets a little foamy!
3. Watch for the “Soft Peaks” Stage

Don’t stop here! Pin this to remember what the halfway point looks like.
What You Need:
- Your whipping coffee mixture
- Patience!
What To Do:
- After about 2 minutes of continuous whipping with an electric mixer, the mixture will become much lighter in color, thicker, and more voluminous.
- Stop the mixer and lift the beaters. If a peak forms but immediately curls over and droops, you’ve reached the “soft peak” stage. You’re almost there!
Pro-Tip: If you’re whisking by hand, this stage might take you 5-8 minutes of vigorous, non-stop whisking. Don’t give up; the transformation is about to happen!
4. Whip to Glorious “Stiff Peaks”

This is the goal! Pin this so you know when your whipped coffee is perfect.
What You Need:
- Your semi-whipped coffee mixture
- A spatula for scraping the bowl
What To Do:
- Continue whipping on high speed for another 1-2 minutes past the soft peak stage.
- You’ll notice the foam gets even thicker and glossier.
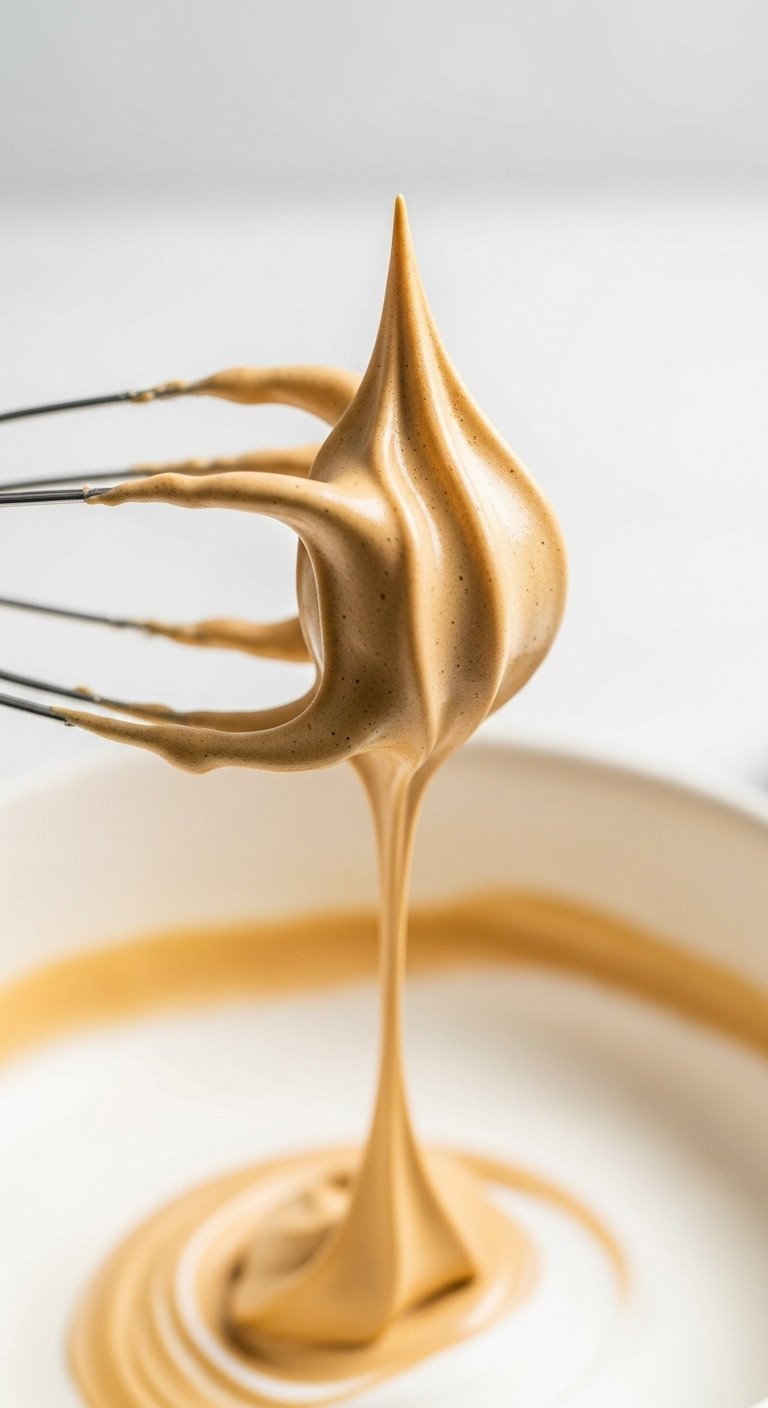
- Stop the mixer and lift the beaters straight up. The foam should hold a distinct peak that doesn’t move or fold over. This is a stiff peak, and your whip is now perfect!
Pro-Tip: You can also test by turning the whisk upside down. If the foam defies gravity and stays put, you’ve nailed it. This is the secret to a foam that lasts.
5. Prepare Your Milk Base

Save this for the perfect iced coffee base!
What You Need:
- 1 cup of your favorite milk (whole, skim, oat, almond, soy all work!)
- Ice cubes (for an iced version)
- A stylish clear glass to show off the layers
What To Do:
- For an iced Dalgona coffee, fill your glass with ice cubes.
- Pour your cold milk over the ice, filling the glass about two-thirds full.
- For a hot Dalgona coffee, simply heat your milk and pour it into a mug.
Pro-Tip: I find that oat milk creates an incredibly creamy and delicious base that perfectly complements the strong coffee flavor of the whip.
6. Assemble Your Picture-Perfect Drink

The most satisfying part! Pin this for your ‘Food Photography’ inspiration board.
What You Need:
- Your glass of milk
- The bowl of perfect Dalgona whip
- A spoon or small spatula
What To Do:
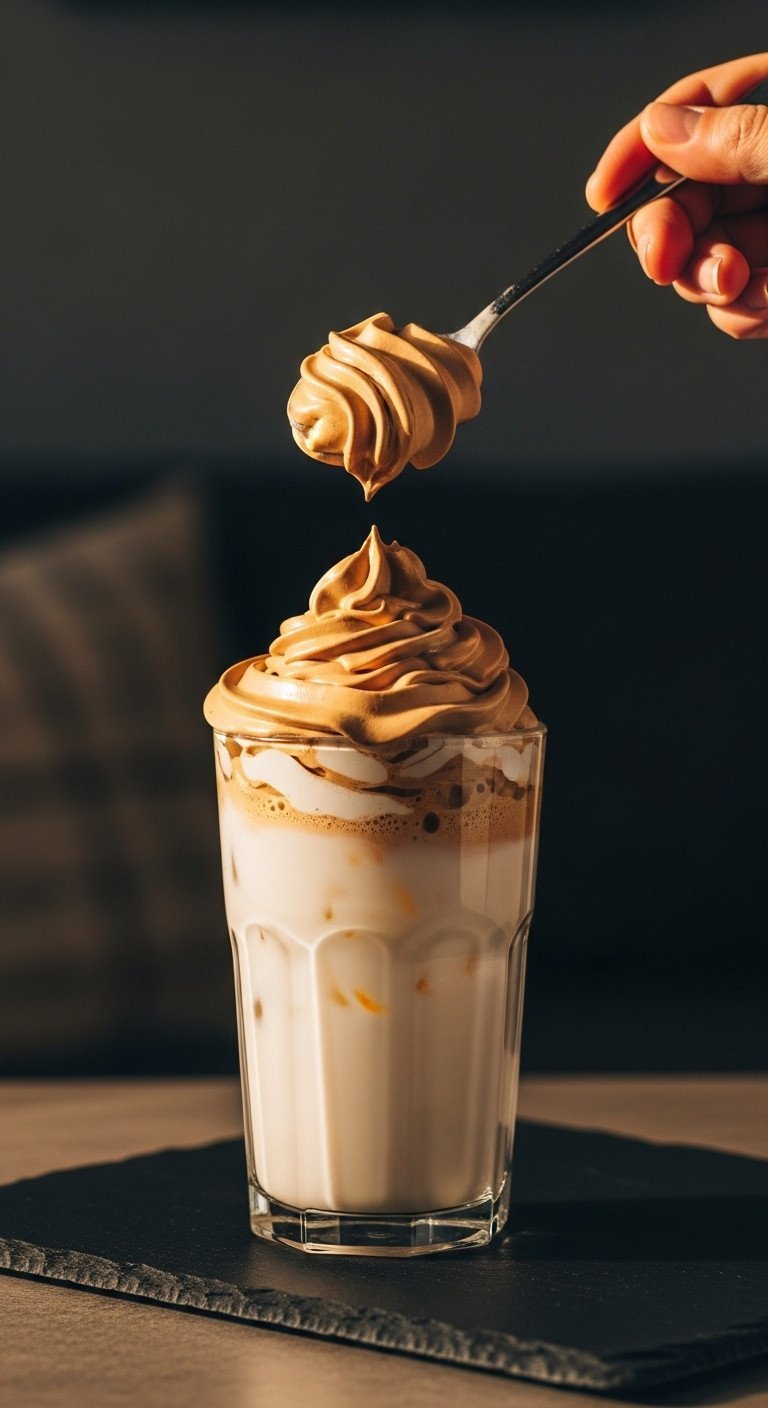
- Using your spoon, scoop a generous amount of the whipped coffee from the bowl.
- Gently plop or spread the foam on top of the milk.
- Add a few dollops until the top of the milk is completely covered. The thick foam will float perfectly on top.
Pro-Tip: For a neat look, use the back of your spoon to create little swirls or peaks in the foam after you’ve placed it on the milk.
7. Stir, Sip, and Enjoy!

Don’t forget this last step! Pin the finished product.
What You Need:
- Your beautifully layered Dalgona Coffee
- A straw or a long spoon
What To Do:
- Before you take a sip, you MUST stir the drink thoroughly. Plunge your straw or spoon to the bottom of the glass and mix well.
- Keep stirring until the whipped coffee is fully incorporated into the milk, turning it a uniform, creamy beige color.
- Now, take a sip and enjoy the perfectly balanced, sweet, and creamy coffee you made yourself!
Lesson Learned: Do not drink the foam by itself! It’s a super-concentrated, strong, and bitter coffee-sugar paste. The magic only happens when it’s fully mixed with the milk.
Key Takeaways: Your Quick Guide to Whipped Coffee
Here’s a quick cheat sheet to remember the most important rules for making the perfect Dalgona coffee every time.
- The Golden Rule: Always use the 1:1:1 ratio of instant coffee, sugar, and boiling water. This is the core principle that guarantees success.
- Instant Coffee is a MUST: Ground coffee will not work. You need the specific properties of instant coffee crystals to create the stable foam.
- Whip to Stiff Peaks: Don’t stop at the soft, droopy stage. Keep whipping until the foam is thick, glossy, and holds its shape to prevent it from deflating into your milk.
- Stir Before You Sip: Remember that the foam is a coffee concentrate. The drink is only delicious after it’s been fully mixed into the milk to create a balanced, creamy beverage.
FAQs About how to make dalgona coffee
Even with a simple recipe, questions can pop up. Here are answers to the most common troubleshooting issues to ensure your whipped coffee turns out perfectly.
Why isn’t my Dalgona coffee whipping up or getting fluffy?
The most likely reason is that you haven’t whipped it long enough. It can take 3-5 minutes with a powerful electric mixer and up to 15 minutes of constant, vigorous whisking by hand. Just keep going! Also, ensure you used boiling hot water, as lukewarm water won’t dissolve the ingredients properly to create the base for the foam.
Can I make Dalgona coffee with regular ground coffee?
No, you must use instant coffee. Ground coffee doesn’t dissolve in the same way and lacks the specific properties from its manufacturing process needed to create a stable, whipped foam. Attempting this with ground coffee will unfortunately result in a gritty, syrupy liquid that never gets fluffy.
Can I make whipped coffee without sugar or with a substitute?
Yes, but with a slight difference. Sugar provides crucial structural stability to the foam. Making it without sugar will result in a foam that is less stable and deflates much faster. For a sugar-free version, a powdered keto-friendly sweetener like erythritol or monk fruit is the best substitute to maintain some structure.
How can I make my Dalgona coffee less bitter?
The key is to stir it into enough milk. The whipped topping is a coffee concentrate and is meant to be bitter and strong on its own. That strong flavor is the point! Once it’s fully mixed into a full glass of milk (about 8 ounces), the flavor becomes perfectly balanced, creamy, and much less bitter, just like a latte.
What are some fun Dalgona coffee variations?
Once you’ve mastered the classic, it’s easy to get creative! For a Mocha Dalgona, add 1 teaspoon of unsweetened cocoa powder to your dry ingredients before whipping. For a cozy holiday version, add a pinch of pumpkin spice or cinnamon. You can also add a drop of vanilla or peppermint extract for extra flavor.
Final Thoughts
You now have the secret to making the viral Dalgona Coffee right in your own kitchen. It’s amazing how three simple ingredients—instant coffee, sugar, and water—can be transformed into such a visually stunning and delicious drink. By following the 1:1:1 ratio and whipping to stiff peaks, you can create a cafe-quality experience that’s perfect for a morning treat or an afternoon pick-me-up.
This simple whipped coffee recipe proves you don’t need fancy equipment to make something special. Now that you have the foolproof method down, you can enjoy the classic version or start experimenting.
What fun variations are you excited to try first? Let me know in the comments below
Last update on 2025-12-14 / Affiliate links / Images from Amazon Product Advertising API

