As an Amazon Associate CoffeeXplore.com earns from qualifying purchases.
Make Perfect Cold Brew Coffee At Home Without The Mistakes
Tired of paying a premium for cold brew that tastes bitter or weak? You know there has to be a better way.
Making Cold Brew Coffee, a beverage created by steeping coarse coffee grounds in cold water for many hours, seems simple. Yet, getting that perfectly smooth, rich, and non-acidic flavor at home can feel frustratingly out of reach.
The secret to perfect cold brew coffee at home is using a coarse grind, a 1:8 coffee-to-water ratio, and a slow, 18-24 hour steep in the refrigerator. This method extracts the smooth, rich flavors while leaving the bitter, acidic compounds behind. In this guide, I’ll show you the exact, repeatable steps to nail it every single time.
Tired of Bitter, Expensive Cold Brew? Here’s the Secret to a Perfect Batch at Home
The allure of cafe-quality cold brew is strong—it’s incredibly smooth, rich, and lacks the harsh acidity of some hot-brewed coffee. But the daily cost adds up, and attempts to make it yourself can often end in disappointment. From my experience, the difference between a bitter, wasted batch and a perfectly smooth cup comes down to a few key details. I’ve made all the mistakes so you don’t have to, and in this guide, I’ll share the tried-and-true method that works every single time.
We’ll move beyond just a simple recipe. You’ll learn the why behind each step—how variables like grind size, the ratio of coffee to water, and steep time are the ultimate controls for flavor. By mastering these elements, you’ll be able to create a flawless coffee concentrate that’s not only delicious but also saves you a significant amount of money.
7 Steps to Perfectly Smooth Cold Brew (And the Mistakes to Avoid)
This isn’t just a list of instructions; it’s a refined 7-step process based on testing dozens of batches and referencing best practices from the specialty coffee industry. Each step is a mini-lesson designed to make you a home brewing expert, helping you master the key variables and sidestep the common pitfalls that ruin a perfectly good batch of coffee. Follow this step-by-step cold brew guide for a foolproof result.
1. Start with the Right Coffee Beans
Pin this coffee-lover’s tip to your ‘Best Brews’ board!
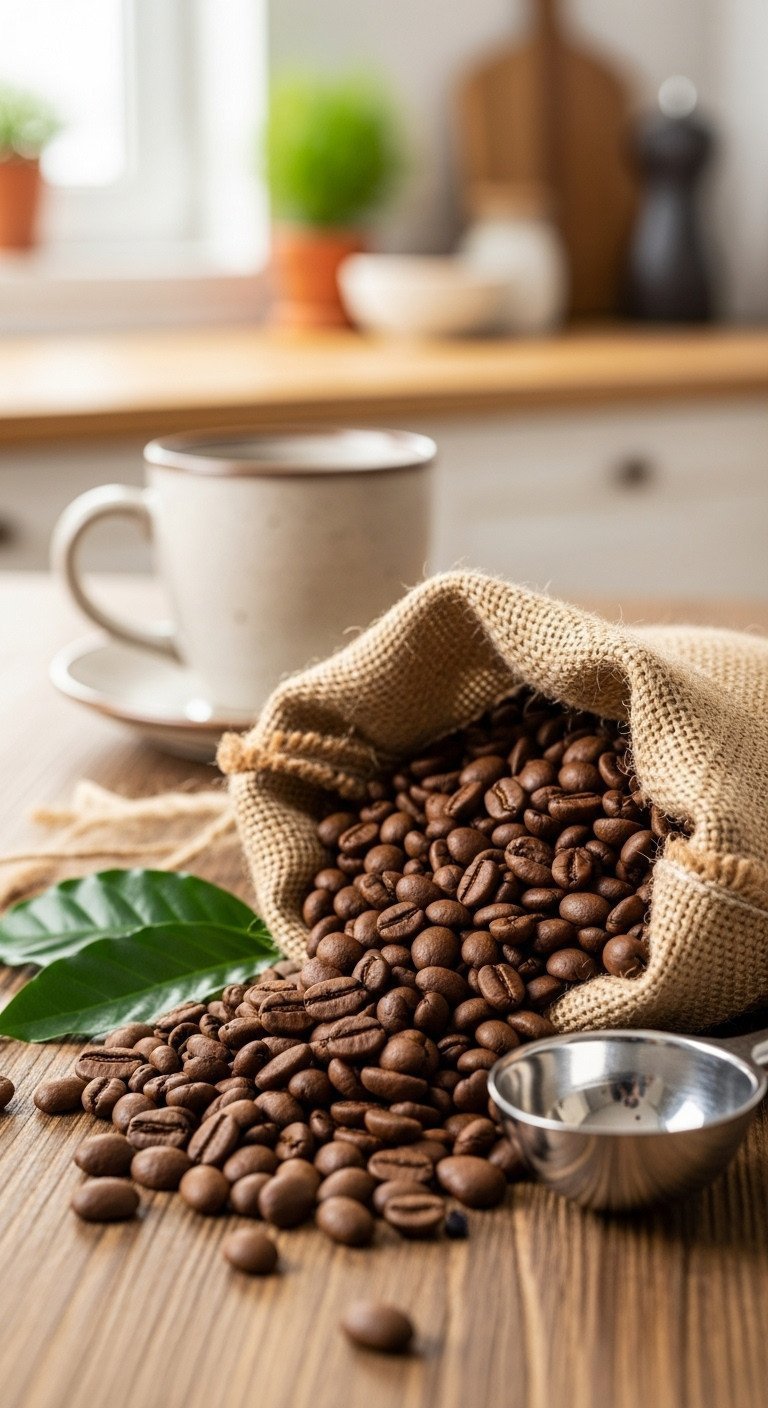
The quality of your finished cold brew is directly tied to the quality of your coffee beans. The slow, cold extraction process is very gentle, meaning the true character of the bean shines through.
What You Need:
- 1 cup (approx. 85g-100g) whole bean coffee. Medium to dark roasts are fantastic for beginners, as they yield a classic smooth, rich, and chocolatey flavor.
- Look for beans with tasting notes like “chocolate,” “cocoa,” “nuts,” or “caramel.”
- Mistake to Avoid: Using old, pre-ground coffee from the supermarket. The flavor will be flat and lifeless. Freshness is key!
Step-by-Step Directions:
- Choose Your Roast: For a foolproof, classic cold brew, select a medium or dark roast bean. Light roasts can be delicious but are less forgiving and can taste sour if under-extracted.
- Check the Roast Date: Purchase beans from a local roaster or quality brand that prints the roast date on the bag. Aim for beans that were roasted 5-14 days ago for optimal flavor.
- Smell the Beans: Open the bag. They should have a strong, pleasant aroma. If they smell dull or musty, they’re too old.
Pro-Tip: Ask your local coffee roaster for their recommendation for a cold brew blend. They often have specific single-origin beans or blends (like those from Brazil or Colombia) that shine with this method.
2. Nail the Coarse Grind (The #1 Secret to No Bitterness)
Save this essential coffee tip! Your taste buds will thank you.
If you remember only one thing from this guide, let it be this: the cold brew grind size is the most important variable for preventing bitterness.
What You Need:
- A coffee grinder. A burr grinder is highly recommended for a consistent, even grind.
- Your whole coffee beans from Step 1.
Step-by-Step Directions:
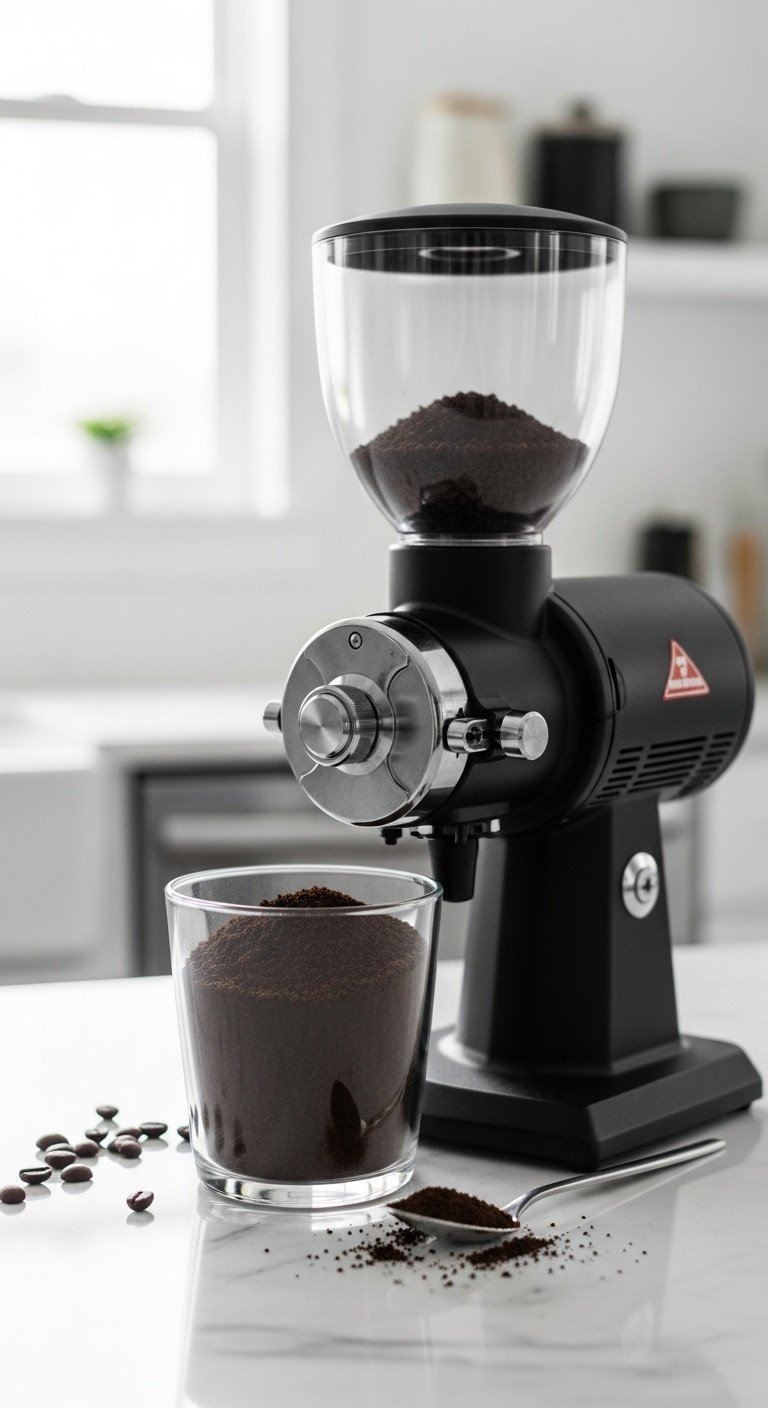
- Set Your Grinder: Adjust your burr grinder to its coarsest setting. If using a blade grinder, pulse in short, 1-2 second bursts to avoid creating fine powder.
- Grind the Beans: Grind the 1 cup of beans right before you plan to start steeping. The ideal texture should resemble coarse breadcrumbs or sea salt.
- Visual Check: Pour the grounds onto a white plate. You should see distinct, chunky particles with very little fine dust.
- Mistake to Avoid: Grinding the coffee too fine. This is the single biggest cause of bitter cold brew. A fine grind has too much surface area and will over-extract during the long steep, releasing bitter compounds.
Lesson Learned: I once tried making cold brew with espresso-fine grounds. The result was a thick, bitter sludge that was impossible to filter. A coarse, even grind is non-negotiable for a clean, smooth cup.
3. Master the Coffee-to-Water Ratio
Pin this simple ratio guide for perfect coffee every time!
The cold brew coffee ratio determines the final strength of your concentrate. While you can adjust it to your preference, starting with a proven ratio is key to a successful first batch.
What You Need:
- Your 1 cup of coarsely ground coffee.
- 4 cups (32 fl oz) of cold, filtered water.
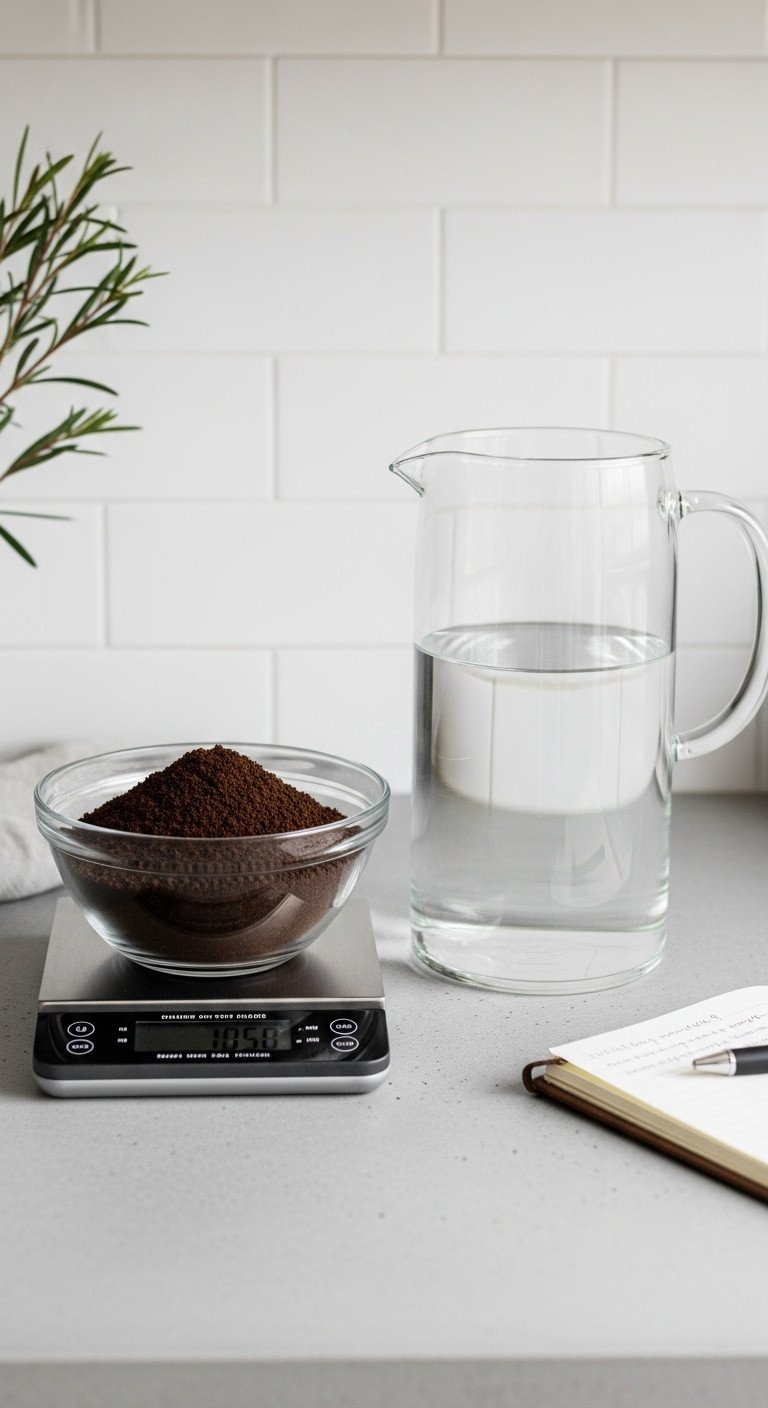
- Optional but recommended: A digital kitchen scale for perfect consistency.
Step-by-Step Directions:
- Understand the Goal: We are making a concentrate. This strong coffee base will be diluted later, so it needs to be potent.
- Use the Volume Ratio: For simplicity, start with a 1:4 ratio by volume. This means 1 part coffee grounds to 4 parts water. (e.g., 1 cup of grounds to 4 cups of water).
- For Precision (Optional): If you have a scale, aim for a 1:8 ratio by weight (e.g., 100g of coffee to 800g of water). This is the most accurate way to get repeatable results.
- Mistake to Avoid: Using too much water. A weak ratio (like 1:12) will result in a watery, tea-like brew that lacks the rich flavor cold brew is known for. It’s better to make it strong and dilute it later.
Pro-Tip: Make a big batch! You can easily double this recipe (2 cups coffee to 8 cups water) in a larger pitcher to have delicious cold brew concentrate ready for the whole week.
4. Combine & Steep for 18-24 Hours
Save this for later! The easiest coffee recipe you’ll ever make.
This is where the magic happens. The long, slow immersion process is what creates the signature smooth flavor profile of cold brew.
What You Need:
- A large container with a lid, like a 32oz (or larger) Mason jar or a glass pitcher.
- Your 1 cup of coarse grounds and 4 cups of cold water.
- A long spoon.
Step-by-Step Directions:
- Combine Ingredients: Pour the 1 cup of coffee grounds into your jar or pitcher.
- Add Water: Slowly pour the 4 cups of cold, filtered water over the grounds.
- Stir Gently: Use a long spoon to gently stir the mixture for about 15 seconds. Ensure all the grounds are saturated with water; you shouldn’t see any dry clumps on top.
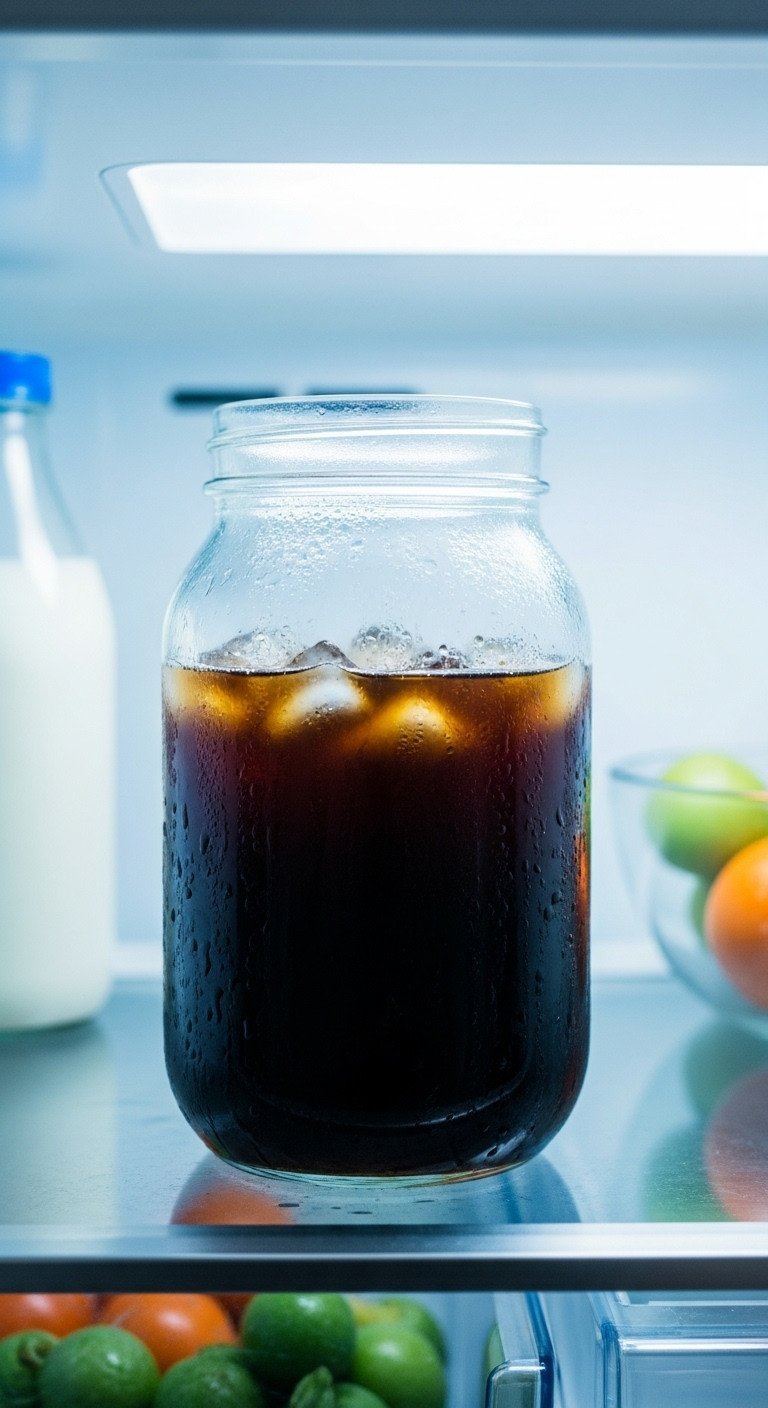
- Cover and Steep: Secure the lid on your container and place it in the refrigerator. Let it steep for 18 to 24 hours.
- Mistake to Avoid: Steeping for too long (36+ hours) or too short (under 12 hours). Over-steeping can make the coffee taste woody and bitter, while under-steeping will result in a weak, undeveloped flavor. 18 hours is the sweet spot for many.
Pro-Tip: Set a reminder on your phone for 18 hours as soon as you put the jar in the fridge. This simple step ensures you never forget and accidentally over-steep your batch.
5. Filter Gently for a Super Clean Concentrate
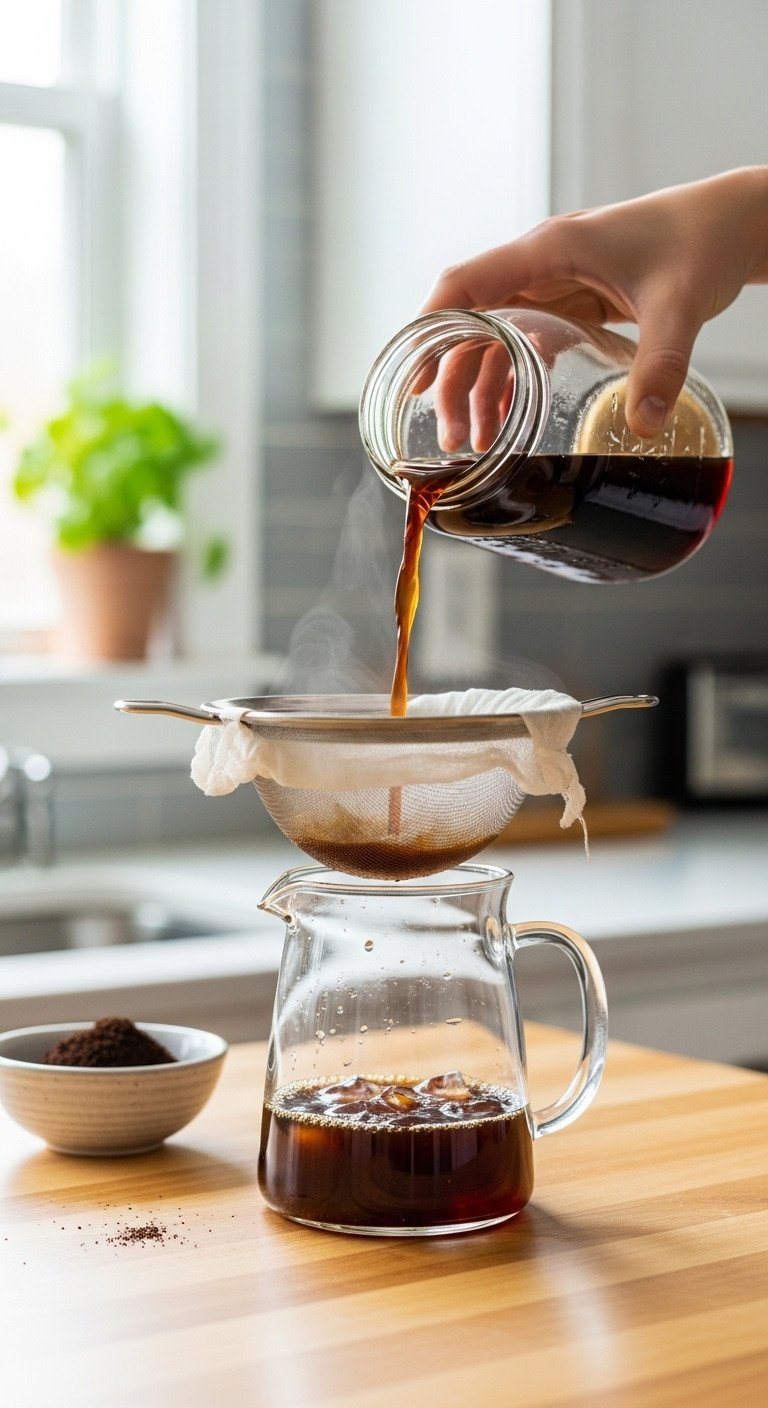
The secret to clear, non-sludgy cold brew! Pin this tips.
Properly filtering your cold brew is the key to a clean, clear concentrate without any unpleasant sediment at the bottom of your cup.
What You Need:
- A fine-mesh sieve or strainer.
- Cheesecloth or a paper coffee filter (like for a drip machine). A nut milk bag also works wonderfully.
- A second clean jar or pitcher to strain the concentrate into.
Step-by-Step Directions:
- Set Up Your Filter: Place the fine-mesh sieve over your clean container. For an ultra-clean brew, line the sieve with a layer or two of cheesecloth or a large paper coffee filter.
- Pour Slowly: Gently and slowly pour the steeped coffee mixture from the brewing jar through your filter setup.
- Let it Drip: Allow gravity to do the work. Let the coffee drip through completely. This can take a few minutes.
- Mistake to Avoid: Squeezing or pressing the grounds in the filter to get the last bit of liquid out. This will push bitter fine particles and oils through, making your coffee taste muddy and astringent. Be patient!
- Discard Grounds: Once dripping has stopped, discard the coffee grounds in your compost or garden.
Lesson Learned: For the absolute clearest concentrate, filter it twice. First through a mesh sieve to get the big particles, then a second time through a paper filter to catch the super-fine sediment. It’s an extra step but worth it for a silky-smooth texture.
6. Store Your Concentrate for Maximum Freshness
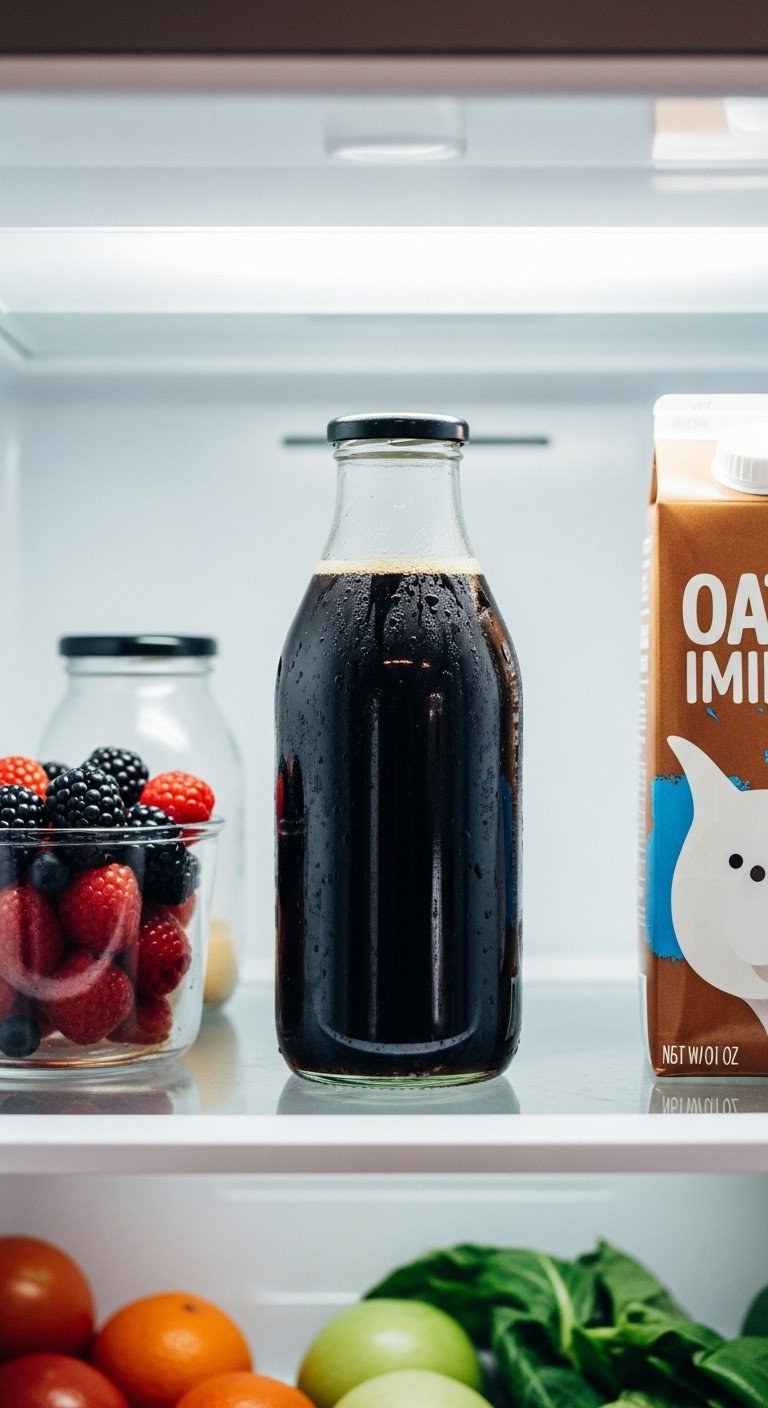
Make your morning coffee routine a breeze. Save this storage tip!
You’ve made a delicious batch of cold brew concentrate. Now it’s time to store it properly to keep it tasting great all week long.
What You Need:
- Your freshly filtered cold brew concentrate.
- An airtight glass bottle or jar with a secure lid. Flip-top bottles are excellent for this.
Step-by-Step Directions:
- Transfer to Storage: Pour your clean concentrate into your airtight storage bottle or jar.
- Seal Tightly: Ensure the lid is completely sealed. This is crucial to prevent the coffee from absorbing other odors from your refrigerator.
- Refrigerate Immediately: Store the sealed container in the fridge.
- Enjoy Fresh: Your cold brew concentrate will taste its best within the first week, but it will stay good for up to two weeks.
- Mistake to Avoid: Storing it in an open pitcher or a container that doesn’t seal well. Your delicious coffee will quickly start to taste like last night’s leftovers.
Pro-Tip: Label the jar with the date you brewed it using a erasable marker. This helps you keep track of its freshness and use it up while it’s at its peak flavor.
7. Dilute and Serve Your Perfect Cold Brew

The perfect afternoon treat! Pin this simple recipe.
The final step is turning your potent concentrate into a perfectly balanced and delicious drink. Dilution is key.
What You Need:
- Your chilled cold brew concentrate.
- A tall glass filled with ice cubes.
- Your choice of diluting liquid: cold filtered water, milk (dairy or plant-based), or cream.
- Optional: Sweetener or flavored syrup.
Step-by-Step Directions:
- Fill Your Glass: Start with a glass full of ice. This keeps the drink cold without over-diluting it too quickly.
- Start the Dilution: Pour the cold brew concentrate over the ice until the glass is about half full.
- Top It Off: Top the concentrate with an equal amount of cold water or milk. A 1:1 ratio (concentrate to liquid) is a great starting point.
- Taste and Adjust: Stir and take a sip. Is it too strong? Add more water or milk. Too weak? Add a splash more concentrate. The perfect strength is up to you!
- Mistake to Avoid: Forgetting to dilute it at all! Drinking the concentrate straight can be overwhelmingly strong and high in caffeine.
Pro-Tip: Make coffee ice cubes by freezing leftover cold brew in an ice cube tray. Use these instead of regular ice to prevent your drink from getting watery as the ice melts.
Key Takeaways: Your Quick Guide to Perfect Cold Brew
Feeling ready to brew? Here’s a quick summary of the most important factors for success.
- Use a Coarse Grind: This is the #1 rule to prevent bitterness. Think breadcrumbs, not sand.
- Stick to a 1:8 Ratio (by weight): Or a 1:4 ratio (by volume) for a strong, versatile concentrate. It’s better to be too strong than too weak.
- Steep for 18-24 Hours in the Fridge: This long, slow, and cold extraction is what creates the signature smooth flavor.
- Filter Gently, Don’t Squeeze: Let gravity do the work to avoid pushing bitter sediment into your final brew.
- Always Dilute Before Drinking: Start with a 1:1 ratio of concentrate to water or milk and adjust to your taste.
FAQs About how to make cold brew coffee at home
Here are answers to some of the most common questions people have when learning how to make cold brew coffee.
Why is my cold brew bitter?
The most common cause of bitter cold brew is grinding the coffee beans too finely. A fine grind over-extracts during the long steeping process, releasing bitter compounds. To fix this, use a much coarser grind setting, similar to the texture of coarse sea salt. Over-steeping (longer than 24 hours) can also contribute to bitterness.
How do I make my cold brew stronger?
To make your cold brew stronger, you can either decrease the amount of water or increase the steep time. For a more potent concentrate, try a 1:6 or 1:7 coffee-to-water ratio by weight. You can also extend your steep time from 18 hours closer to the 24-hour mark for a deeper, more robust extraction.
Can you use pre-ground coffee for cold brew?
Yes, you can use pre-ground coffee, but it is not ideal and may result in a bitter brew. Most pre-ground coffee is too fine for the cold brew method. If you must use it, look for a bag specifically labeled “coarse grind” or “for French press” and consider reducing the steep time to 12-14 hours to minimize over-extraction.
How long does homemade cold brew last in the fridge?
When stored properly in a sealed, airtight container, your homemade cold brew concentrate will stay fresh for up to two weeks. However, for the best and brightest flavor, it’s recommended to consume it within the first 7 to 10 days before the taste begins to degrade.
Final Thoughts
Now you have the complete blueprint to make flawless, velvety-smooth cold brew coffee right in your own kitchen. Say goodbye to bitter batches and overpriced cafe drinks forever! The beauty of this method is its simplicity and how easily you can tweak it to create your perfect, signature cup.
The journey from coffee bean to a perfect glass of cold brew is a rewarding ritual. By understanding the core principles of grind, ratio, time, and filtration, you’ve unlocked the ability to produce a consistently delicious beverage that will elevate your daily coffee routine.
What’s the first way you’re going to try your homemade cold brew—classic over ice, with a splash of oat milk, or in a creative coffee cocktail? Let me know in the comments below
Last update on 2026-01-19 / Affiliate links / Images from Amazon Product Advertising API

