As an Amazon Associate CoffeeXplore.com earns from qualifying purchases.
A Foolproof Coffee Jelly Recipe For A Perfect Jiggly Texture
Ever wondered how to make that perfect jiggly coffee jelly you’ve seen online? This refreshing dessert, known as a gelatin-based treat, seems simple but getting that ideal texture can be tricky. You might worry about runny or lumpy results, wasting time and ingredients.
This foolproof coffee jelly recipe uses just 4 simple ingredients to create a refreshing, jiggly dessert popular in Japanese cafes. We’ll show you the secret to a smooth, perfect set. Follow our step-by-step guide for delicious results every time.
Craving That Perfect Jiggly Coffee Jelly You’ve Seen Online?
There’s something uniquely satisfying about the smooth, wobbly texture of a perfect coffee jelly. Whether you’ve seen it in a Japanese cafe or as the favorite dessert of Saiki K., you want to recreate that experience at home. But the fear of failure is real—no one wants a soupy mess or a rubbery block after all their effort.
That’s where this simple coffee jelly recipe comes in. After testing countless ratios, we’ve perfected a recipe that delivers that satisfying jiggle every single time. This is the only guide you’ll need. This foolproof coffee jelly recipe uses just 4 simple ingredients to create a refreshing, jiggly dessert. The key is blooming the gelatin properly to ensure a smooth, perfect set.
The Only 4 Ingredients You Need
Before you begin, let’s gather the simple items required for this recipe. You likely have most of these in your pantry already. Having everything ready makes the process smooth and effortless.
Essential Ingredients:
- 1 packet (.25 oz) Unflavored Gelatin: This is the gelling agent that creates the magic. Be sure to use unflavored gelatin, like Knox brand, not a flavored Jell-O mix.
- 2 cups Strongly Brewed Coffee: The flavor of your dessert depends entirely on this. Use a strong dark roast, espresso, or high-quality instant coffee. Remember, the flavor will mellow when chilled.
- ¼ to ½ cup Granulated Sugar: This is your sweetener. You can adjust the amount based on how sweet you like your desserts and how bitter your coffee is.
- ¼ cup Cold Water: This is used specifically for blooming the gelatin. Using cold water is non-negotiable for a smooth texture.
Essential Tools:
- Small bowl for blooming
- Small saucepan
- Whisk
- 8×8 inch glass baking dish (or individual glasses)
How to Make Foolproof Coffee Jelly: 5 Simple Steps
Making this Japanese-style dessert is all about the process. We’ve broken it down into five distinct steps. By following these coffee jelly instructions, you’ll see how the simple relationship between gelatin and hot coffee creates the perfect dessert. The most critical part is the first step: properly blooming the gelatin to ensure it dissolves completely.
- Bloom the Gelatin in cold water.
- Prepare the hot coffee base with sugar.
- Dissolve the bloomed gelatin into the hot coffee.
- Pour the mixture into a mold and chill for at least 4 hours.
- Cut into cubes and serve with your favorite topping.
1. Bloom the Gelatin (The Most Important Step!)

Pin this essential tip to your ‘Dessert Recipes’ board!
This initial step is the secret to a perfectly smooth, clear coffee jelly. Blooming hydrates the gelatin granules, allowing them to dissolve evenly without creating lumps. Never skip this step!
What You Need:
- 1 packet (.25 oz / 7g) unflavored gelatin powder
- ¼ cup cold water
- Small bowl
Step-by-Step Directions:
- Pour the ¼ cup of cold water into a small bowl.
- Evenly sprinkle the entire packet of gelatin powder over the surface of the water.
- Do not stir. Let the bowl sit undisturbed for 5 minutes. The gelatin will absorb the water and become wrinkled and translucent. This is called “blooming.”
Pro-Tip: Always use cold water for blooming. Hot water will cause the gelatin to clump instantly, making your jelly lumpy.
2. Prepare the Hot Coffee Base

Save this easy recipe for your next coffee craving!
With your gelatin blooming, it’s time to create the flavor foundation of your dessert. This is where you’ll combine the coffee and sugar to create the sweetened liquid base.
What You Need:
- 2 cups hot, strongly brewed coffee (OR 2 cups boiling water + 2 tbsp high-quality instant coffee powder)
- ¼ to ½ cup granulated sugar (adjust to your taste)
- Small saucepan
Step-by-Step Directions:
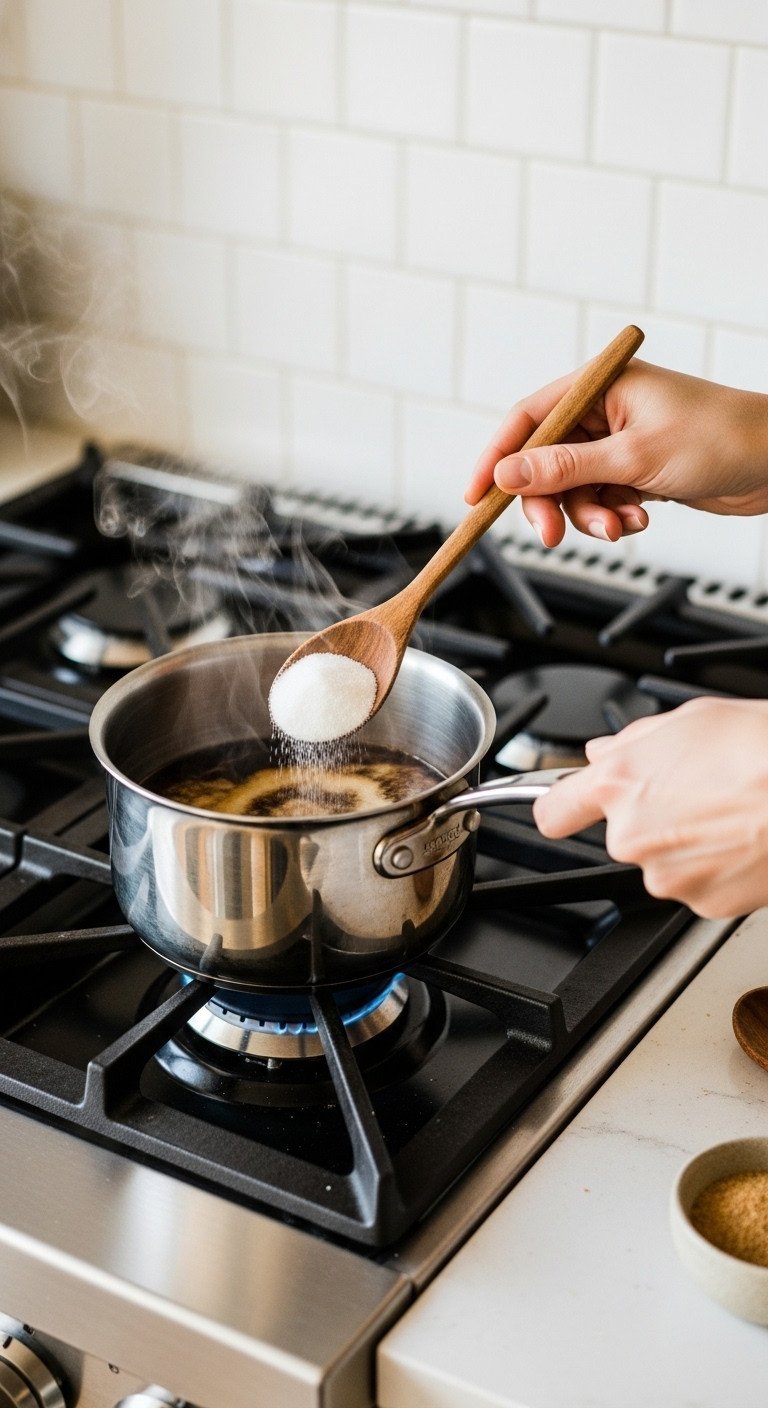
- Pour the 2 cups of hot coffee into a small saucepan over low-medium heat. If using instant, bring 2 cups of water to a simmer and dissolve the coffee powder in it.
- Add the sugar to the hot coffee.
- Stir gently until all the sugar crystals have completely dissolved. Do not let the mixture come to a rolling boil. Keep it hot, but not boiling.
Lesson Learned: The flavor of your coffee jelly depends entirely on the coffee you use. Culinary experts agree that flavors are dulled when chilled, so brew it stronger than you would normally drink it.
3. Combine and Dissolve for a Silky Smooth Mix

Pin this key technique for perfectly smooth jelly every time!
Now it’s time to bring the two parts together. Adding the bloomed gelatin to the hot coffee mixture will activate its gelling power and create the final liquid that will set into your dessert.
What You Need:
- The hot coffee and sugar mixture from Step 2
- The bloomed gelatin from Step 1
- A small whisk
Step-by-Step Directions:
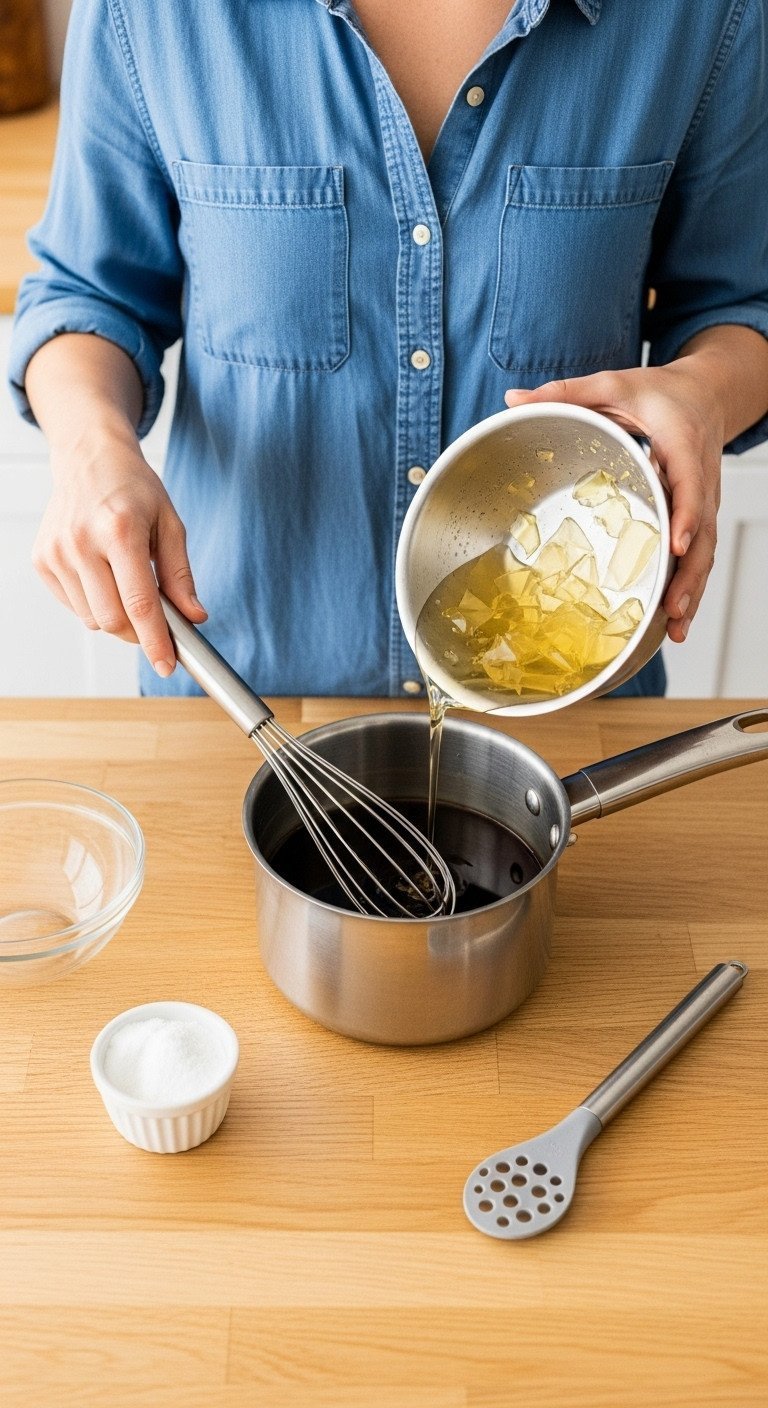
- Remove the saucepan of hot coffee from the heat.
- Add the entire blob of bloomed gelatin to the hot coffee mixture.
- Whisk gently but consistently for about 1-2 minutes until you can see that the gelatin has completely dissolved. There should be no visible granules.
Pro-Tip: For an ultra-professional finish, you can pour the final mixture through a fine-mesh sieve into your setting dish. This will catch any tiny bits of undissolved gelatin or coffee grounds.
4. Pour and Chill to Perfection

Patience is key! Pin this for the final step.
This is the easiest—but perhaps most difficult—step: waiting. The mixture needs time in the refrigerator for the gelatin to work its magic and create that perfect, firm set.
What You Need:
- The final coffee jelly liquid mixture
- An 8×8 inch glass baking dish (or individual ramekins/glasses)
- Refrigerator space
Step-by-Step Directions:
- Let the coffee mixture cool for about 10-15 minutes at room temperature. This prevents the hot liquid from cracking a cold glass dish.
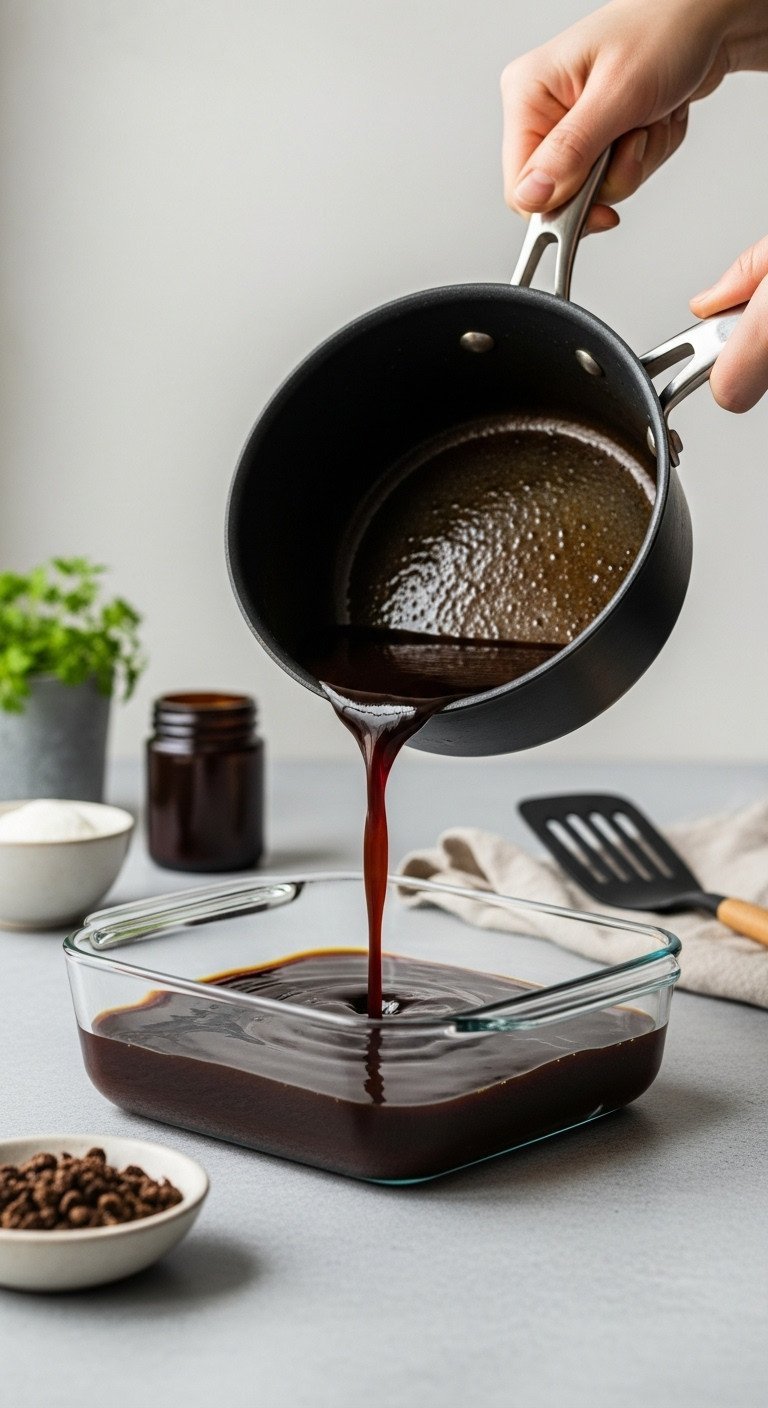
- Carefully pour the mixture into your glass dish or individual serving glasses.
- Place the dish in the refrigerator, uncovered, and let it chill for at least 4 hours. Chilling overnight is even better for the firmest set.
- Once fully set, you can cover it with plastic wrap to prevent it from absorbing fridge odors.
Pro-Tip: Test for doneness by gently tilting the dish. The jelly should jiggle as one solid piece and not look liquidy or pull away from the sides.
5. Cut Into Cubes and Serve

The perfect finish! Save this serving idea to your dessert board.
Your patience has paid off! The final step is to cut your perfectly set coffee jelly into cubes and serve it. Presentation is part of the fun, and the classic cubed look is iconic.
What You Need:
- The fully set coffee jelly
- A sharp knife
- Your choice of topping (heavy cream, sweetened condensed milk, ice cream)
Step-by-Step Directions:
- Run a sharp knife under hot water and wipe it dry.
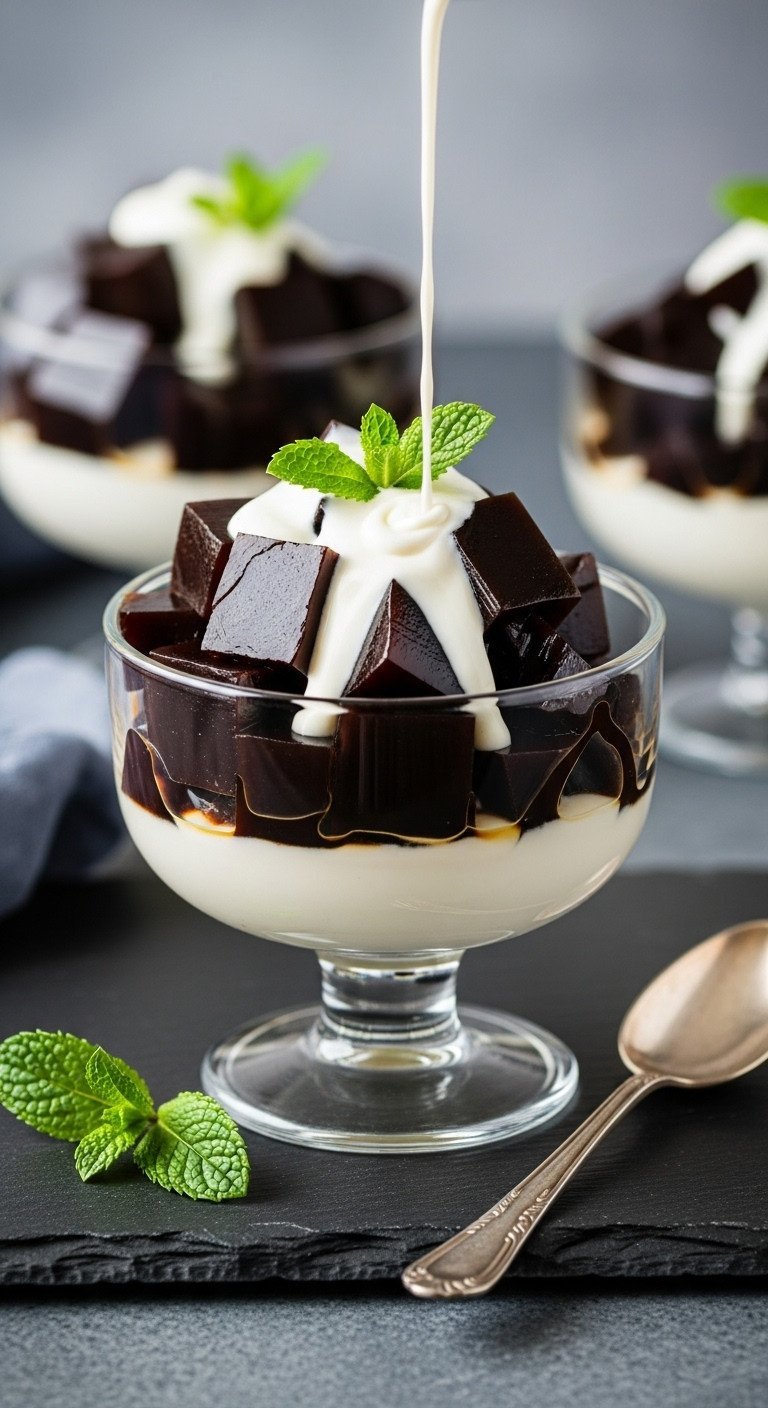
- Slice the jelly into a grid pattern to create your desired cube size (¾ to 1-inch cubes are classic). The hot knife will give you super clean cuts.
- Gently scoop the cubes out with a spatula and place them in a bowl or dessert glass.
- Drizzle with heavy cream, a sauce made from sweetened condensed milk, or top with a scoop of vanilla ice cream.
Pro-Tip: For a classic Japanese kissaten (coffee house) experience, serve the cubes plain in a glass with a tiny pitcher of heavy cream on the side for your guest to pour themselves.
Key Takeaways: Your Quick Guide to Perfect Coffee Jelly
To ensure success every time you make this simple coffee jelly recipe, just remember these three critical points. They are the difference between a good dessert and a great one.
- Always Bloom First: Never skip blooming the gelatin in cold water. This 5-minute step is the secret to a smooth, lump-free texture.
- Go Bold on Flavor: Use strong coffee and don’t be shy with the sugar. Chilling dulls flavors, so your initial mixture should taste slightly stronger and sweeter than you’d prefer.
- Chill, Don’t Rush: Give your jelly at least 4 hours in the fridge to set properly. Overnight is even better for that perfect, firm jiggle.
People Also Ask About Making Coffee Jelly
Even with a foolproof recipe, questions can pop up. Here are answers to some of the most common troubleshooting queries to ensure your coffee dessert is a success.
Why is my coffee jelly not setting or too runny?
This is almost always due to an incorrect gelatin-to-liquid ratio or damaged gelatin. Ensure you’re using one .25 oz packet of gelatin for every 2 cups of liquid, as this is the standard ratio according to food science literature. Also, never let the mixture come to a rolling boil after adding the gelatin, as extreme heat can destroy its setting power. Lastly, make sure you’ve chilled it for at least 4 hours.
Can I make this coffee jelly vegan?
Yes, you can make a vegan version using agar-agar powder instead of gelatin. Use 1.5 teaspoons of agar-agar powder for 2 cups of liquid. Unlike gelatin, you must combine the agar-agar with the coffee liquid and bring it to a full boil for 1-2 minutes to activate its gelling properties. The texture will be slightly firmer and less “jiggly” than gelatin-based jelly.
How do I store coffee jelly and how long does it last?
Store leftover coffee jelly in an airtight container in the refrigerator. It will stay fresh and delicious for up to 4 days. After that, it’s still safe to eat, but it may start to lose some of its firm texture and release a little water. Do not freeze coffee jelly, as it will destroy the delicate gelatin texture.
Final Thoughts
Making authentic, jiggly coffee jelly at home is far simpler than it seems. This seemingly fancy dessert requires just a handful of ingredients and a little bit of patience. By understanding the key relationships—how cold water blooms gelatin and how hot coffee dissolves it—you’ve unlocked the secret to a perfect texture every single time. This is a wonderfully refreshing and easy dessert recipe perfect for any occasion.
Now that you have the foolproof recipe, what will you serve your perfect coffee jelly with? Let me know your favorite topping ideas in the comments below
Last update on 2025-12-14 / Affiliate links / Images from Amazon Product Advertising API

