As an Amazon Associate CoffeeXplore.com earns from qualifying purchases.
5 Easy DIY Halloween Coffee Mug Ideas You Need to Try
Craving a spooky touch for your morning coffee without breaking the bank? The Halloween season is filled with temptations to buy festive decor, but those store-bought items can quickly add up. You want to feel the magic of the season in your daily routine, but you’re looking for something unique, personal, and budget-friendly that doesn’t require a professional artist’s skill set.
You’ve seen adorable ghost mugs and witchy tumblers all over Pinterest and Instagram, but you’re not sure where to start. You need a craft that’s simple enough to complete in an afternoon, uses affordable materials, and still looks amazing. The goal is a fun, creative project that results in a charming, usable piece of Halloween decor.
Making a DIY Halloween coffee mug is an easy and affordable craft perfect for any skill level. We’ve scoured the craftiest corners of the internet and tested these methods to bring you five foolproof DIY Halloween mug ideas that anyone can master this weekend. Popular methods include using black acrylic paint for a ghost face, oil-based Sharpies for detailed designs, or a Cricut machine to apply permanent vinyl decals or infusible ink for a professional, dishwasher-safe finish.
Craving a Spooky Touch for Your Morning Coffee Without Breaking the Bank?
Making a DIY Halloween coffee mug is an easy and affordable craft. Popular methods include using black acrylic paint for a ghost face, oil-based Sharpies for detailed designs, or a Cricut machine to apply permanent vinyl decals or infusible ink for a professional, dishwasher-safe finish. We’ve scoured the craftiest corners of the internet and tested these methods to bring you five foolproof DIY Halloween mug ideas that anyone can master this weekend. These projects promise to deliver simple, inexpensive, and creative results perfect for personal use or as unique, personalized Halloween gifts.
5 Easy DIY Halloween Coffee Mug Ideas You Need to Try This [Month]
Each of these five ideas includes detailed steps, a full materials list, and a pro-tip from our own crafting experience to ensure your project is a spooky success. We’ve covered a variety of techniques, from simple freehand painting to using a Cricut machine for a flawless finish. Get ready to find your new favorite mug for enjoying that pumpkin spice latte!
1. The Viral Pottery Barn Ghost Mug Dupe

Save this adorable ghost mug idea to your ‘Halloween Crafts’ board!
Materials Needed:
- White ceramic coffee mug
- Black multi-surface acrylic paint (an acrylic enamel paint works best for durability on glass and ceramics)
- Q-tips or a small, narrow paintbrush
- Rubbing alcohol and a cotton ball
Step-by-Step Directions:
- Prep the Mug: Thoroughly clean the outside of your mug with rubbing alcohol to remove any oils or fingerprints. Let it dry completely.
- Paint the Eyes: Dip a Q-tip into the black acrylic paint. Dab two small circles onto the mug for the ghost’s eyes. You can start small and add more paint to make them larger.
- Paint the Mouth: Use a clean Q-tip or a small brush to paint a larger oval shape centered below the eyes for the mouth. Avoid painting near the rim where your mouth will touch.
- Cure the Paint: Let the paint air dry for at least four hours, or preferably overnight.
- Bake for Permanence: To make the design top-rack dishwasher safe, place the mug in a cool oven. Turn the oven to 275°F (135°C) and bake for 30 minutes. Turn the oven off and let the mug cool completely inside the oven before removing.
Pro-Tip: If you make a mistake, you can quickly wipe the wet paint away with a damp paper towel or use a Q-tip with a little rubbing alcohol for precise cleanup before it dries.
2. Quick & Colorful Paint Marker Designs
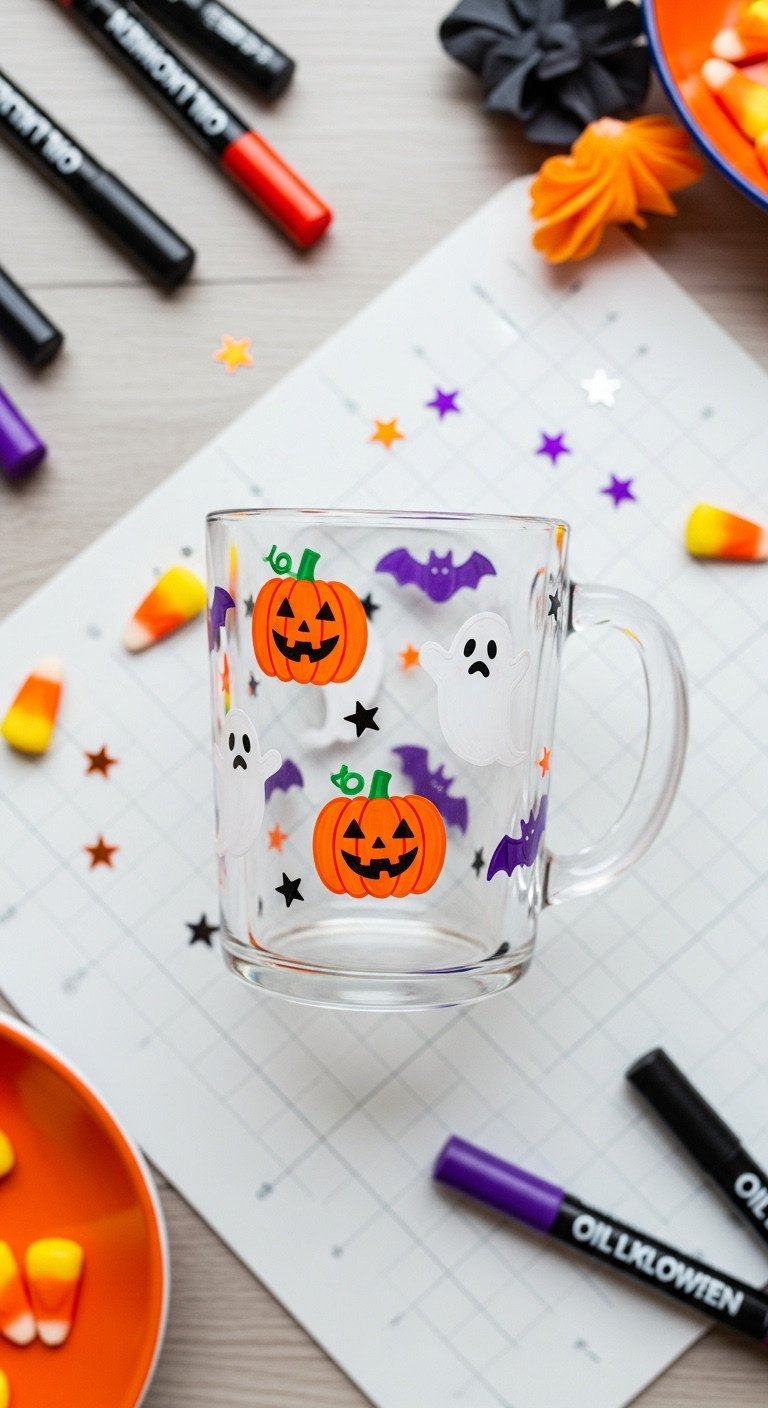
Pin this super easy dollar store craft for your next Halloween party!
Materials Needed:
- Inexpensive ceramic or clear glass mug (dollar store mugs work great!)
- Opaque oil-based paint markers or oil-based Sharpies in Halloween colors (orange, black, white, purple)
- Rubbing alcohol
Step-by-Step Directions:
- Clean the Mug: Wash and dry the mug thoroughly. Wipe the area you plan to decorate with rubbing alcohol to ensure it’s free of oils.
- Draw Your Design: Get creative! Draw pumpkins, ghosts, spiderwebs, bats, or write spooky words like “Witch’s Brew.” If you’re nervous, you can lightly sketch your design with a pencil first. For best results, use high-quality, oil-based paint pens which are more opaque than standard Sharpies.
- Air Dry: Let the design air dry completely for at least an hour.
- Bake to Set: Place the mug in a cool oven. Set the temperature to 350°F (175°C) and bake for 20-30 minutes. Turn off the oven and let the mug cool down completely inside before handling.
Lesson Learned: These mugs are best for gentle hand-washing only. Even after baking, the design can be vulnerable in a dishwasher. To extend its life, avoid scrubbing the decorated area.
3. Spooky Vinyl Decals with a Cricut
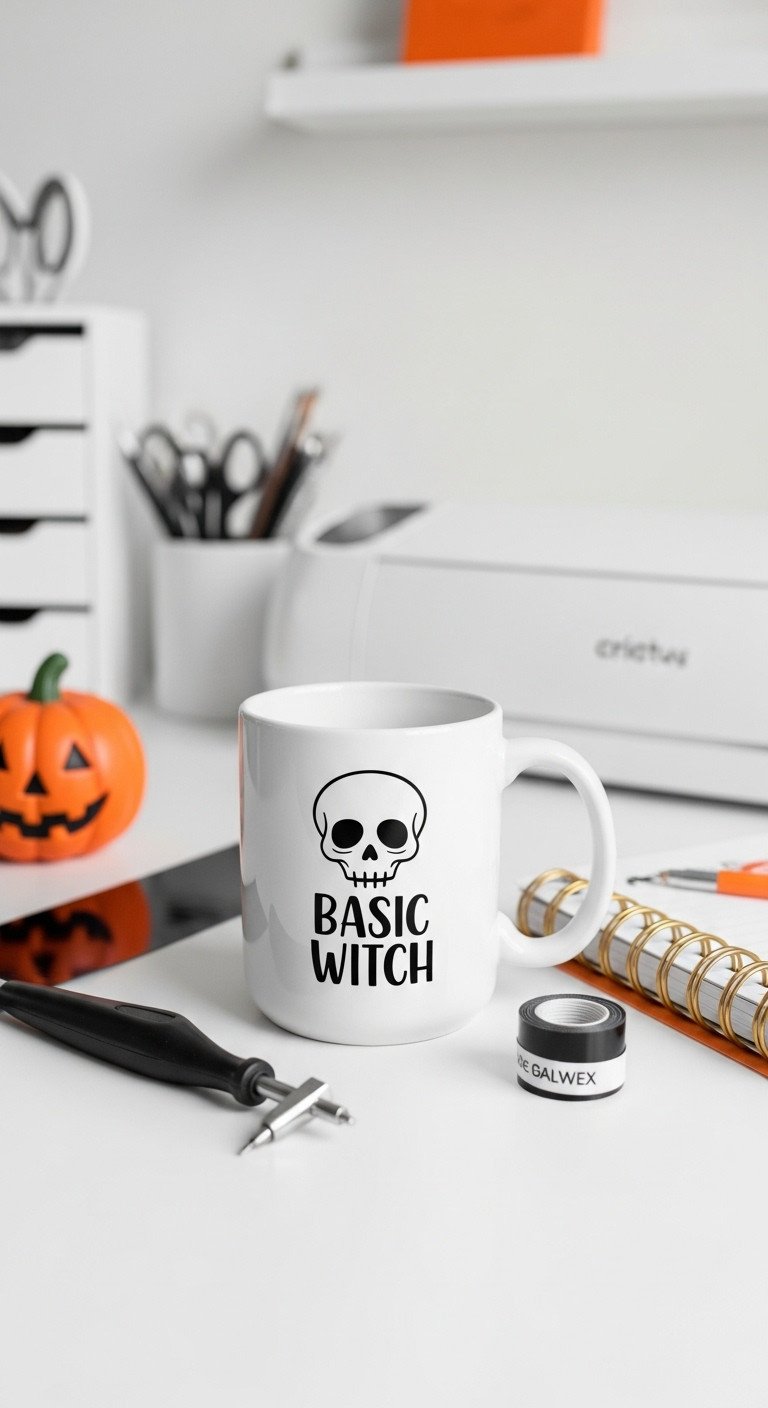
Have a Cricut? Save this quick 5-minute project for Halloween!
Materials Needed:
- A blank mug (ceramic, porcelain, or even a Yeti tumbler)
- Black permanent adhesive vinyl
- Cricut machine (Maker, Explore, or Joy)
- Weeding tool and scraper
- Transfer Tape
- Rubbing alcohol
- Free Halloween face SVG file
Step-by-Step Directions:
- Prepare Design: Find and download a free Halloween SVG file online. Upload it to Cricut Design Space and size it to fit your mug (typically around 2.5-3 inches wide).
- Cut the Vinyl: Place the permanent adhesive vinyl on your cutting mat and let your Cricut machine cut the design.
- Weed the Design: Use a weeding tool to remove the excess vinyl from around your spooky face or text.
- Apply Transfer Tape: Place a piece of transfer tape over your weeded design and use a scraper to burnish it well.
- Apply to Mug: Clean your mug with rubbing alcohol and let it dry. Carefully peel the vinyl backing away and position the decal on your mug. Use the scraper to firmly apply the vinyl, then slowly peel away the transfer tape.
Pro-Tip: Let the vinyl “cure” on the mug for 48-72 hours before using or washing it. This allows the adhesive to fully bond to the surface, making it more durable for gentle hand-washing.
4. Pro-Level Infusible Ink Mugs (with Cricut Mug Press)

Create the perfect handmade gift! Pin this dishwasher-safe mug idea.
Materials Needed:
- Cricut Mug Press
- Cricut machine (Explore or Maker)
- Cricut Infusible Ink Transfer Sheets in Halloween patterns or colors
- Cricut Ceramic Mug Blank (or another sublimation-compatible mug)
- Lint roller
- Heat Resistant Tape (optional)
Step-by-Step Directions:
- Create Design: In Cricut Design Space, use a mug design template and create your spooky scene. Remember to mirror your design before cutting!
- Cut Infusible Ink: Place the Infusible Ink sheet (liner side down) on your mat and cut the design with your Cricut machine.
- Weed Design: Gently weed the design, removing the negative pieces. Unlike vinyl, you’ll be removing the parts of the design you don’t want to transfer.
- Prepare Mug: Use a lint roller to remove any dust or debris from the surface of your Cricut mug blank.
- Apply and Press: Wrap the Infusible Ink design tightly around the mug, ensuring it’s smooth against the surface. Place the mug in your preheated Cricut Mug Press and press the lever. The machine will do the rest!
- Cool and Reveal: Once the press beeps, carefully lift the mug out by the handle (it will be extremely hot!) and place it on a heat-resistant mat. Let it cool completely (15-30 minutes) before peeling off the paper to reveal your permanent, vibrant design.
Pro-Tip: For intricate designs, use Cricut’s Heat Resistant Tape to secure the transfer sheet to the mug. This prevents any shifting during the transfer process, ensuring a crisp, perfect image every time.
5. The 5-Minute Minimalist “Boo” Mug
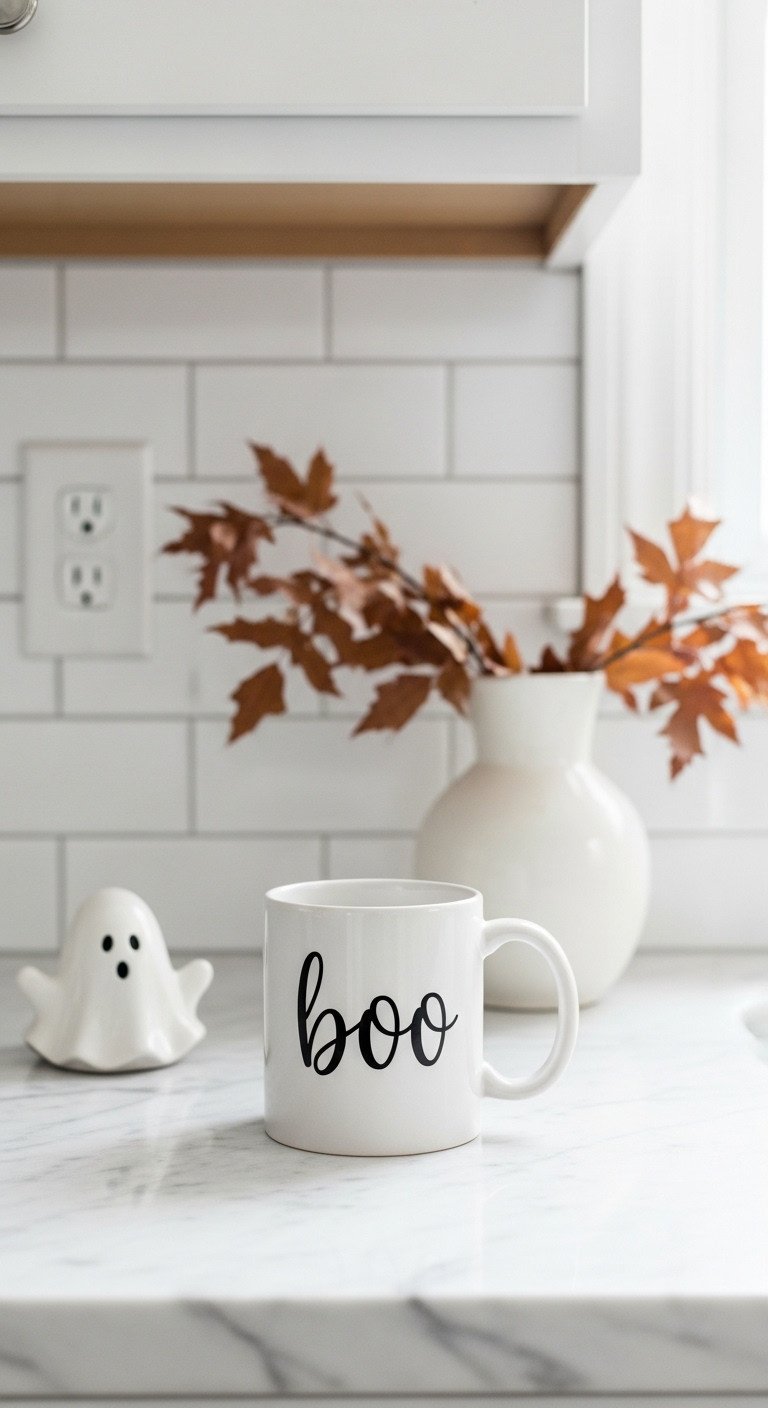
Need a last-minute craft? Pin this chic and simple “Boo” mug idea!
Materials Needed:
- A blank white mug
- For Vinyl Method: Black permanent adhesive vinyl, a Cricut machine, transfer tape.
- For Painted Method: Black acrylic enamel paint and a fine-tip paintbrush or paint pen. You can also use letter stencils for perfect lettering.
Step-by-Step Directions:
- Clean Your Mug: Whichever method you choose, start by cleaning the mug surface with rubbing alcohol.
- Vinyl Method: In Cricut Design Space, type “boo” in your favorite font, size it, and cut it from black vinyl. Weed the design and use transfer tape to apply it to your mug. This takes less than 5 minutes!
- Painted Method: Using a fine-tip brush or a paint pen, carefully paint the word “boo” onto the mug. For crisp lines, consider using small alphabet stencils to guide your painting.
- Cure if Painted: If you painted the mug, follow the curing and baking instructions from the Ghost Mug tutorial (Idea #1) to make it permanent. The vinyl version is ready to use after 48 hours of curing.
Pro-Tip: When using the vinyl method for text, “reverse weeding” can be easier. Instead of peeling away the outside of the letters, apply transfer tape over the whole cut rectangle, then peel the vinyl backing off and pick the letters themselves out, leaving you with a perfect stencil.
Key Takeaways: Your Quick Guide to DIY Halloween Coffee Mugs
- The Ghost Mug (Paint): Easiest for beginners, very low cost. Best for a classic, cute look.
- Paint Markers/Sharpies: Quick and versatile for colorful, freehand designs on dollar store mugs. Best for kid-friendly crafts (with supervision).
- Cricut Vinyl Decals: Fastest method for crisp, professional-looking text and graphics. Best for last-minute gifts.
- Cricut Infusible Ink: Most durable, permanent, and dishwasher-safe option. Best for creating high-quality, long-lasting gifts.
- The “Boo” Mug: The ultimate 5-minute craft, perfect for a minimalist and chic Halloween vibe.
@cleoneceramics New halloween/fall mug alert 🚨👻 #fallasethetic #falltok #pintestaesthetic #halloween2023 #fypシ #cutemugs #autumnmugs #hotchocolate #coffee #cutemugsmakemehappy #cutemugsuk #claymugs #diy #diyclay #clayproject #claytutorial #claymugtutorial #halloweencraft #pumpkinseason #pumpkin #diygiftideas #diygift #halloweendiy #halloweendecorations #clay #clayart #claymugs #mugs #handmademugs #wheel #potterswheel #ghosts #cuteghost #september #gilmoregirls #spookyseason
People Also Ask About DIY Halloween Coffee Mugs
How do you permanently decorate a coffee mug?
To permanently decorate a ceramic mug, the key is heat setting. After applying oil-based paint markers or multi-surface acrylic paint, allow the design to air dry completely. Then, place the mug in a cool oven, heat it to 350°F (175°C), and bake for 30 minutes. Let it cool completely in the oven. For a truly permanent, dishwasher-safe finish, use the Cricut Mug Press with infusible ink on a compatible sublimation mug.
What can I put inside a coffee mug for a Halloween gift?
For a festive Halloween gift, fill your DIY mug with treats and themed items. Popular fillers include gourmet hot cocoa mix, a packet of pumpkin spice coffee, or a variety of Halloween teas. You can also add Halloween candy like candy corn and chocolate eyeballs, a spooky-shaped cookie, a pair of fuzzy Halloween socks, or a small gift card. Tucking these items inside makes the mug a complete and thoughtful present.
Can you Mod Podge a picture onto a coffee mug?
Yes, but only for decorative purposes, as standard Mod Podge is not food-safe or waterproof. Even the “dishwasher-safe” formula should only be used on the outside of the mug, far away from the rim where your mouth touches. For a mug that won’t be washed often, apply the picture with Mod Podge, let it dry, and seal it with multiple top coats. However, for a mug you intend to drink from and wash regularly, this method is not recommended.
Final Thoughts
Now you have five spooktacular ways to jazz up your morning coffee routine! From a 5-minute ‘boo’ to a professional-quality ghost mug, you’re ready to create the perfect Halloween accessory or gift. You don’t need to be an artist to create something festive and fun for the Halloween season.
Which of these hauntingly cute mug ideas are you excited to try first? Let us know in the comments below
Last update on 2025-12-06 / Affiliate links / Images from Amazon Product Advertising API

