As an Amazon Associate CoffeeXplore.com earns from qualifying purchases.
The Ultimate Mason Jar Cold Brew Guide To Avoid Mistakes
Tired of that daily $5 dent in your wallet from cafe cold brew? It’s a frustrating habit when you know there has to be a cheaper way. You’ve probably heard you can make it at home, but the process seems intimidating.
This is where the Mason Jar Cold Brew method comes in. It’s a simple brewing technique that uses a standard glass jar to create smooth, low-acid coffee. The main challenge is avoiding the common mistakes that lead to bitter, wasted coffee.
The mason jar cold brew method is a simple way to make cafe-quality coffee concentrate at home. This guide will walk you through seven foolproof steps. You’ll learn the secrets to making a perfect, affordable brew every single time.
Why Is Cafe Cold Brew So Expensive (and How Can You Make It Better at Home)?
That daily cold brew habit adds up quickly, often costing over $1,500 a year. The high price in cafes comes from the long brewing time (12-24 hours), which ties up space and resources, and the large amount of coffee grounds required. But here’s the secret: the process itself is incredibly simple and doesn’t require fancy equipment.
From my own journey of perfecting this, I discovered that making homemade cold brew in a jar isn’t just cheaper—it’s often better. You get to control the bean quality, the strength, and the flavor, creating a brew perfectly tailored to your taste. This foolproof guide is the result of that experience, designed to help you skip the mistakes and get straight to delicious, affordable coffee. Making it at home can cost 70-80% less per serving, turning a pricey indulgence into a sustainable daily pleasure.
The 7 Essential Steps to Foolproof Mason Jar Cold Brew
Making perfect cold brew is less about having expensive gadgets and more about understanding a few key principles. I’ve refined this process into a tried and true method that eliminates all the guesswork. By following these seven essential steps, you’ll avoid the common pitfalls of bitterness and weakness, guaranteeing a smooth, rich, and delicious concentrate every time. Think of this as your roadmap to becoming a home-brew master.
1. Choose and Weigh Your Beans

Save this essential first step for your perfect brew!
Materials Needed:
- Whole coffee beans (Medium to Dark Roast is recommended for a classic, chocolatey flavor)
- A digital kitchen scale for accurate, consistent results
- A 32oz (quart) wide-mouth mason jar
Step-by-Step Directions:
- Select Your Roast: Choose a medium or dark roast coffee. These roasts are more forgiving and produce the smooth, low-acid, and rich flavor most people associate with cold brew. The quality of your beans is paramount, as the cold brew process highlights their inherent flavors.
- Set Your Ratio: A great starting point for a strong concentrate is a 1:5 ratio of coffee to water by weight. This consistency is a professional standard for repeatable results.
- Weigh Your Coffee: For a standard 32oz mason jar, you’ll need approximately 85 grams (about 3 ounces or 1 cup of whole beans) of coffee. Place your bowl on the scale, tare it to zero, and weigh out your beans precisely.
Pro-Tip: Measuring by weight instead of volume is the single best secret to consistent coffee. A cup of light roast beans weighs more than a cup of dark roast beans, so a scale eliminates all guesswork!
2. Grind the Coffee Coarsely
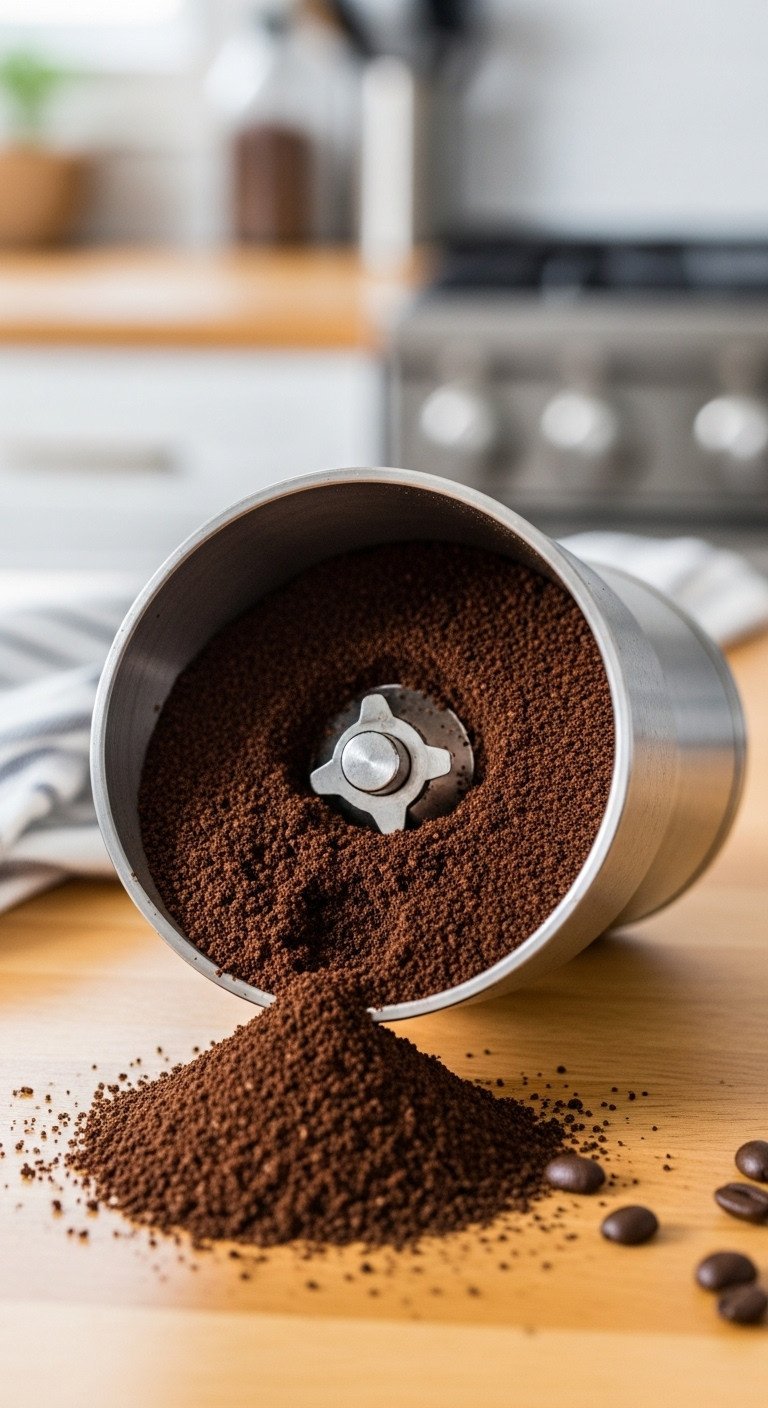
Pin this tip—the right grind size is everything!
Materials Needed:
- 85g of whole coffee beans (from Step 1)
- A coffee grinder, preferably a burr grinder
Step-by-Step Directions:
- Set Your Grinder: Adjust your coffee grinder to its coarsest setting. This is often labeled as “French Press.”
- Grind in Bursts: Add your beans to the grinder. If using a blade grinder, grind in short, 3-5 second pulses to avoid creating fine dust. A burr grinder will produce a much more consistent result.
- Check the Texture: Your final grind should be very coarse, resembling the texture of coarse sea salt or breadcrumbs. This is the most critical step to avoiding bitter coffee.
Lesson Learned: My first batch of cold brew was a bitter, cloudy mess because I used pre-ground coffee that was too fine. A coarse grind allows water to extract flavor slowly and evenly without pulling out the bitter compounds associated with over-extraction.
3. Combine Coffee and Water
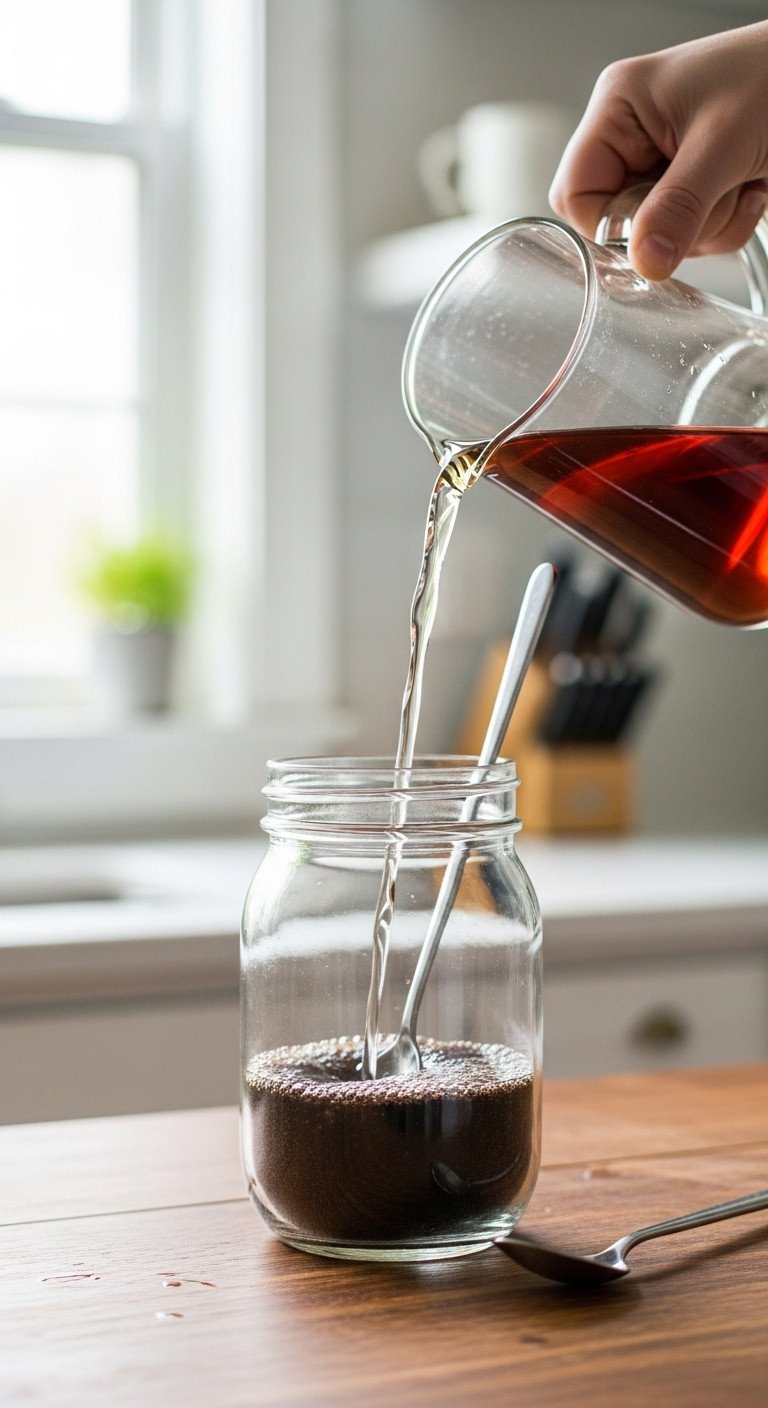
Save this simple mixing technique for the perfect steep!
Materials Needed:
- A clean 32oz (quart) wide-mouth mason jar
- Your coarsely ground coffee (from Step 2)
- 425 grams (about 1.75 cups) of cold, filtered water
- A long-handled spoon or chopstick
Step-by-Step Directions:
- Add Grounds: Pour your coarse coffee grounds into the bottom of the mason jar.
- Add Water: Gently pour the cold, filtered water over the grounds. If you have a scale, measure out 425g of water to maintain the 1:5 ratio. Otherwise, about 1.75 to 2 cups will work well.
- Stir Gently: Use a long spoon to stir the mixture gently for about 15-20 seconds. Your goal is to ensure all the coffee grounds are fully saturated with water. You should see a “bloom” of small bubbles.
- Seal the Jar: Screw the lid on tightly.
Pro-Tip: Using filtered water makes a huge difference. Tap water can contain minerals and chlorine that negatively affect the final taste of your coffee.
4. Steep for 12-24 Hours
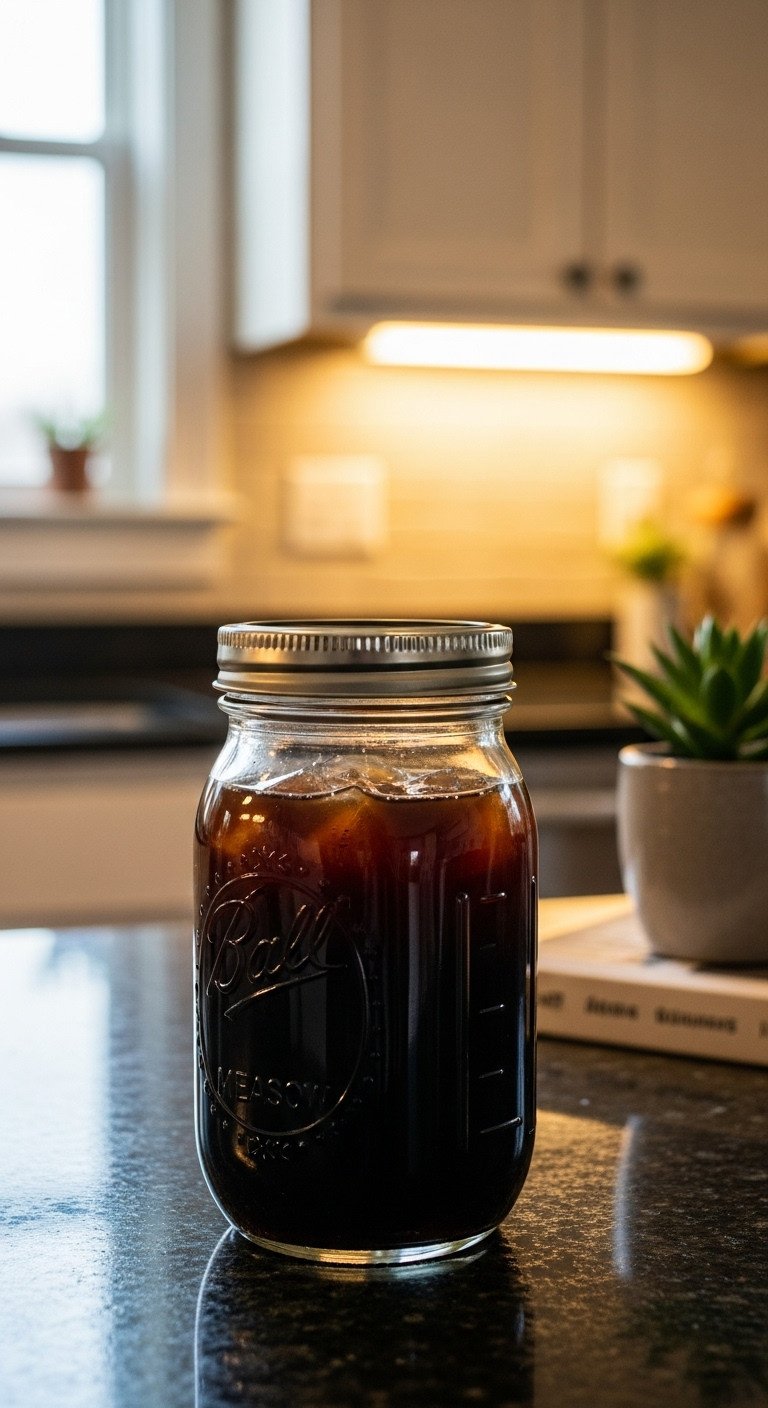
The hardest part is waiting! Pin this for later.
Materials Needed:
- Your sealed jar of coffee and water
- A safe spot on your counter or in your fridge
Step-by-Step Directions:
- Choose Your Location: You have two options:
- Room Temperature: Place the jar on your counter, out of direct sunlight. This method extracts flavor faster and can result in a more complex taste. Aim for 16-18 hours.
- Refrigerator: Place the jar in the fridge. This method is slower and more forgiving, resulting in an exceptionally smooth brew. Aim for 20-24 hours.
- Wait Patiently: Set a timer and let the coffee steep undisturbed. Do NOT shake or stir the jar during this time, as it can lead to bitterness.
Pro-Tip: For your first time, I recommend steeping for 18 hours at room temperature. It’s a fantastic middle ground that produces a strong, balanced concentrate. You can adjust future batches to be longer or shorter based on your taste.
5. Strain the Concentrate (The First Pass)
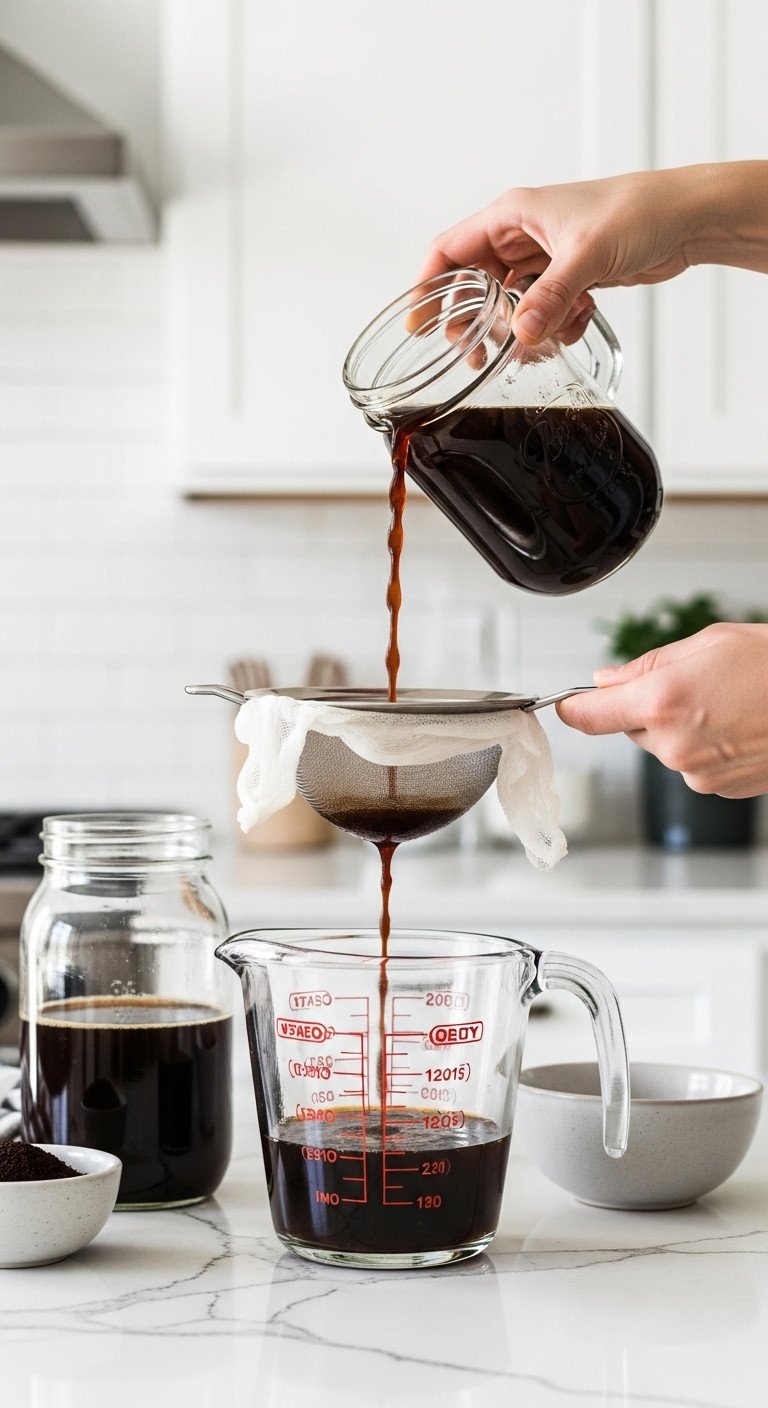
Save this mess-free straining method!
Materials Needed:
- Your steeped cold brew
- A second clean jar or pitcher
- A fine-mesh sieve or strainer
- Several layers of cheesecloth (or a reusable nut milk bag)
Step-by-Step Directions:
- Set Up Your Filter: Place the fine-mesh sieve over your second clean container. Line the sieve with at least four layers of cheesecloth. This double-barrier will catch the vast majority of the grounds.
- Pour Slowly: Gently and slowly pour the steeped cold brew from the mason jar through the cheesecloth-lined sieve.
- Let it Drip: Allow the liquid to drain completely. Do not press or squeeze the grounds in the cheesecloth, as this will release bitter oils into your concentrate.
- Discard Grounds: You can compost the used coffee grounds or discard them.
Lesson Learned: For an even cleaner brew with zero sediment, you can do a second pass. After this initial strain, pour the concentrate again through a paper coffee filter (like one for a drip machine) set inside the same sieve. It’s slower, but the result is perfectly clear.
6. Store Your Liquid Gold

Pin this storage tip to keep your cold brew fresh all week!
Materials Needed:
- Your strained cold brew concentrate
- A clean, airtight glass bottle or jar with a lid
Step-by-Step Directions:
- Transfer to Storage: Pour your final, strained cold brew concentrate into your chosen storage container.
- Seal Tightly: Ensure the lid is completely airtight. This prevents the coffee from absorbing other flavors from your refrigerator and slows down oxidation.
- Refrigerate Promptly: Place the sealed container in the refrigerator.
- Enjoy Within Two Weeks: Your cold brew concentrate will taste best within the first week, but it will last for up to two weeks in the fridge.
Pro-Tip: I like to store my concentrate in a glass bottle with a swing-top stopper. It’s easy to pour from, seals perfectly, and looks great in the fridge.
7. Dilute, Serve, and Enjoy
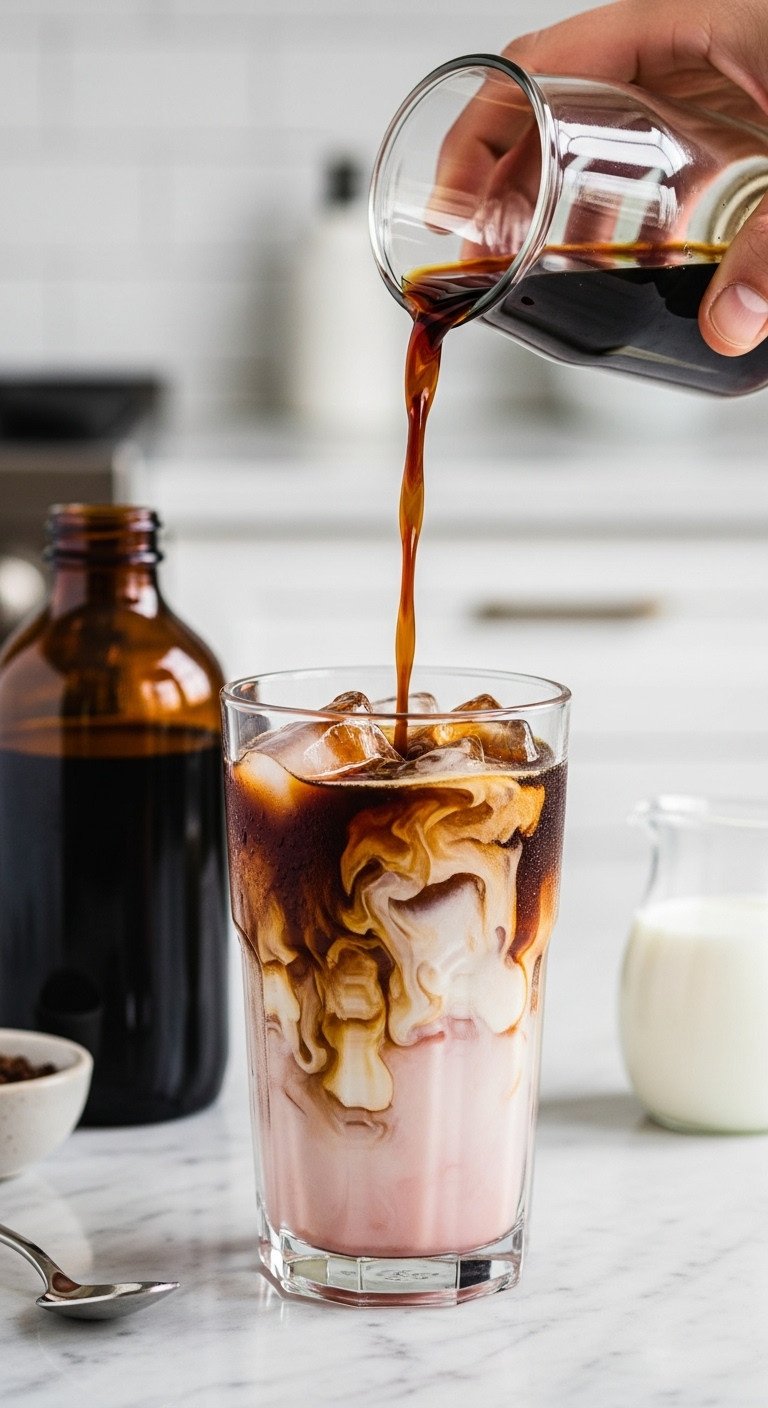
The perfect pour! Save this idea for your morning coffee.
Materials Needed:
- Your refrigerated cold brew concentrate
- A tall glass
- Ice cubes
- Your choice of diluter: cold filtered water, milk (dairy or non-dairy), or cream
- Optional: sweetener or flavored syrup
Step-by-Step Directions:
- Fill Glass with Ice: Start by filling your glass to the top with ice.
- Pour Concentrate: Pour the cold brew concentrate over the ice until the glass is about half full.
- Dilute to Taste: Top off the glass with an equal amount of cold water or your milk of choice. This 1:1 ratio is a classic starting point.
- Stir and Customize: Stir well. Give it a taste. If it’s too strong, add more water or milk. If you like it sweet, add your favorite syrup or sweetener. Enjoy your perfect, homemade cold brew!
Pro-Tip: Make coffee ice cubes by freezing leftover cold brew in an ice cube tray. This way, as the ice melts, it won’t water down your drink!
Key Takeaways: Your Quick Guide to Perfect Mason Jar Cold Brew
- Coarse Grind is King: The single most important step is using a coarse grind, like breadcrumbs, to prevent a bitter brew.
- Weight, Don’t Guess: Use a kitchen scale for a 1:5 coffee-to-water ratio by weight for consistent, repeatable results.
- Patience is a Virtue: Steep your brew for 16-24 hours and DO NOT agitate it. Let time do the work.
- Filter Gently: Strain your coffee without squeezing or pressing the grounds to keep bitter oils out of your concentrate.
- Dilute to Your Liking: Always start with a 1:1 ratio of concentrate to water/milk and adjust from there.
People Also Ask About Mason Jar Cold Brew
Why is my mason jar cold brew bitter?
Bitter cold brew is almost always caused by over-extraction. This happens for three main reasons: 1) your coffee grind was too fine, 2) you steeped it for too long (over 24 hours), or 3) you squeezed the coffee grounds while straining. To fix this, use a coarser grind, reduce your steep time, and let the coffee drain naturally.
What is the best ratio of coffee to water for cold brew in a mason jar?
A great starting ratio for a strong concentrate is 1:5 by weight (one part coffee to five parts water). For a standard 32oz (quart) mason jar, this translates to about 85 grams of coffee and 425 grams of water. You can adjust this to 1:4 for a stronger concentrate or 1:8 for a weaker, more ready-to-drink version.
Can I use pre-ground coffee for cold brew?
It’s not recommended, but you can in a pinch. Most pre-ground coffee is too fine for the long steeping process and will likely result in a bitter, cloudy brew. If you must use it, look for a “French Press” grind and consider reducing the steep time to 12-14 hours to minimize over-extraction.
Do you steep cold brew in the fridge or on the counter?
You can do either, as each method offers different benefits. Steeping on the counter (16-18 hours) is faster and can produce a more complex flavor profile. Steeping in the fridge (20-24 hours) is slower, more forgiving, and results in an exceptionally smooth, mellow brew. For beginners, steeping at room temperature is a great place to start.
Final Thoughts
Making cafe-quality cold brew at home is not about expensive gadgets, but about understanding a few key principles. It’s an empowering and satisfying process that saves you money and rewards you with a delicious, custom-made drink every morning. This method proves that with a simple mason jar and a little patience, you can become your own favorite barista.
Now you have the ultimate guide to making perfect cold brew in a simple mason jar. What’s the first flavor or mix-in you’re excited to try with your homemade concentrate? Let me know in the comments below
Last update on 2026-01-19 / Affiliate links / Images from Amazon Product Advertising API

