As an Amazon Associate CoffeeXplore.com earns from qualifying purchases.
Unlock The Secret To Perfect Creamy Cold Foam At Home
Tired of that daily $7 coffee expense? You’ve tried to make that creamy, delicious coffee topping at home, but it just doesn’t work.
Cold Foam is a frothed, unheated milk topping that adds a velvety texture to cold coffee drinks. Your attempts probably end up runny or thin, sinking right into your cup. It’s a common and frustrating problem.
The secret to perfect cold foam is using very cold, high-fat heavy cream as the base. This foolproof guide will show you exactly how to become your own favorite barista. You’ll learn the tested methods and simple tricks to master cafe-quality coffee recipes with cold foam.
Tired of That $7 Coffee? Here’s Why Your Homemade Cold Foam Isn’t Working (And How toFix It)
That feeling of disappointment when your homemade cold foam instantly dissolves into your iced coffee is all too common. You followed a recipe, but instead of a thick, creamy layer, you got a few sad bubbles. The good news is that you’re not a bad barista; you’re just missing two key secrets that coffee shops rely on.
First, temperature is everything. According to food science principles, dairy proteins froth best at temperatures below 40°F (4°C). If your heavy cream or milk is even slightly cool instead of ice-cold, the fat globules won’t be able to trap air effectively. This is the number one cause of runny, thin foam. The solution is simple: always use ingredients straight from the coldest part of your fridge.
Second, fat is your friend. The rich, stable texture of perfect cold foam comes from the high fat content of heavy cream (typically 36%). This fat helps stabilize the air bubbles you whip into the liquid, creating a foam that lasts. Using half-and-half or, even worse, low-fat milk will result in a weak foam that disappears on contact. You must use a high-fat base. By focusing on these two elements—extreme cold and high fat—you can fix your runny cold foam for good.
7 Easy Ways to Make Cafe-Quality Cold Foam at Home (2025 Guide)
Ready to leave disappointing homemade coffee in the past? We’ve tested and perfected seven distinct and foolproof ways to master cold foam at home. This guide includes the famous Starbucks copycat recipe for vanilla sweet cream, decadent flavor variations like mocha and salted caramel, and even clever tipss for when you don’t have a milk frother. There is a perfect method here for every coffee lover.
1. The Original Secret: Starbucks Copycat Vanilla Sweet Cream Cold Foam
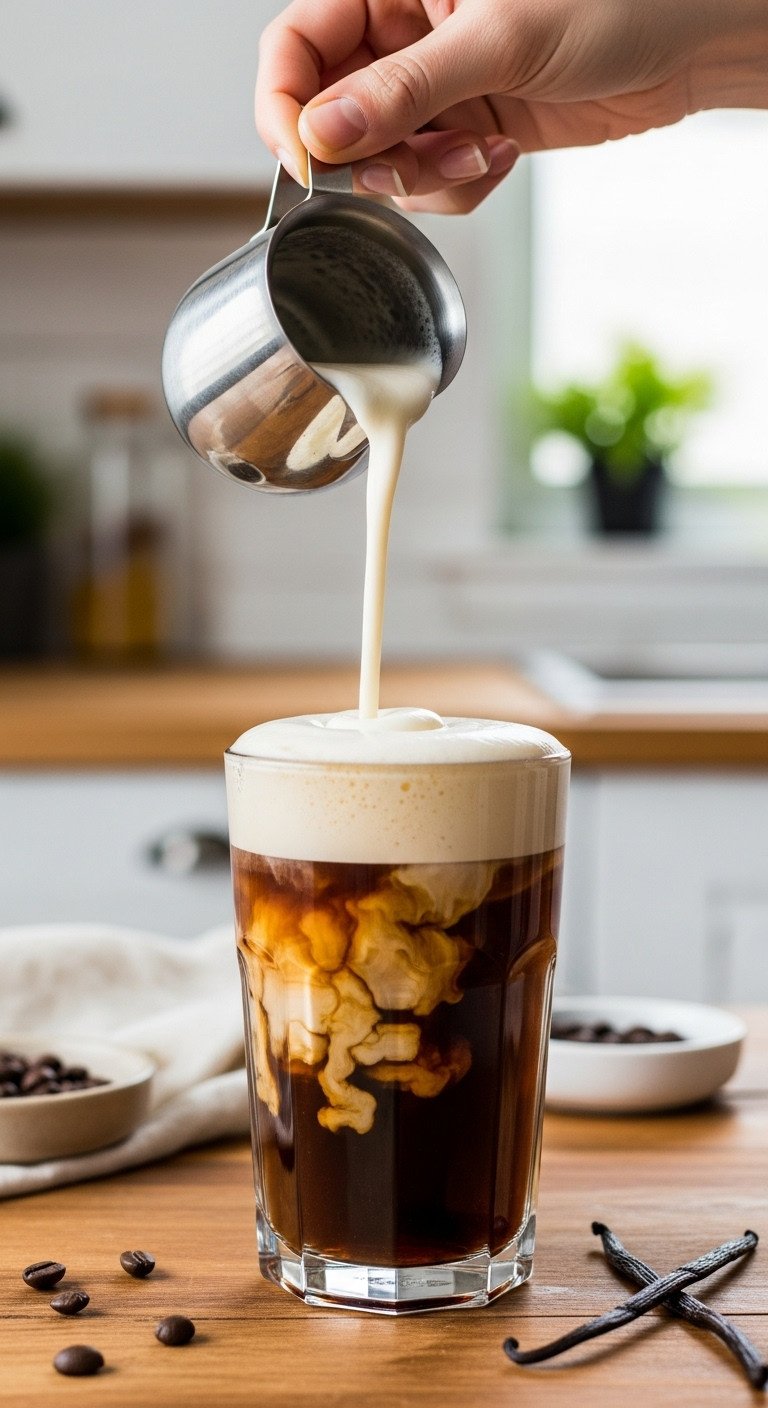
Pin this famous recipe to your ‘Coffee Lovers’ board!
This is the one that started it all. The perfect balance of rich heavy cream, smooth milk, and sweet vanilla syrup creates the creamy vanilla sweet cream cold foam that Starbucks popularized. Our tested recipe replicates that coffee shop experience perfectly.
Ingredients Needed:
- 3 Tbsp Heavy Whipping Cream (must be very cold)
- 1 Tbsp 2% Milk (can use whole milk)
- 1 Tbsp Vanilla Syrup (use a quality coffee syrup like Torani or Monin for best results)
- A handheld milk frother with a dual-whisk head for extra volume
Step-by-Step Directions:
- Combine the cold heavy cream, 2% milk, and vanilla syrup in a tall, narrow glass. Using a narrow glass helps the frother work more efficiently.
- Insert your handheld milk frother so the whisk is fully submerged.
- Turn on the frother and whip for 20-30 seconds. Move the frother up and down slightly to incorporate more air.
- Stop as soon as the foam has thickened and roughly doubled in volume. It should have the consistency of wet paint—pourable but thick.
- Gently pour over your favorite cold brew or iced coffee immediately.
Pro-Tip: For the thickest foam, place your tall glass in the freezer for 10 minutes before you start. A chilled vessel makes a huge difference!
2. For the Chocolate Lover: Decadent Mocha Cold Foam
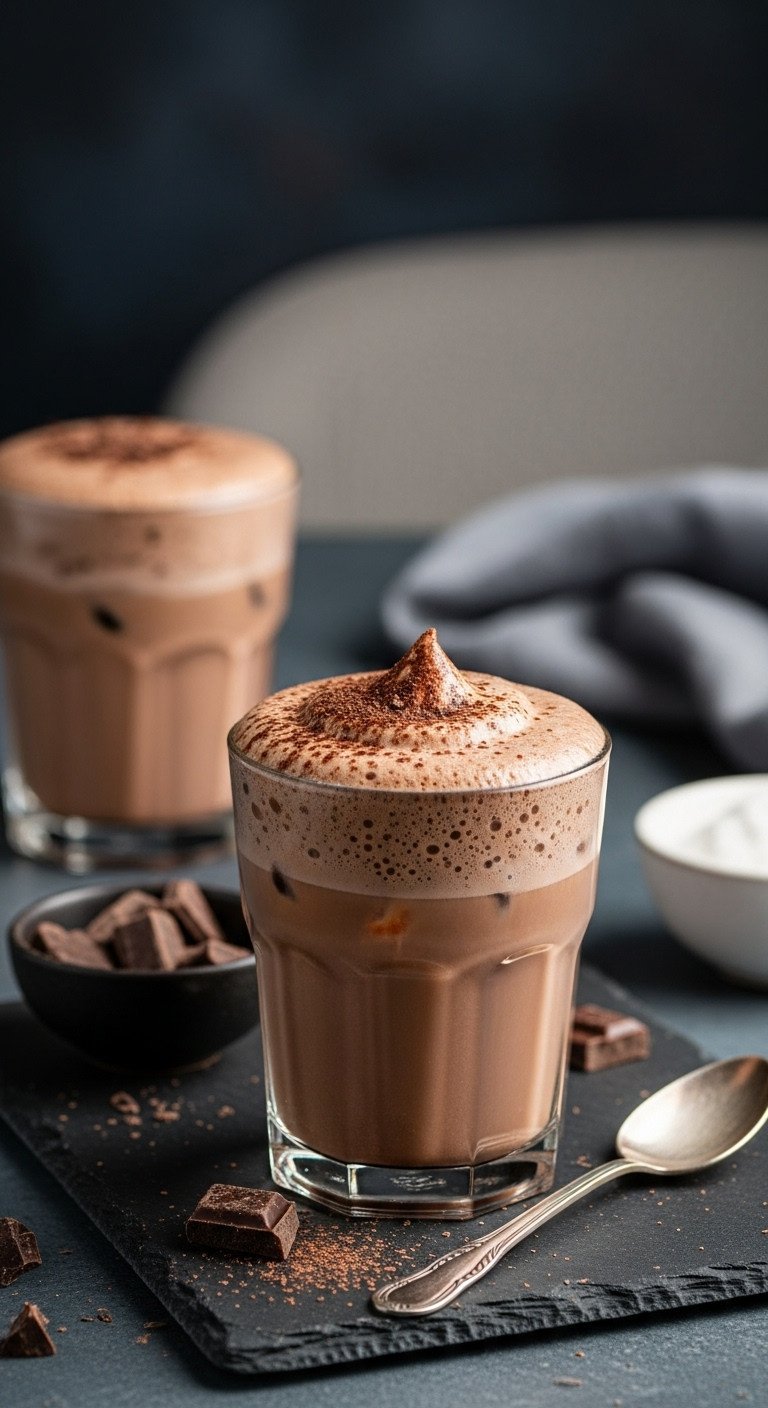
Save this indulgent mocha idea for your next coffee break!
Transform your daily coffee into a decadent treat with this rich chocolate cold foam recipe. Using a quality chocolate sauce gives this foam a deep, satisfying flavor that pairs perfectly with the bitterness of cold brew.
Ingredients Needed:
- 3 Tbsp Heavy Whipping Cream, cold
- 1 Tbsp 2% Milk, cold
- 1 Tbsp Chocolate Sauce or Mocha Syrup (a rich sauce like Ghirardelli works best)
- Optional: 1/4 tsp unsweetened cocoa powder for a deeper flavor
Step-by-Step Directions:
- In a tall glass, combine the cold heavy cream, milk, and chocolate sauce. If using, add the cocoa powder now.
- Whisk with a handheld frother for 20-30 seconds until it reaches a thick, pourable consistency.
- The chocolate sauce will make it slightly denser than the vanilla version.
- Pour over iced coffee or cold brew for the perfect homemade iced mocha.
Pro-Tip: Drizzle a little extra chocolate sauce inside your serving glass before adding ice and coffee for a beautiful, professional-looking final drink.
3. Perfectly Balanced: Salty & Sweet Caramel Cold Foam
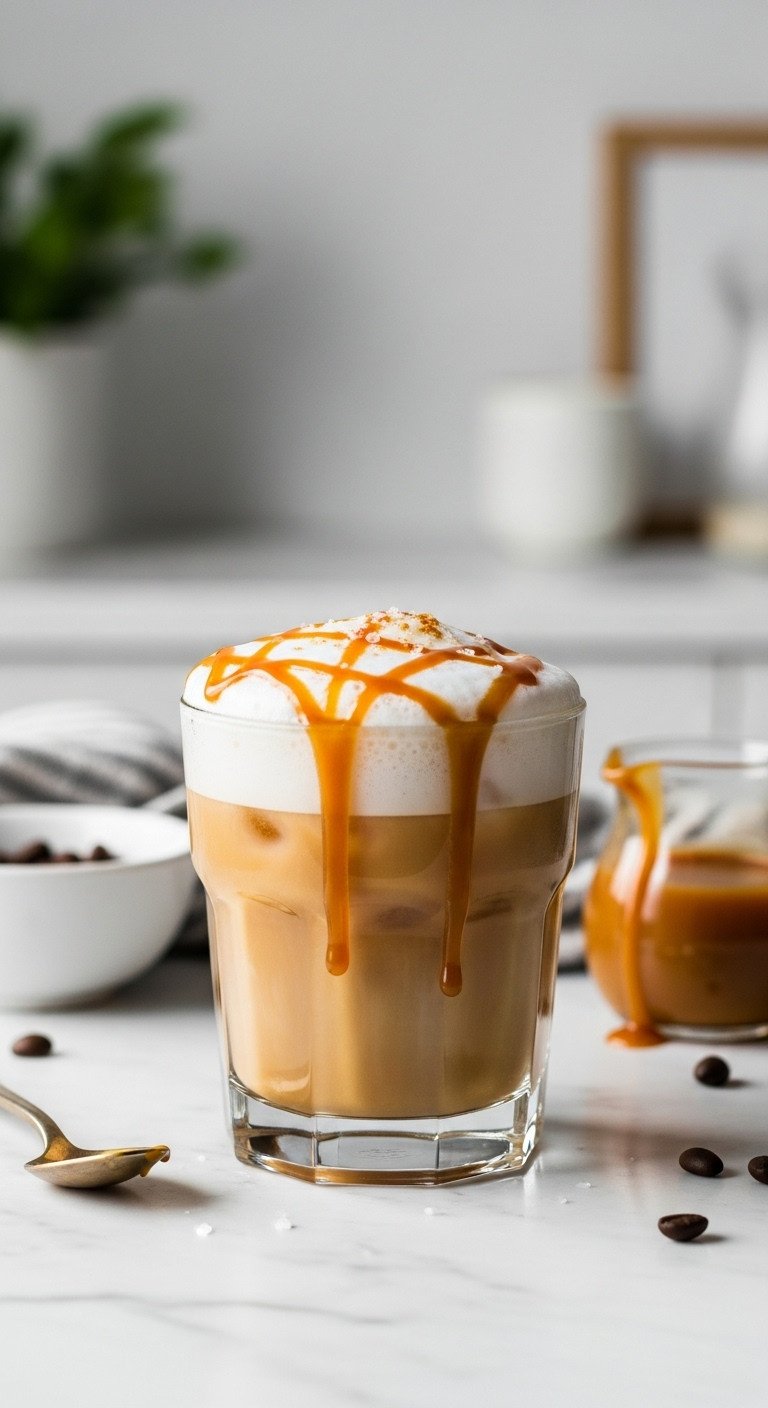
Pin this sweet and salty recipe for later!
The combination of sweet caramel and a hint of sea salt is a coffee shop staple for a reason. This salted caramel cold foam recipe brings that perfectly balanced flavor to your home kitchen, creating an irresistible topping for any iced coffee.
Ingredients Needed:
- 3 Tbsp Heavy Whipping Cream, cold
- 1 Tbsp 2% Milk, cold
- 1 Tbsp Caramel Syrup or Sauce
- A tiny pinch of fine sea salt (to mix in)
- Optional: Flaky sea salt for garnish
Step-by-Step Directions:
- Pour the cold heavy cream, milk, caramel syrup, and the pinch of fine sea salt into your frothing glass.
- Froth with your handheld frother for 20-30 seconds until thick and creamy.
- Pour the caramel cold foam over your iced coffee.
- For the full experience, drizzle a little extra caramel sauce on top and finish with a sprinkle of flaky sea salt.
Lesson Learned: Don’t add too much salt to the mixture itself, as it can inhibit foaming slightly. A tiny pinch is enough; add more flavor with the garnish on top.
4. The Ultimate Fall Treat: Cozy Pumpkin Spice Cold Foam

Save this perfect fall coffee idea to your ‘Autumn Recipes’ board!
When the leaves start to change, bring the flavor of the season to your coffee cup. This pumpkin cream cold foam is cozy, spicy, and the perfect way to top your favorite cold brew for an autumnal treat.
Ingredients Needed:
- 3 Tbsp Heavy Whipping Cream, cold
- 1 Tbsp 2% Milk, cold
- 1 Tbsp Pumpkin Spice Syrup (or use 1/2 Tbsp pumpkin puree + 1/2 Tbsp maple syrup)
- 1/4 tsp Pumpkin Pie Spice, plus more for garnish
Step-by-Step Directions:
- Add the cold heavy cream, milk, pumpkin spice syrup, and pumpkin pie spice to a tall glass.
- If using pumpkin puree, ensure it is smooth and not fibrous for the best texture.
- Froth for 20-30 seconds until the mixture is thick, creamy, and has a light orange hue.
- Pour over your cold brew and garnish with an extra dash of pumpkin pie spice.
Pro-Tip: For the most authentic flavor, use a combination of both pumpkin puree and a pumpkin-flavored syrup. The puree provides real pumpkin flavor while the syrup brings the sweetness and spice notes.
5. No Frother? No Problem! The 60-Second Mason Jar Method
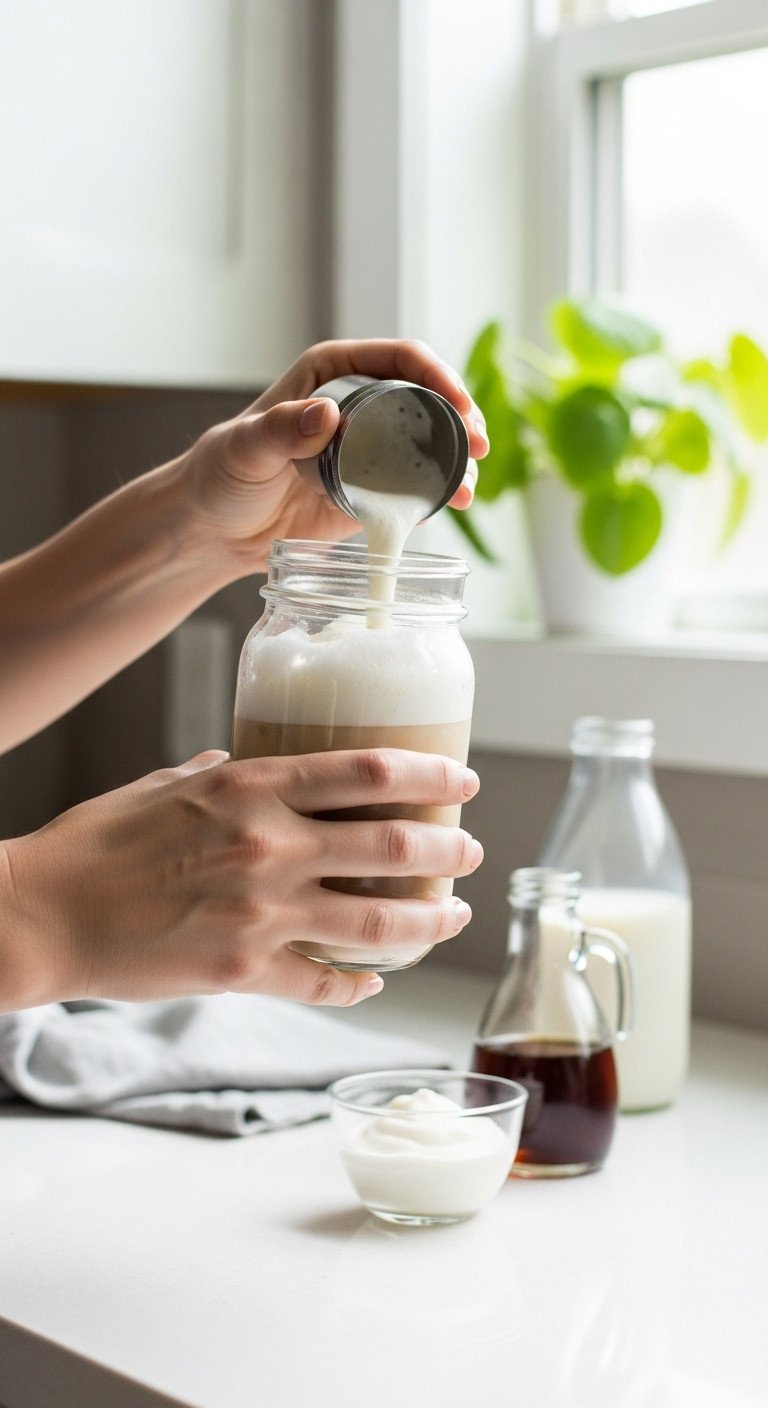
Pin this genius no-frother tips for your next coffee!
You don’t need to buy a special gadget to make amazing cold foam. One of the most common kitchen items—a mason jar—is the only tool you need for this simple and surprisingly effective method.
Materials Needed:
- Your cold foam ingredients (e.g., 3 Tbsp heavy cream, 1 Tbsp milk, 1 Tbsp syrup)
- A clean glass jar with a secure, leak-proof lid (a 16 oz wide-mouth mason jar is perfect)
Step-by-Step Directions:
- Pour your cold cream, milk, and syrup directly into the mason jar.
- Screw the lid on as tightly as possible to prevent any leaks.
- Shake the jar vigorously for 45-60 seconds. You will feel and hear the liquid begin to thicken.
- Check the consistency. You are looking for a foam that has doubled in size and is thick but still pourable. If it’s still too thin, shake for another 15 seconds.
- Unscrew the lid and gently pour your homemade foam over your coffee.
Lesson Learned: Don’t fill the jar more than halfway. You need plenty of empty space in the jar to act as air, which is what creates the foam as you shake.
6. The Multi-Tasker’s Dream: The French Press Frothing Hack

Save this clever French press tip!
If you already own a French press for making coffee, you have a powerful milk frother in disguise. The plunging action is perfect for aerating the cream mixture, creating a beautifully thick cold foam with a tool you already have.
Materials Needed:
- Your cold foam ingredients
- A clean French press (a smaller 8-cup or 34 oz model is ideal for this)
Step-by-Step Directions:
- Pour your cold cream, milk, and syrup into the bottom of the French press carafe.
- Place the lid on, ensuring the plunger’s mesh filter is sitting just on top of the liquid.
- Hold the lid down firmly with one hand and rapidly pump the plunger up and down for about 30-45 seconds.
- You will feel the resistance increase as the liquid thickens into foam.
- Once it has doubled in volume and is creamy, remove the plunger and pour over your drink.
Pro-Tip: Pump with short, quick strokes. This motion is more effective at incorporating air than long, slow pumps.
7. The Dairy-Free Dream: Creamy & Stable Oat Milk Cold Foam
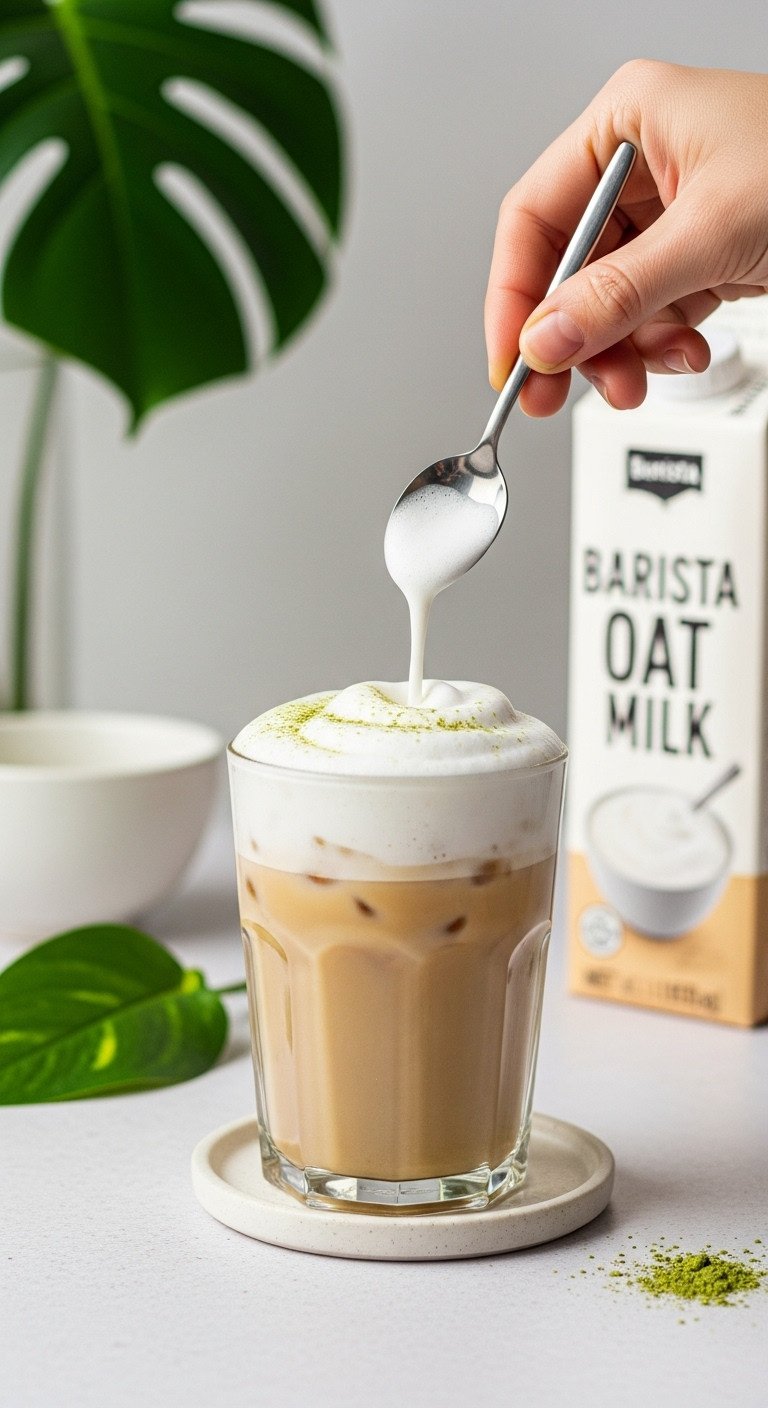
Pin this amazing dairy-free cold foam recipe!
Yes, you can make thick and creamy vegan cold foam! The secret isn’t just any non-dairy milk; it’s using a specially formulated “barista edition” oat milk. This dairy-free cold foam recipe creates a stable, delicious topping for coffee, matcha, and more.
Ingredients Needed:
- 1/4 cup Chilled Barista-Edition Oat Milk (this is crucial, regular oat milk will not work)
- 1 Tbsp Maple Syrup or Vanilla Syrup
- Optional: 1/4 tsp vanilla extract for extra flavor
Step-by-Step Directions:
- The secret to dairy-free foam is using a “barista blend” milk. These are formulated with added fats and emulsifiers specifically for frothing.
- Combine the very cold barista oat milk and syrup in a tall glass.
- Use a handheld electric frother and whip for 30-45 seconds. It will take slightly longer than dairy foam to thicken.
- Continue frothing until it reaches a thick, creamy texture that can be layered.
- Pour immediately over your favorite iced coffee, matcha, or chai latte.
Lesson Learned: Do not try this with standard almond or soy milk; they lack the specific protein and fat structure to create a stable cold foam. Barista oat milk is the most reliable option. Full-fat canned coconut cream (the solid part) is another great alternative.
Key Takeaways: Your 30-Second Guide to Perfect Cold Foam
- Cold is King: Always use ingredients straight from the fridge. Chilling your cup or jar beforehand provides extra insurance for the thickest foam.
- Fat is Your Friend: The recipe must have a high-fat base like heavy cream or barista-edition oat milk. Low-fat milk alone will not work.
- Don’t Over-Whip: Stop frothing as soon as the foam is thick but still pourable (like wet paint). Over-whipping creates stiff whipped cream.
- Use Liquid Sweeteners: Syrups (vanilla, caramel, maple) are essential. Granulated sugar won’t dissolve and will create a gritty texture.
- No Frother, No Problem: A mason jar or French press are excellent, readily available alternatives to a dedicated frothing tool.
FAQs About coffee recipes cold foam
Why is my cold foam runny and not getting thick?
The #1 cause of runny cold foam is temperature. Your heavy cream and any milk you use must be extremely cold. If your ingredients are even slightly cool or room temperature, the fat globules in the cream won’t be able to trap air effectively, resulting in a thin, watery foam that dissolves instantly.
Can you make cold foam with half-and-half instead of heavy cream?
You can, but the result will be much thinner. Heavy cream has a fat content of over 36%, which is what creates a rich, stable foam. Half-and-half’s fat content is much lower (around 12%), so it will produce a lighter, bubblier foam that won’t hold its shape for nearly as long. It’s a lower-calorie option, but you sacrifice the signature creamy texture.
What’s the difference between cold foam and whipped cream?
The main difference is texture and aeration. Cold foam is frothed just long enough to become thick but remains a pourable liquid designed to slowly cascade into a drink. Whipped cream is whipped much longer until it forms stiff peaks, becoming a solid topping that sits on top of a beverage.
Can I make cold foam ahead of time and store it?
It’s best made fresh, but you can store it for a short time. Cold foam will start to deflate and separate after about 15-20 minutes. You can store leftovers in an airtight container in the fridge for a few hours, but you will need to re-froth it for 10-15 seconds to bring back its texture before serving.
Final Thoughts
You’ve officially unlocked the secret to perfect, creamy cold foam! No more overpriced coffee runs or disappointing homemade drinks. With these simple recipes and troubleshooting tips, you have everything you need to become your own favorite barista.
Now I’d love to hear from you: Which flavor are you most excited to try first? Let me know in the comments below!
Last update on 2025-12-05 / Affiliate links / Images from Amazon Product Advertising API

