As an Amazon Associate CoffeeXplore.com earns from qualifying purchases.
The Genius Brown Sugar Latte Recipe Iced Shaken And Hot Steamed
Tired of paying for overpriced coffee shop drinks that don’t quite hit the spot? You’ve tried making a brown sugar latte at home, but it always ends up gritty or disappointingly watery.
The Brown Sugar Latte is a specialty coffee drink made with espresso, milk, and a rich, caramelized brown sugar syrup. The problem is that getting that perfect syrup consistency and velvety milk texture at home feels impossible without barista-level skills. You know it should be simple, but the results never match the cafe quality you crave.
The genius of a perfect brown sugar latte lies in its 2:1 dark brown sugar to water syrup, which ensures a smooth, non-gritty texture and deep flavor. This guide will teach you the simple, tested techniques for mastering both the hot steamed and iced shaken versions right in your own kitchen. You’ll finally unlock the secrets to a flawless, copycat-quality drink every single time.
Are You Ready to Unlock the “Genius” of the Homemade Brown Sugar Latte?
You’ve followed other recipes. You simmered the sugar, brewed the coffee, and frothed the milk, but something was always off. Maybe the syrup crystallized into a sandy mess, or the oat milk separated the moment it hit the hot espresso. This frustration is common, and it’s why so many people give up on making a homemade brown sugar latte that actually tastes like a luxury. The secret isn’t in expensive equipment; it’s in understanding the simple science behind the two most critical components: the syrup and the milk.
Mastering the 2:1 dark brown sugar to water syrup ratio is the key that unlocks a rich, stable, and deeply caramelized flavor base. This specific concentration prevents the gritty crystallization that plagues weaker syrups. From there, success depends on mastering texture. For hot lattes, this means steaming milk to a precise 140–150°F window to achieve velvety microfoam without scorching it. For the iced version, it’s all about the vigorous shaking method that chills, aerates, and creates a signature light foam. This isn’t just another recipe; it’s a tested method designed to teach you these core techniques, transforming your home coffee from a gritty failure into a professional-grade drink.
The genius of the brown sugar latte lies in the perfectly balanced 2:1 dark brown sugar to water syrup, which prevents crystallization and delivers the signature caramelized flavor. Success requires mastering two methods: steaming milk to 140–150°F for hot lattes, and vigorous shaking for iced lattes to ensure aeration and light foam.
9 Expert Steps to the Perfect Brown Sugar Latte (Iced Shaken And Hot Steamed)
This comprehensive guide breaks down the process into nine expert-tested steps. We’ll cover the three foundational components—syrup, coffee, and milk—and then walk through the two distinct preparation methods for a perfect hot or iced latte. All nine steps have been optimized based on professional barista standards to guarantee exceptional texture and flavor balance, ensuring your final drink is reliable and delicious.
1. Mastering the 2:1 Dark Brown Sugar Syrup Base
Pin this genius hack to your ‘Coffee Recipes’ board!
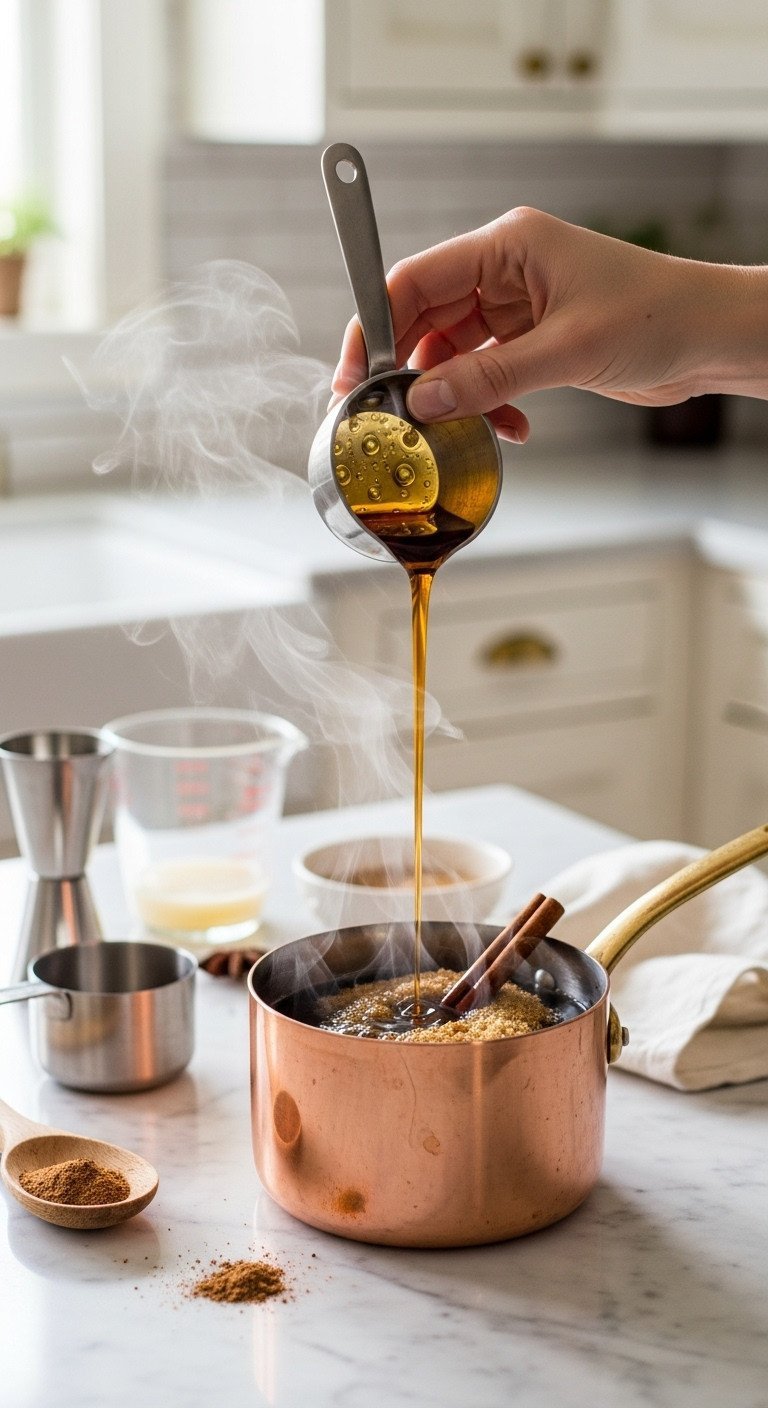
The foundation of any great brown sugar latte recipe is a rich, high-viscosity syrup. A 2:1 sugar-to-water ratio is the industry standard for a concentrated syrup that delivers flavor without diluting your coffee.
Ingredients and Tools Needed:
- 1 cup Dark Brown Sugar (packed, essential for the molasses flavor)
- 1/2 cup Filtered Water (precise 2:1 sugar-to-water ratio)
- 1 Whole Cinnamon Stick (optional, for infusion)
- Small Non-Stick Saucepan or Copper Pot
- Airtight Glass Jar (for storage)
Stovetop Syrup Directions:
- Combine: In the saucepan, combine the water, dark brown sugar, and cinnamon stick (if using).
- Simmer Slowly: Place over medium-low heat. Bring just to a low simmer—do not bring to a rapid boil. Simmer for 3–5 minutes, stirring very gently only until all visible sugar granules are fully dissolved into the liquid.
- Cool Completely: Remove from heat immediately and allow the syrup to cool completely in the pot without disturbing it. Cooling slowly helps prevent crystallization.
- Strain and Store: Remove the cinnamon stick. Pour the cooled syrup into a sterilized, airtight glass jar. Store in the refrigerator for up to 4 weeks.
Pro-Tip: Use dark brown sugar over light brown sugar. The higher molasses content (approx. 6.5%) provides the deep, caramelized, almost burnt-sugar note that defines the best brown sugar lattes.
2. Pro-Tips to Prevent Syrup Crystallization
Save this clever organization idea!
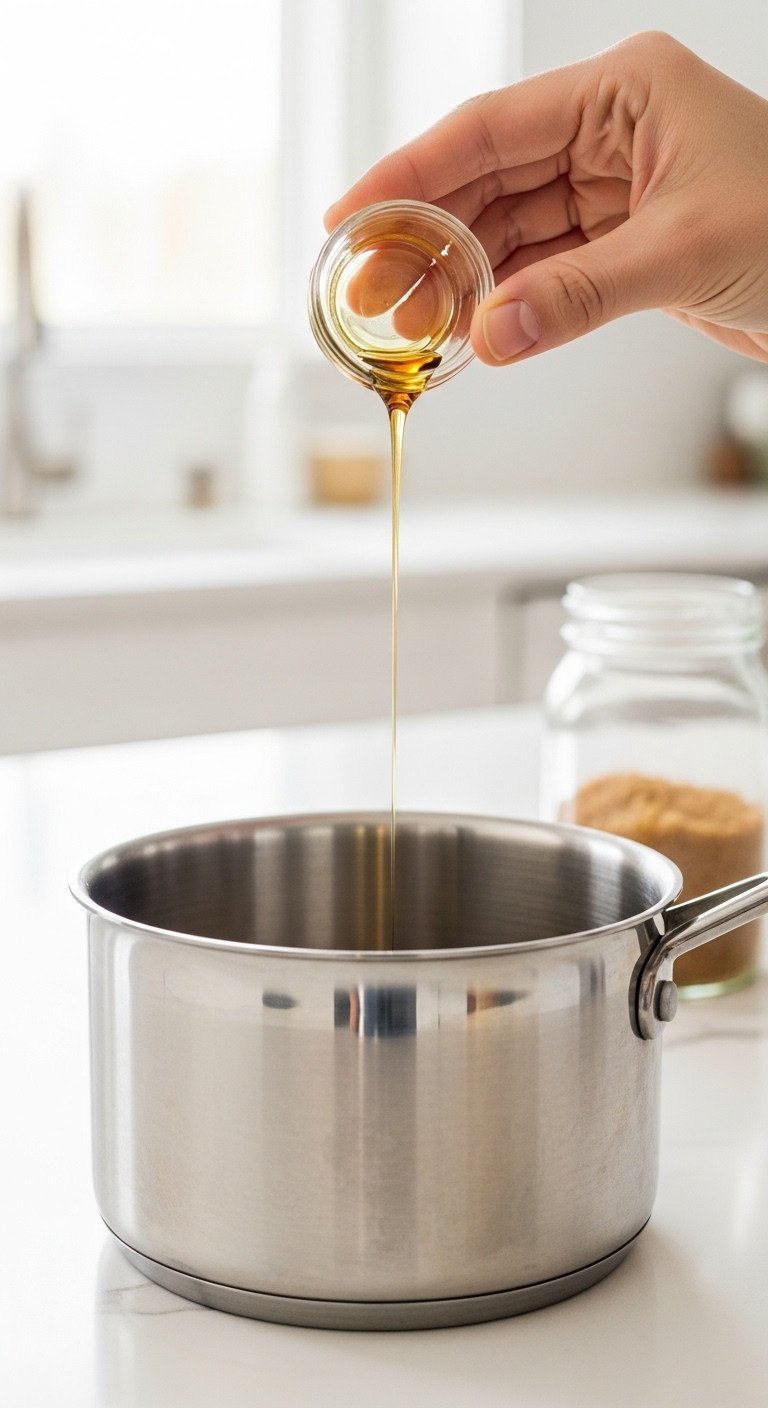
Gritty syrup is the number one reason homemade brown sugar lattes fail. Crystallization happens when stray sugar granules act as “seeds,” causing a chain reaction. Here’s how to prevent and fix it.
Prevention and Troubleshooting:
- 1 tsp Corn Syrup or Cream of Tartar (Stabilizing agent)
- Pastry Brush (or clean spoon)
- Sterilized Glass Jar
Crystallization Solutions:
- Prevent Seed Crystals: Immediately after boiling begins, use a wet pastry brush to wipe down the inside edges of the saucepan. This dissolves any stray sugar crystals that could “seed” crystallization later.
- Add a Stabilizer: During the simmering stage (Step 2 in H3: 1), incorporate 1 teaspoon of corn syrup or 1/4 teaspoon of cream of tartar per batch of syrup. This acts as an invert sugar, which chemically inhibits large sugar crystals from forming.
- Fixing Grainy Syrup: If your syrup has already crystallized, reheat it slowly over low heat. Add a splash (1/4 cup) of fresh water and gently melt the crystals back into the solution. Do not stir vigorously.
- Sterilization is Key: Always pour the finished, cooled syrup into a freshly sterilized, airtight glass jar. This prevents mold and extends the shelf life to the guaranteed 3-4 weeks when refrigerated.
Lesson Learned: Attempting to rapidly boil the syrup to speed up the process causes the sugar molecules to reorganize too quickly, often leading to immediate crystallization. Slow simmering is the only true fix.
3. Pulling the Perfect Espresso Shot for Flavor Balance

Get barista quality at home—save this shot guide!
A balanced espresso shot is crucial. It needs to be strong enough to cut through the sweetness of the syrup without tasting bitter or sour. Precision is key.
Equipment and Measurements:
- 17–20 grams Freshly Ground Coffee (medium-fine setting)
- Espresso Machine (or Nespresso/other pod machine)
- Digital Kitchen Scale (for precision)
Barista Shot Directions:
- Measure and Tamp: Weigh out 17–20g of finely ground, fresh-roasted coffee beans and tamp firmly and level into the portafilter.
- Pull Time: Start the timer immediately upon initiating the shot. The ideal extraction time for a double shot (approx. 40g liquid) is between 25 and 30 seconds.
- Check Crema: The shot should produce a thick, reddish-brown foam layer called crema. This indicates proper pressure and flavor extraction.
- Use Immediately: Combine the fresh, warm espresso with the chilled syrup immediately (as heat aids dissolution and emulsification) before introducing the milk.
Barista Tip: If your shot takes longer than 35 seconds, it is likely over-extracted and bitter. If it is too fast (under 20 seconds), it will be thin and sour. Adjust your grind size accordingly to hit the 25–30 second window.
4. The Best Espresso Substitute: Concentrated Moka Pot Coffee

No espresso machine? Save this Moka Pot hack!
Don’t have an espresso machine? A Moka pot is an affordable and effective alternative that produces a highly concentrated, espresso-like coffee base.
Equipment and Measurements:
- Moka Pot (3-cup size recommended for 2 servings)
- Medium-Dark Roast Coffee Grounds (medium-fine, not espresso-fine)
- Filtered Water
Moka Pot Directions:
- Pre-Heat Water: Fill the bottom chamber of the Moka pot with filtered water, already heated to boiling. This minimizes the time the coffee grounds are exposed to heat, preventing scorching.
- Fill Basket: Fill the metal filter basket loosely with coffee grounds. Do not tamp! Level gently with your finger.
- Brew and Watch: Place the Moka pot on the stove over medium-low heat. Listen for the characteristic gurgling sound. Once the coffee is flowing, immediately remove the pot from the heat or plunge the base into cold water to halt the extraction and prevent a bitter, metallic taste.
- Use Hot: Use 1–2 ounces of this highly concentrated brew as your espresso substitute immediately, combining it with the syrup while still warm.
Pro-Tip: If using standard drip or French Press coffee as a substitute, you must double your normal grounds-to-water ratio to ensure the resulting brew is concentrated enough to compete with the sweetness of the syrup.
5. Why Barista Oat Milk is Best for the Iced Shaken Method
Stop milk separation! Pin this non-dairy science guide.
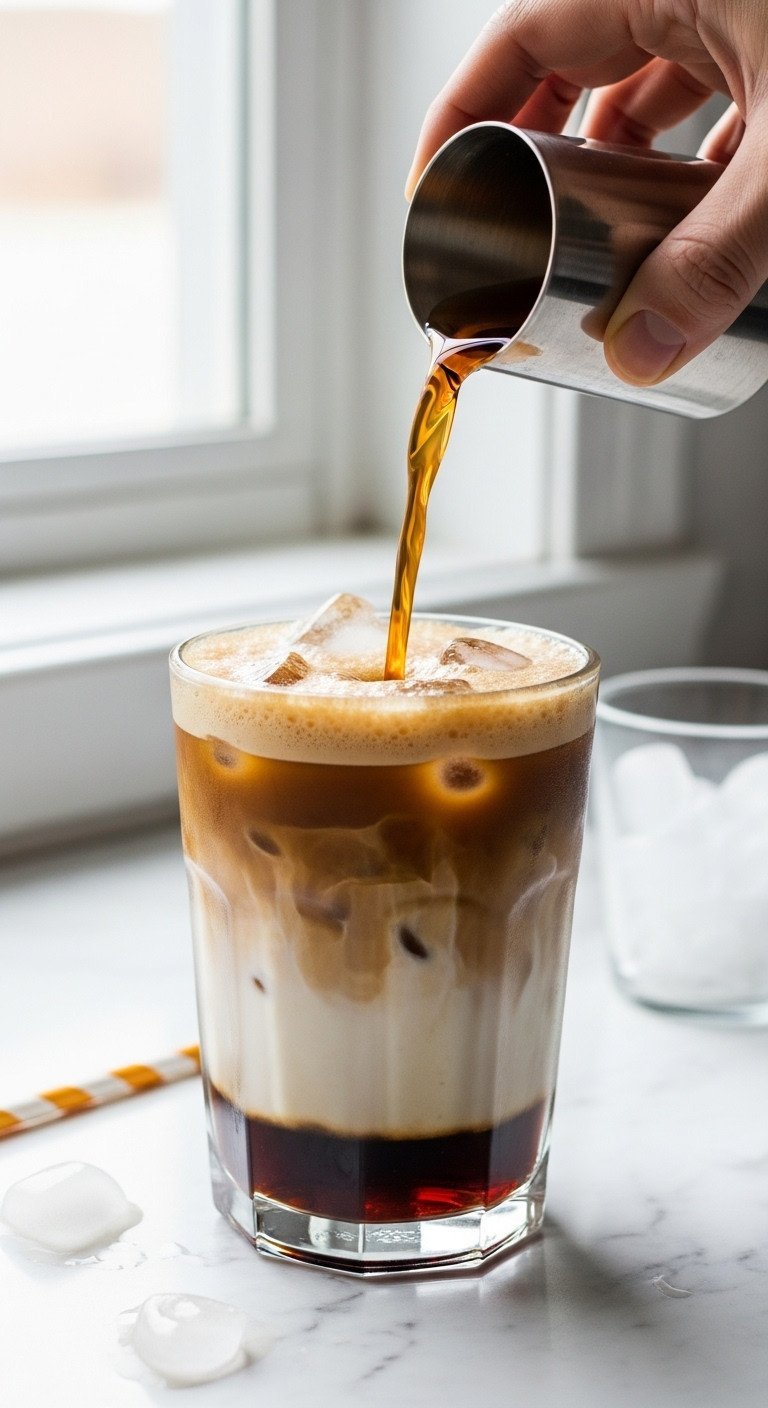
The type of milk you choose dramatically affects the texture, especially for an iced shaken latte. For the best foam stability and creaminess, Barista Blend Oat Milk is the clear winner.
Recommended Milk Options:
- 6–8 ounces Barista Blend Oat Milk (optimized stabilizers, high protein)
- Dairy Whole Milk (Highest fat content for creaminess)
- Shaker Bottle or Mason Jar
Choosing the Right Base:
- Prioritize Oat Milk: Choose Barista Blend Oat Milk. These contain stabilizers (like dipotassium phosphate) that prevent curdling in acidic coffee and have optimized protein/fat content, offering superior foam stability for both hot and iced methods.
- Avoid Standard Almond Milk: Standard almond milk is too thin and lacks the fat/protein structure to create long-lasting foam when shaken or steamed, often resulting in a watery mouthfeel. Use only Barista Almond Milk if needed.
- Ensure it’s Cold: Always use chilled milk for the iced shaken method. Cold liquids aerate better when shaken and help maintain the integrity of the ice.
- Flavor Pairing Note: Oat milk offers a subtle sweetness that naturally complements the brown sugar’s molasses notes, making it an ideal flavor match.
Expert Insight: Shaking relies on protein denaturation and aeration to create the light foam structure. Barista blends chemically enhance this process, giving you that recognizable velvety texture from your favorite coffee shop.
6. Steaming Milk to 145°F Microfoam Perfection (Hot Latte)
Master the microfoam! Save this temperature guide!
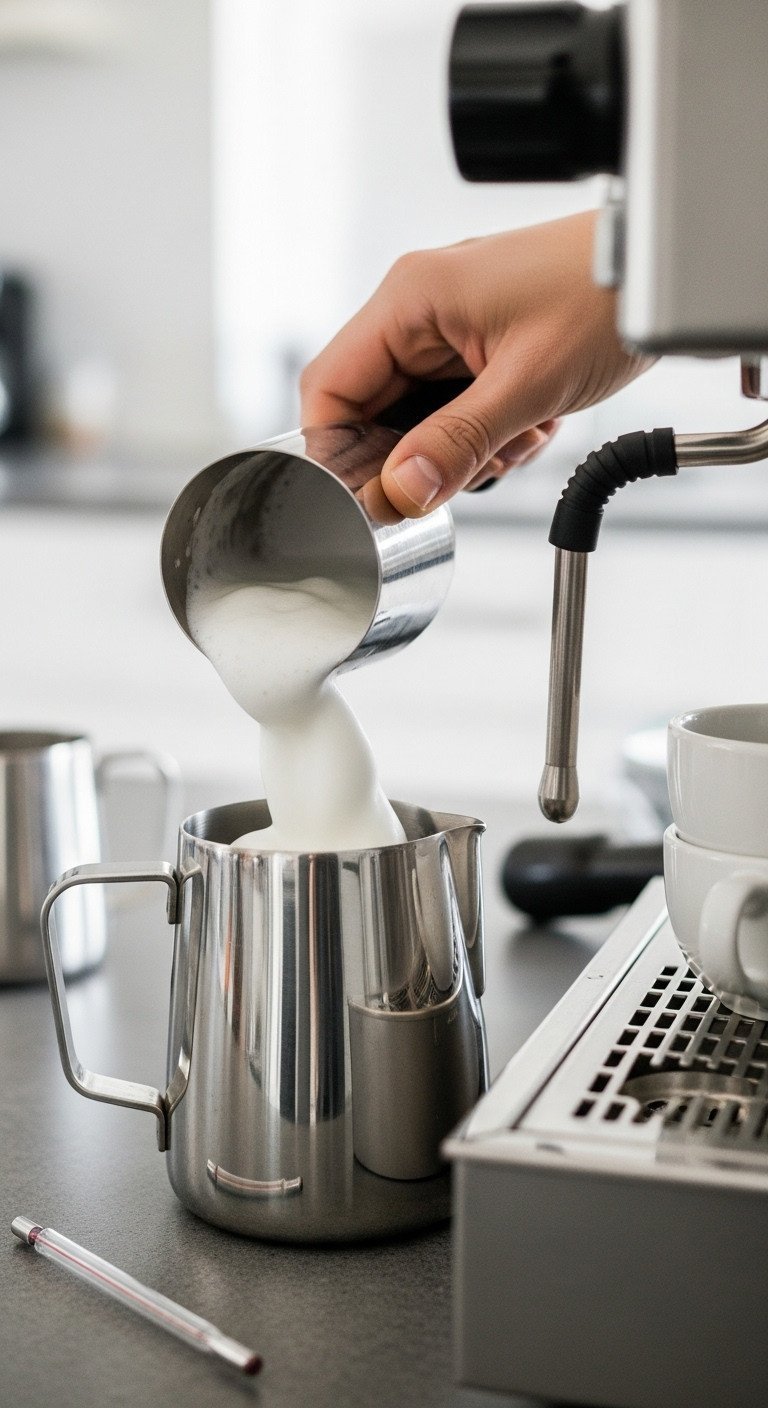
For a hot latte, creating velvety microfoam is all about temperature control. Heating the milk correctly preserves its natural sweetness and creates a stable, creamy texture.
Equipment and Measurements:
- 6–8 ounces Milk (Barista Oat or Whole Dairy)
- Milk Steaming Pitcher
- Digital Milk Thermometer (highly recommended)
- Espresso Machine Steam Wand or Electric Frother
Steaming Directions:
- Heat to Sweetness: Begin heating the milk. The ideal temperature range to preserve the milk’s natural sweetness and structure is 140°F–150°F (60°C–65°C).
- Avoid Scorching: CRITICAL: Do not exceed 160°F (70°C). Beyond this temperature, the milk proteins rapidly denature, causing the foam to separate and the milk to take on a “scalded” flavor, particularly noticeable with non-dairy options.
- Create Microfoam: If using a steam wand, position the tip just beneath the surface to stretch the milk for 3–5 seconds, then submerge it fully to create a rolling vortex. This technique produces fine, uniform bubbles (microfoam).
- Swirl and Pour: Once 145°F is reached, tap the pitcher on the counter to eliminate large bubbles, then swirl gently to integrate the foam before pouring directly over your espresso and syrup base.
Pro-Tip: If you do not have a dedicated frother or steam wand, vigorously shake the warm milk in a tightly sealed mason jar for 30 seconds before removing the lid and microwaving it for 30 seconds to set the foam.
7. Step-by-Step: The Iced Shaken Espresso Technique
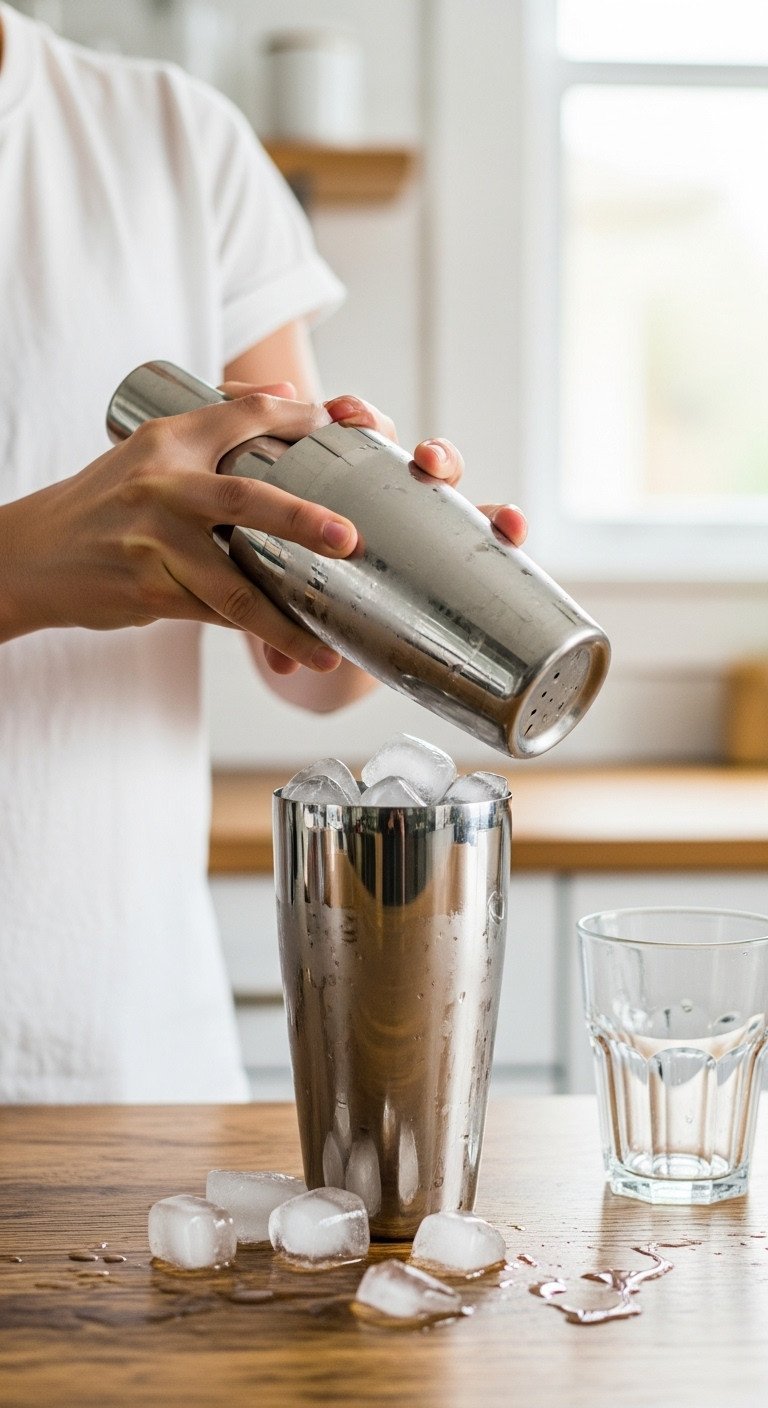
Achieve airy, perfect foam—save this shaken guide!
The signature light foam of an iced brown sugar latte comes from one simple action: vigorous shaking. This technique instantly chills, mixes, and aerates the drink for a perfect texture.
Equipment and Measurements (Per 16oz Serving):
- 1/2 to 1 ounce Brown Sugar Syrup
- 2 shots (2 oz) Freshly Pulled Espresso (warm)
- 5–6 Large, High-Quality Ice Cubes (essential for quick chilling)
- Cocktail Shaker or Mason Jar with Tight Lid
Iced Shaken Directions:
- Combine Syrup and Espresso: Immediately pour the warm espresso (H3: 3 or 4) and the chilled brown sugar syrup (H3: 1) into the shaker. Swirl gently to combine fully.
- Add Ice and Milk: Fill your final serving glass with ice. Add 1–2 of the ice cubes, plus the milk (H3: 5), into the shaker with the espresso mixture.
- Vigorously Shake: Seal the shaker tightly. Shake very vigorously for 15–20 seconds. The shaker exterior should feel intensely cold and frosty. This mechanical action creates aeration, resulting in a light foam.
- Pour and Serve: Pour the entire mixture (including the foam) from the shaker into your ice-filled serving glass. The intense chilling and aeration will result in a perfectly mixed, foamy cold drink.
Pro-Tip: For optimal layering, fill the serving glass with ice first. Then, pour the shaken espresso mixture into the glass. The foam will naturally settle on top, giving you that appealing three-layer look.
8. Step-by-Step: Assembling the Hot Steamed Latte

Cozy up with the perfect hot steamed latte—save the recipe!
Assembling the hot latte correctly ensures every component blends seamlessly for a balanced, warm, and comforting drink from the first sip to the last.
Equipment and Measurements (Per 16oz Serving):
- 1/2 to 1 ounce Brown Sugar Syrup
- 2 shots (2 oz) Freshly Pulled Espresso (hot)
- 6–8 ounces Steamed Milk (H3: 6)
- Ceramic Mug (pre-warmed if possible)
Hot Latte Directions:
- Syrup and Espresso Base: Pump or pour the brown sugar syrup directly into the bottom of your ceramic mug. Immediately pour the hot espresso shot over the syrup. Swirl the mug gently to ensure the warm espresso fully emulsifies and blends the syrup.
- Prepare Milk: Steam your milk according to the temperature guidelines in H3: 6 (140°F–150°F), ensuring velvety microfoam.
- Pour Milk: Hold the mug at a slight angle and pour the steamed milk into the coffee base. Pour steadily to encourage the foam to integrate until the mug is about 3/4 full.
- Spoon Foam: Use a spoon to gently hold back the thickest foam (if necessary) and then scoop the remaining microfoam over the top layer of the latte. Finish with a light dusting of ground cinnamon or nutmeg.
Lesson Learned: Pre-warming your mug prevents the hot latte from cooling too quickly, ensuring the milk maintains its optimal temperature and the microfoam stays stable until the last sip.
9. Flavor Variations: Cinnamon Infusion and Sea Salt Balance

Salt enhances sweetness! Save this flavor pairing trick!
Once you’ve mastered the base recipe, you can easily customize the flavor. These simple additions can balance sweetness and add layers of complexity.
Flavor Boosts and Sweetness Fixes:
- Pinch of Flaky Sea Salt
- Ground Cinnamon or Nutmeg
- Vanilla Extract or Paste
Customization Tips:
- Balance with Salt: If your latte tastes overwhelmingly sweet, add a tiny pinch (less than 1/8 teaspoon) of flaky sea salt to the base mixture before the milk. Salt chemically mutes bitterness and enhances the perception of other flavors, resulting in a more balanced profile.
- Infuse, Don’t Stir: For the best cinnamon flavor, infuse a whole stick into the syrup while simmering (as directed in H3: 1). Avoid adding ground cinnamon directly to the coffee base, as it creates a gritty texture and clogs up the aeration process.
- Low-Sugar Alternative: To reduce calories, swap the brown sugar entirely for a brown sugar-flavored zero-calorie syrup. Alternatively, use monk fruit sweetener mixed with a small amount of molasses for the authentic flavor without the volume of sugar.
- Vanilla Layer: Add 1/4 teaspoon of vanilla extract or vanilla bean paste to your syrup base while it cools for a deeper, more complex aroma that pairs perfectly with the caramelized notes.
Expert Insight: Flaky sea salt is the secret to elevating any sweet coffee drink, providing the necessary contrast to make the primary flavors (brown sugar and coffee) shine brighter.
Key Takeaways: Your Quick Guide to Latte Mastery
Master these three principles to guarantee a perfect Brown Sugar Latte every time:
- The Syrup Ratio is Non-Negotiable: Use a 2:1 ratio of dark brown sugar to water, simmered slowly and cooled completely to ensure non-gritty, stable, high-viscosity syrup.
- Temperature Control is Critical: Steam your milk for hot lattes to precisely 140°F–150°F to prevent protein denaturation and curdling, especially with non-dairy alternatives.
- Vigorous Shaking is Essential for Iced: When preparing the iced version, always shake the espresso, syrup, and milk vigorously with large ice cubes for 15–20 seconds to achieve proper aeration and a layer of light, stable foam.
- Use Concentrated Coffee: If substituting espresso, double-brew your coffee (e.g., Moka Pot concentrate) to prevent the coffee flavor from being overpowered by the sweetness.
FAQs About Brown sugar latte recipe
Here are answers to some of the most common questions about making the perfect brown sugar latte at home.
What is the perfect brown sugar to water ratio for simple syrup?
The ideal ratio for a rich, high-viscosity brown sugar syrup is 2 parts packed dark brown sugar to 1 part water (2:1 by volume or weight). This concentrated ratio minimizes water content, leading to a thicker syrup that flavors the latte without causing excessive dilution, and it extends the refrigerated shelf life to 3–4 weeks.
How long can I safely store homemade brown sugar syrup in the fridge?
Homemade brown sugar syrup can be safely stored in a sterilized, airtight glass container in the refrigerator for approximately 3 to 4 weeks. If you notice any cloudiness, mold, or an off-odor, discard the syrup immediately. Always ensure the container is fully sterilized before bottling to prevent premature spoiling.
Why does my oat milk curdle or separate when I pour it into the hot latte?
Curdling or separation (splitting) usually occurs if the milk is overheated or if the coffee is highly acidic. The proteins in non-dairy milk denature rapidly at high temperatures; keep steaming below 150°F. Additionally, ensure you are using a Barista Blend oat milk, which contains added stabilizers to resist acid and heat better than standard versions.
Can I make the brown sugar latte with instant coffee instead of espresso?
Yes, you can use high-quality instant espresso or strongly concentrated coffee, but avoid standard instant coffee. Mix 1–2 teaspoons of the instant espresso powder with 2 ounces of hot water to create a very strong, concentrated shot that can provide enough intensity to balance the sweet brown sugar syrup.
Final Thoughts: Your New Specialty Coffee Skill
Mastering the homemade brown sugar latte is not just about saving money; it’s about gaining the confidence of a true home barista. By applying the precise ratios and technical tips for syrup and milk preparation, you’ve secured the ability to create café-quality luxury in your own kitchen every single day. The best part? This fundamental knowledge—syrup science and frothing technique—will instantly elevate every other specialty coffee drink you attempt in the future.
Now that you’ve unlocked the genius recipe, which version will you try first: the cozy Hot Steamed Latte or the refreshing Iced Shaken Espresso? Share your preferred technique and your best flavor variation in the comments below
Last update on 2025-11-19 / Affiliate links / Images from Amazon Product Advertising API

